Hiking in and around Artenara
Artenara, situated at an altitude of approximately 1,200 metres, is the highest village on Gran Canaria. It stands out for its spectacular location within the island’s Biosphere Reserve and offers breathtaking views of the surrounding mountains, valleys, and ravines. Artenara is renowned for its cave dwellings, carved into the volcanic rock. These homes, some of which are still in use today, provide a natural and pleasant climate – cool in summer and warm in winter. A few of these caves can be explored at a small museum, the Museo Etnográfico Casas Cuevas. If you’re lucky, you might even find accommodation in one of these unique cave houses.
Artenara serves as an ideal starting point for hikes and excursions into the surrounding mountainous landscape. One of the most popular hikes is the route to the Montaña de Artenara, which I have already described in detail. Today, however, I’ll introduce a slightly longer hike, spanning nearly 16 kilometres. It takes you along an extended ridge trail with stunning views of the surrounding heights. A highlight of the hike is the option to detour to the “Cuevas de Caballero” caves. You can also combine this route with the Montaña de Artenara hike for a more extensive adventure.
General Information about the Artenara to Cruz de Tejeda Hike
Starting Point and Access
Starting Point
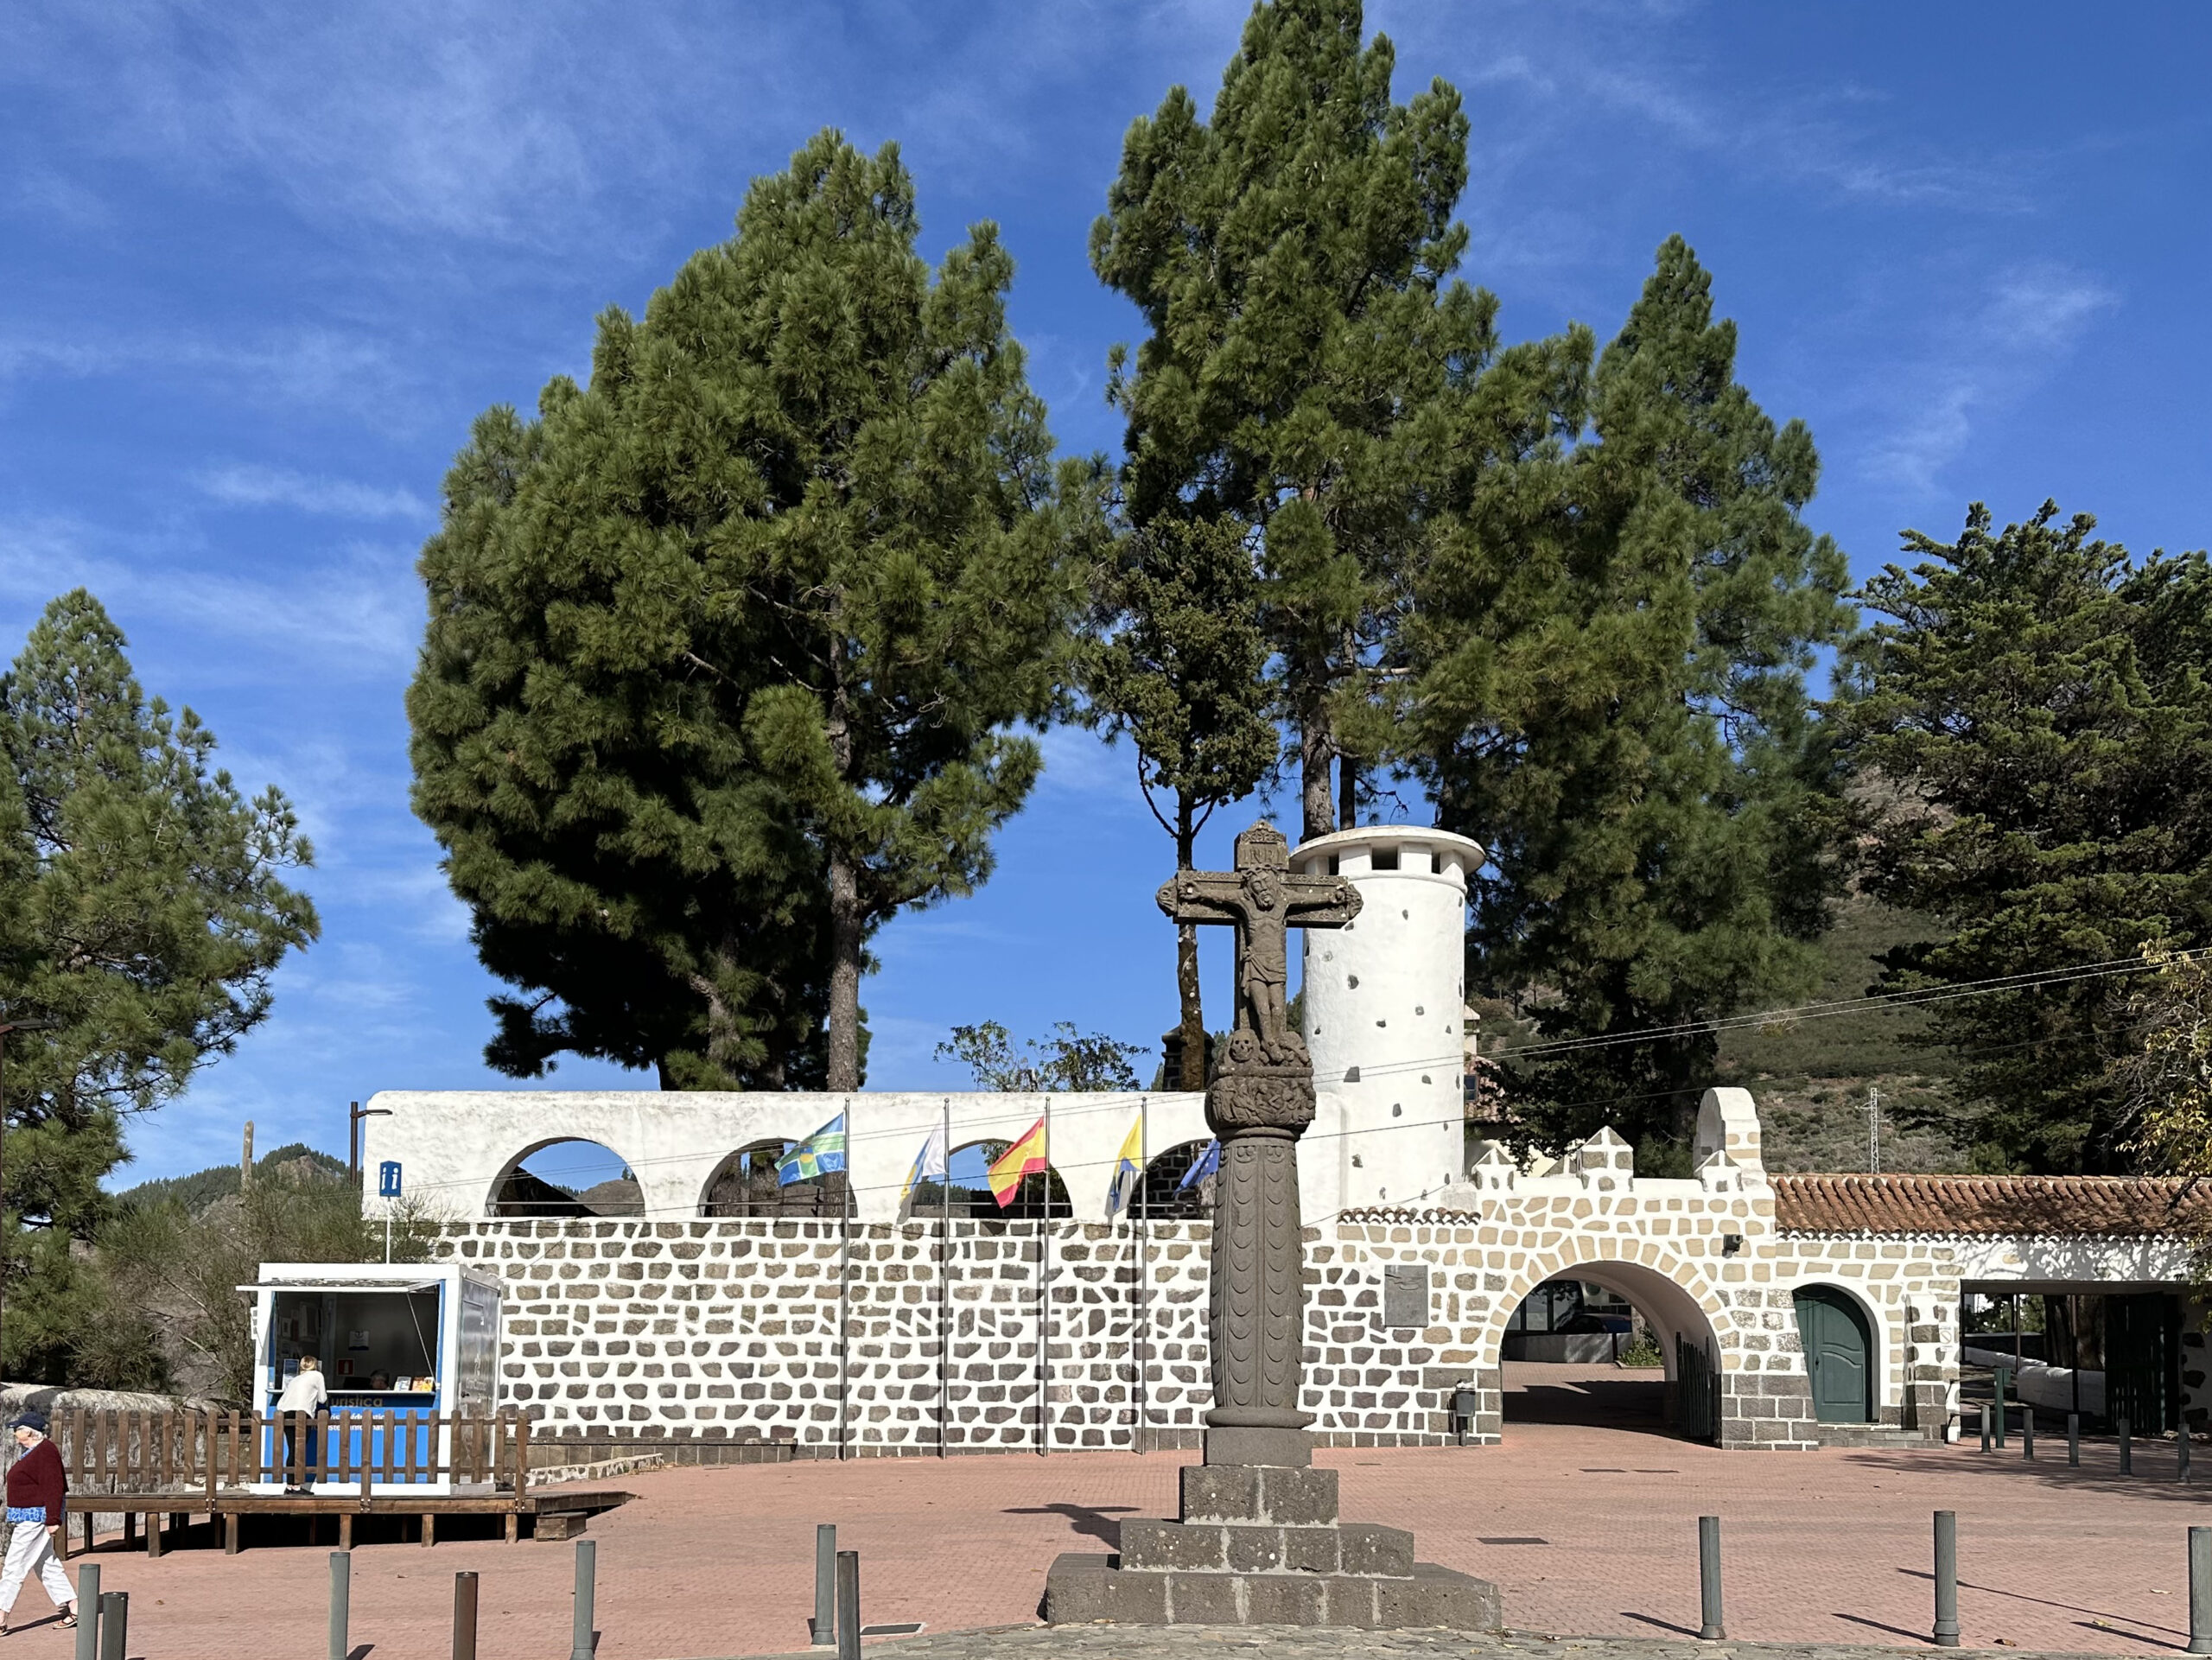
The hike begins in the centre of the small village of Artenara.
Access By Car
There are many roads leading from all sides of the island to its central area, though I won’t describe them all here. The main roads converging in Artenara are the GC-21 and the GC-210. Artenara is well-signposted everywhere, so you’ll easily find it even without GPS. Parking is available in the village centre, but spaces fill up quickly during the day when day-trippers arrive. However, there are additional designated parking areas along the GC-21.
Access By Bus
Bus route 101 from Las Palmas and route 220 from Teror stop in Artenara. For details and further information, visit the homepage of Guaguasglobal Global Salcai-Utinsa S.A.L.
Time
I am reluctant to give general time estimates for hikes, as times can vary greatly depending on the individual. We completed this hike, including breaks, in 5.5 hours.

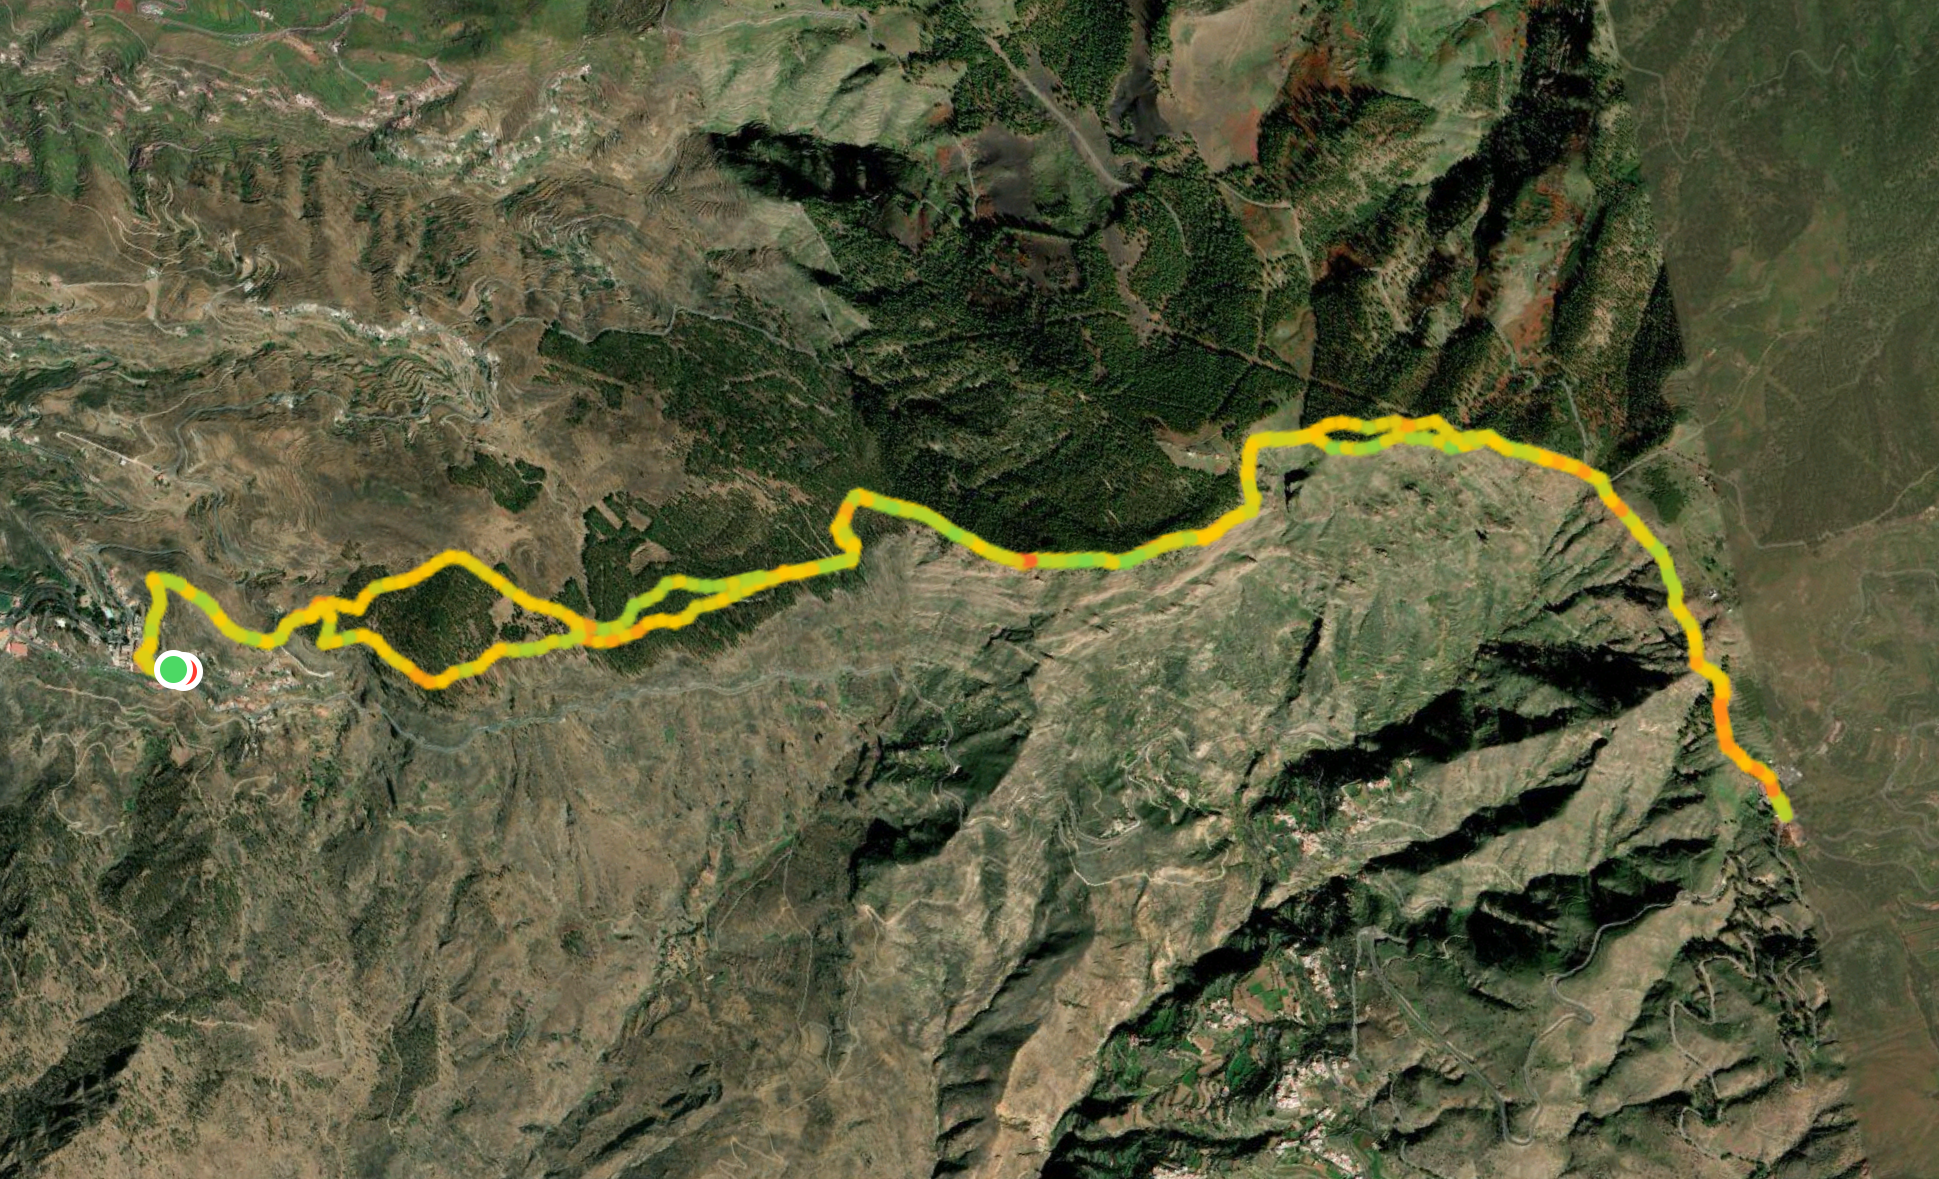
Elevation Difference and Distance
The elevation gain is approximately 825 metres, and the total distance is just under 16 kilometres.
Difficulty
Throughout the hike, you’ll follow well-maintained trails or paths.
Refreshments
Refreshment options are only available at the starting point in Artenara and at Cruz de Tejeda. Therefore, be sure to carry enough water and snacks for the hike.
Variants
This hike can be easily combined with the Montaña de Artenara hike. If you’d like a longer hike, simply include the ascent or descent via Montaña de Artenara.
Another hike featured on SiebenInseln that also passes through Cruz de Tejeda is the Cruz de Tejeda – Large Circular Hike in the Geographical Centre of Gran Canaria.
You can also halve the hike and adjust the elevation gain by hiking only one way and then taking the bus back.
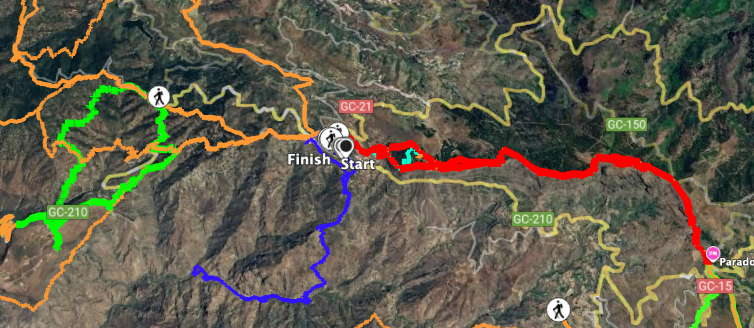
Hike Artenara – Cruz de Tejeda
Section 1: From Artenara to the Hiking Junction
Your hike begins in the centre of Artenara. We started on Calle Párroco Domingo Báez, which offers marvellous views of the ravine and the peaks opposite, such as Roque Bentayga. From there, you can take a stairway up to Calle de la Cuevita. Alternatively, you can cross the entire Plaza San Matías and turn right into Calle de la Cuevita from there.
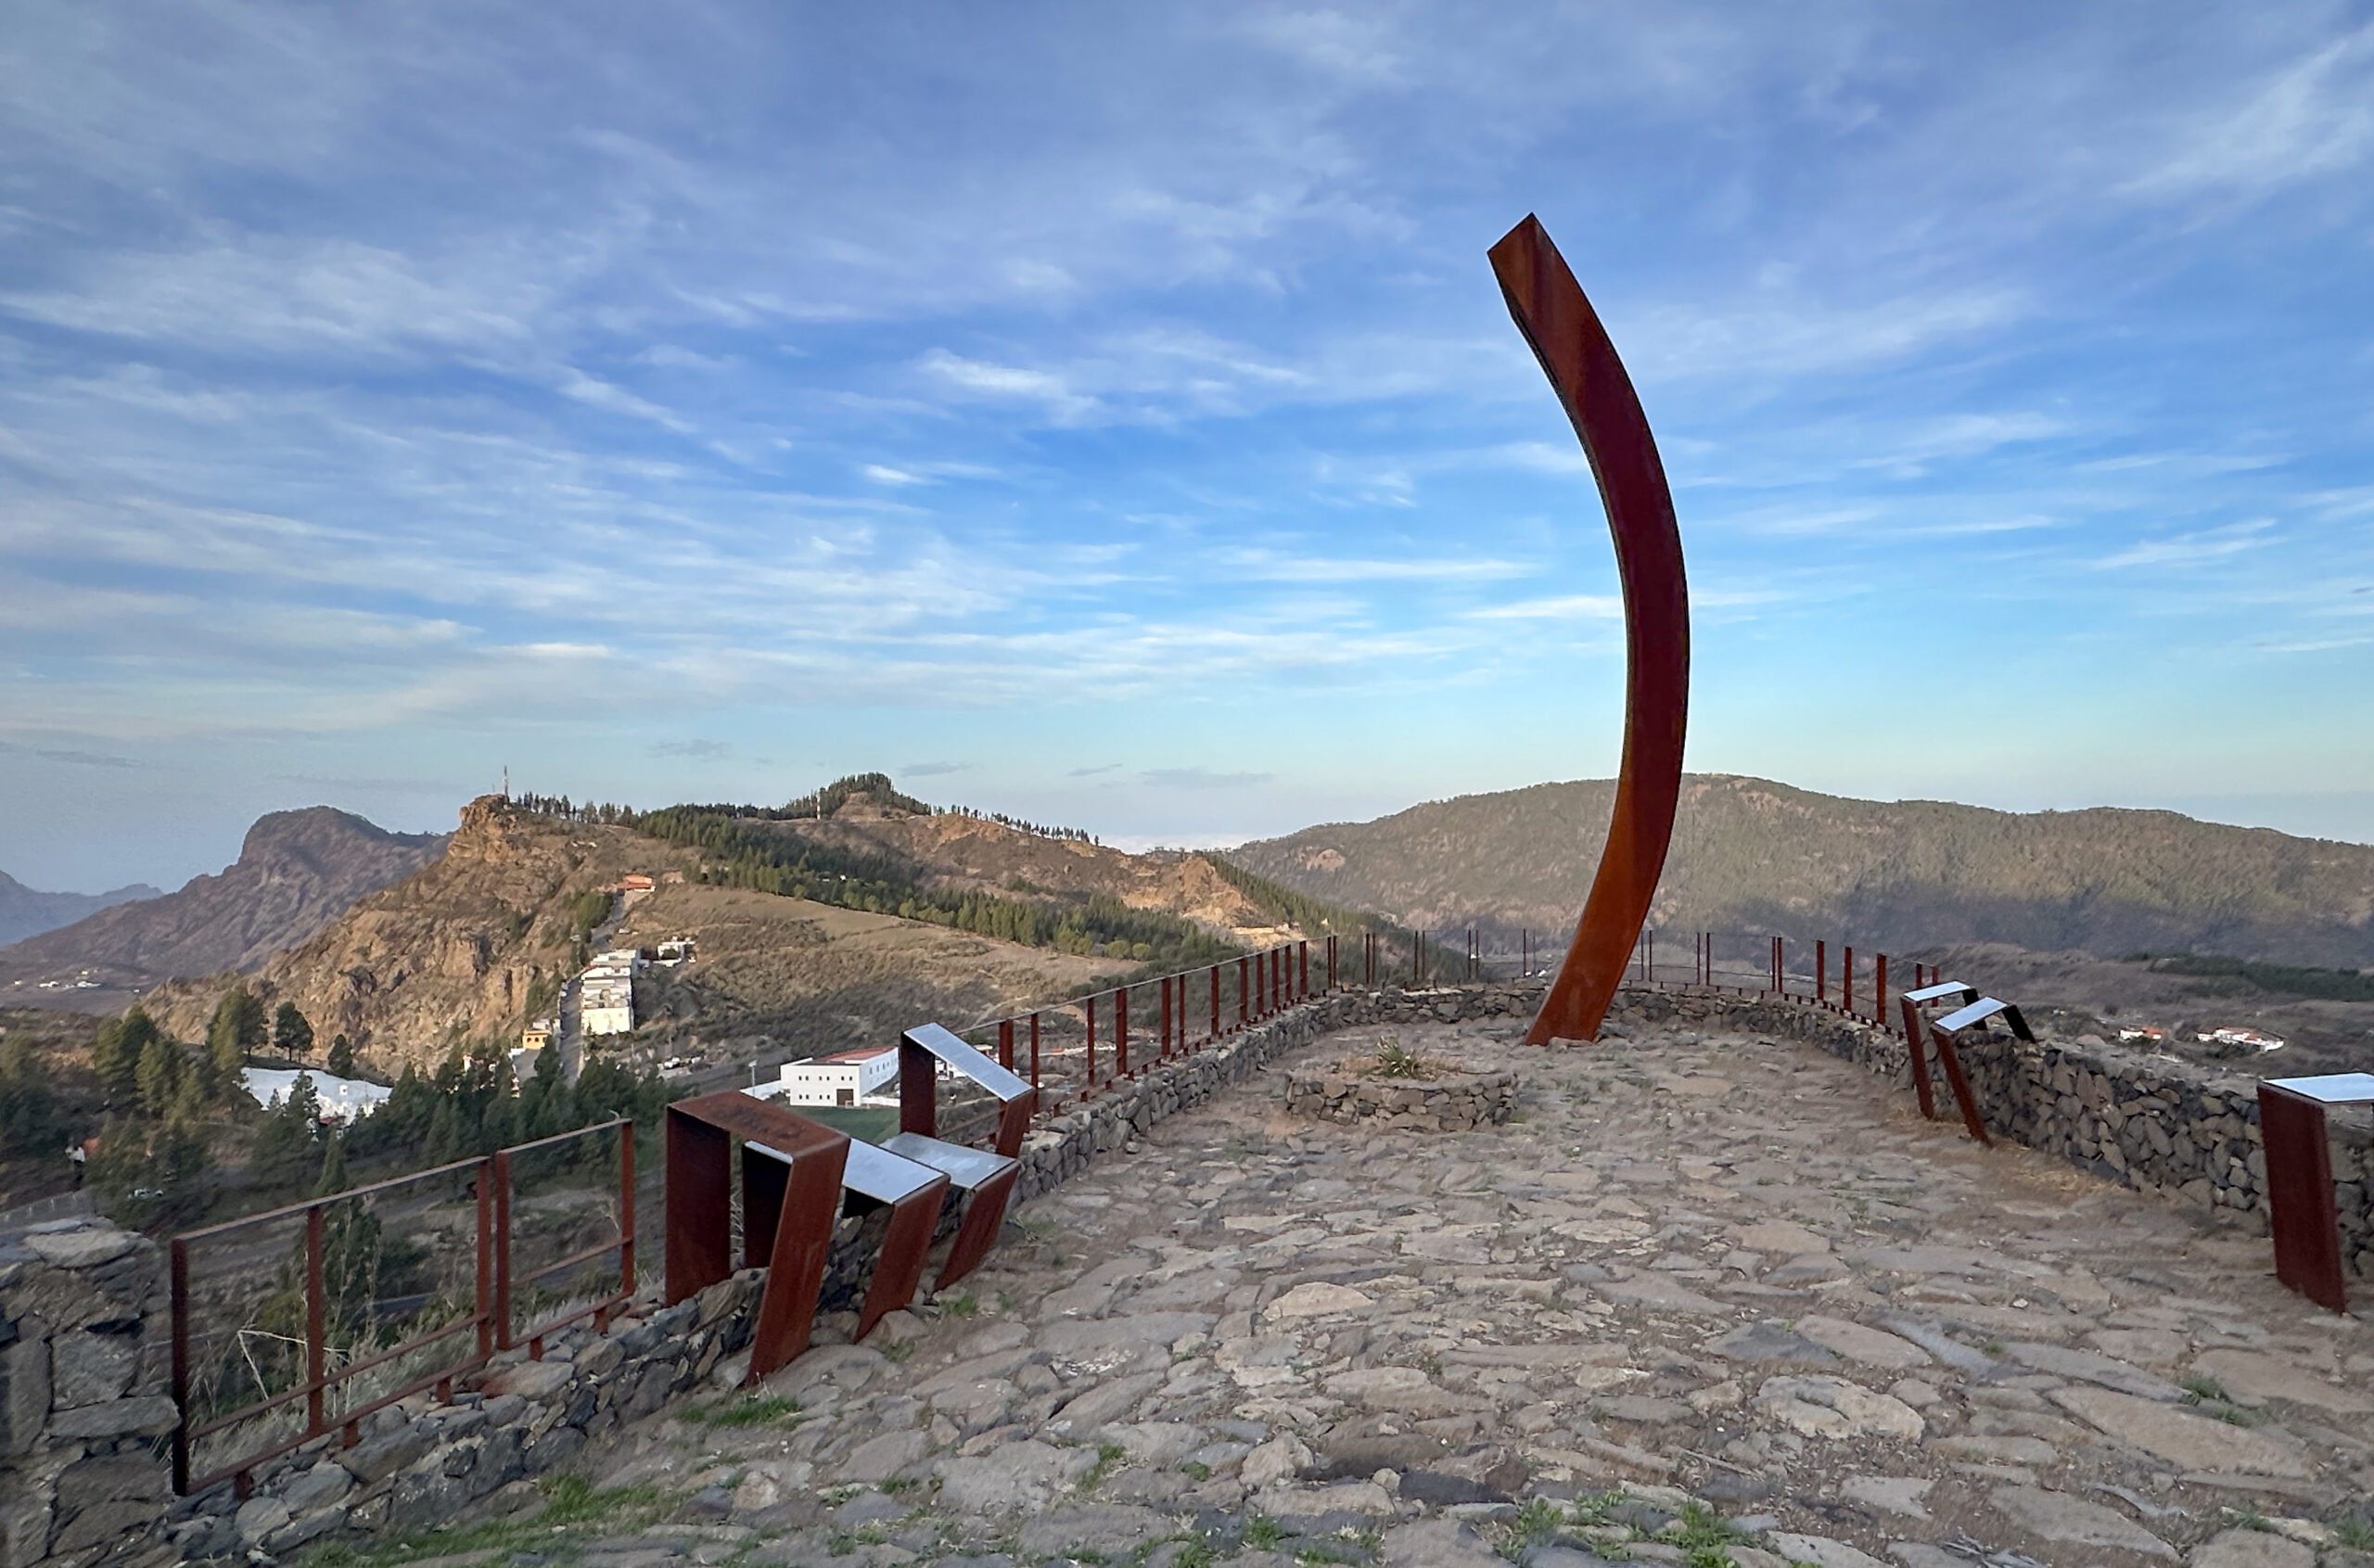
Calle de la Cuevita is a small asphalt road that winds steeply uphill in tight switchbacks. After the initial climb, you’ll reach the Mirador de Los Poetas. This viewpoint is a great place to take a short break and enjoy the stunning views of Artenara and the surrounding area. Beyond the mirador, the path takes a right-hand bend. You’ll continue along the other side of the mountain until you arrive at a kind of square or junction. Here, you’ll find hiking signposts, marking the official start of the trail.
Section 2: Hiking Junction to the Ridge Path
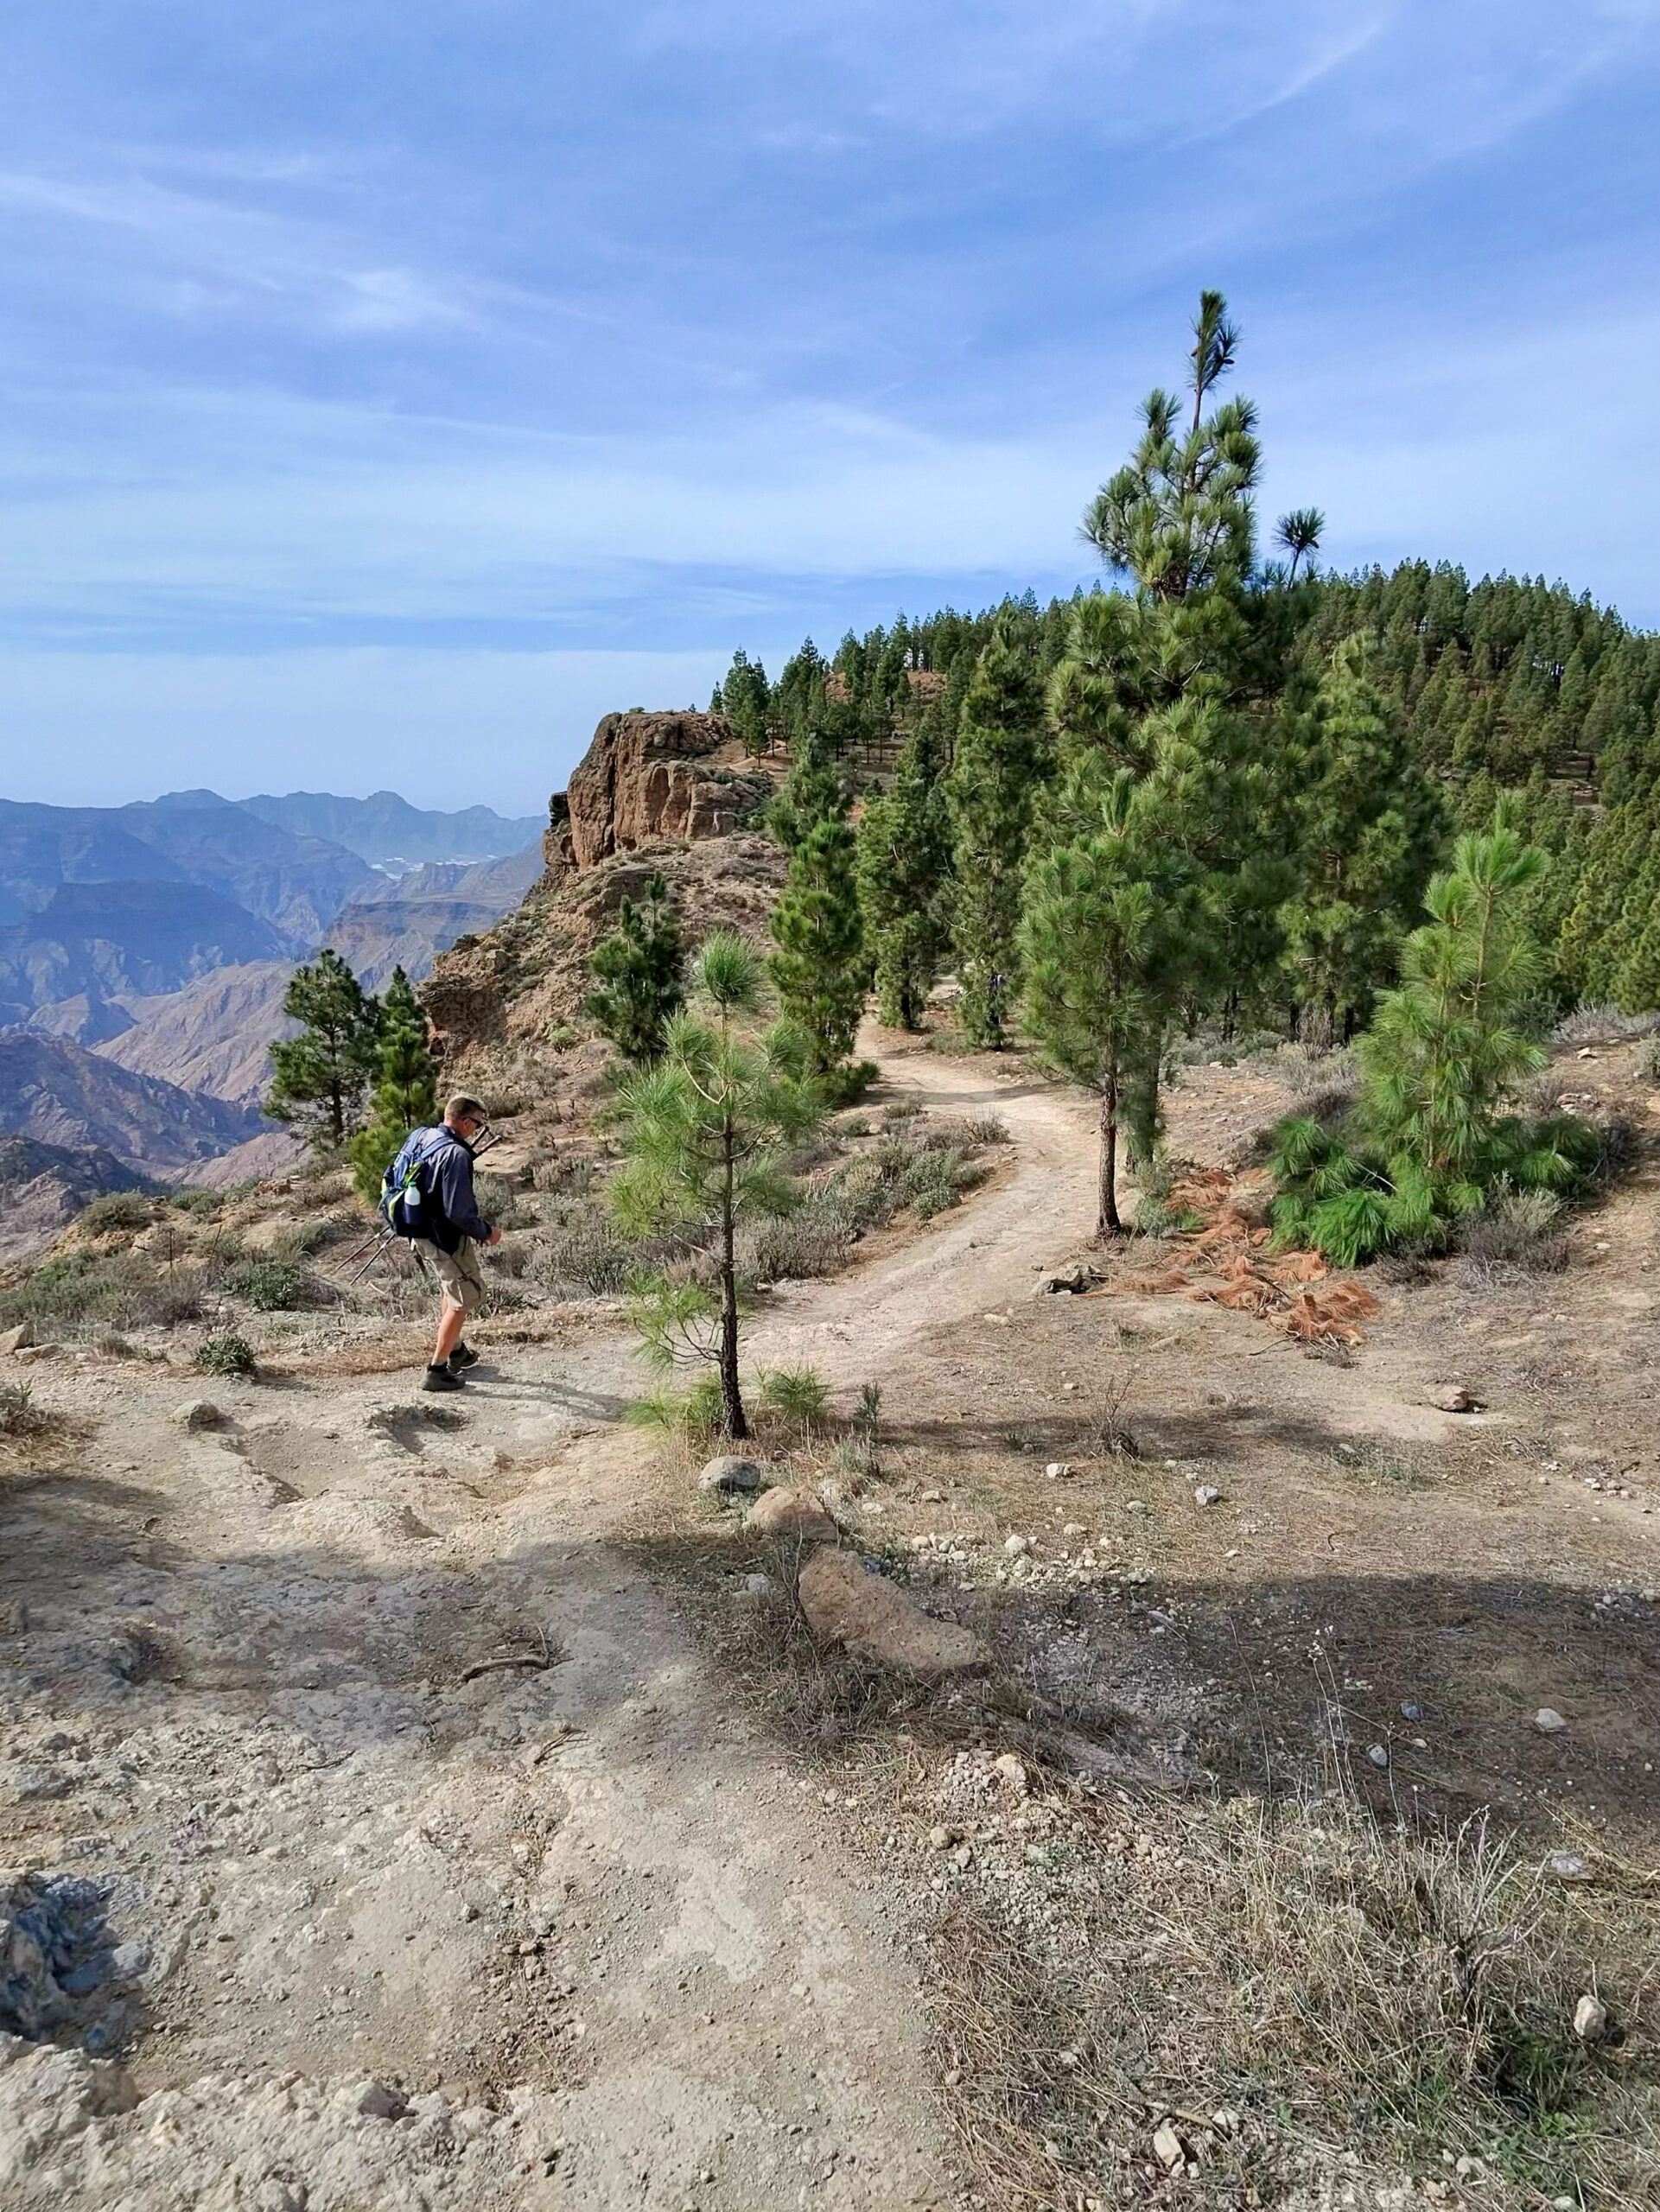
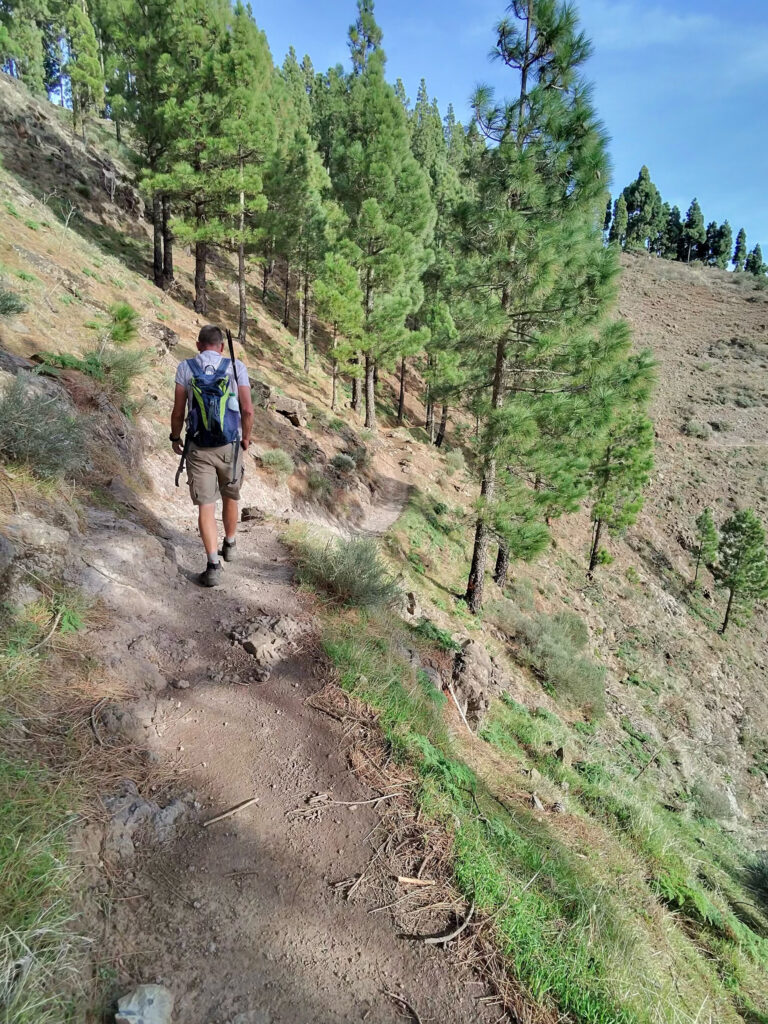
From this point, follow the main hiking trail uphill, taking in the lovely views along the way. After a while, a path branches off to the right. This will be your return route if you choose to descend via the Montaña de Artenara. Alternatively, you can take this path as your ascent route. Otherwise, stay left on the trail heading towards Cruz de Tejeda. The ascent becomes steeper as you climb through the pine forest above Artenara. Ignore another side track branching off to the right, and continue straight. As the trail begins to level out, you’ll find yourself walking along the edge of the pine forest. The forest then opens up, revealing a broad plain ahead into which the trail leads.
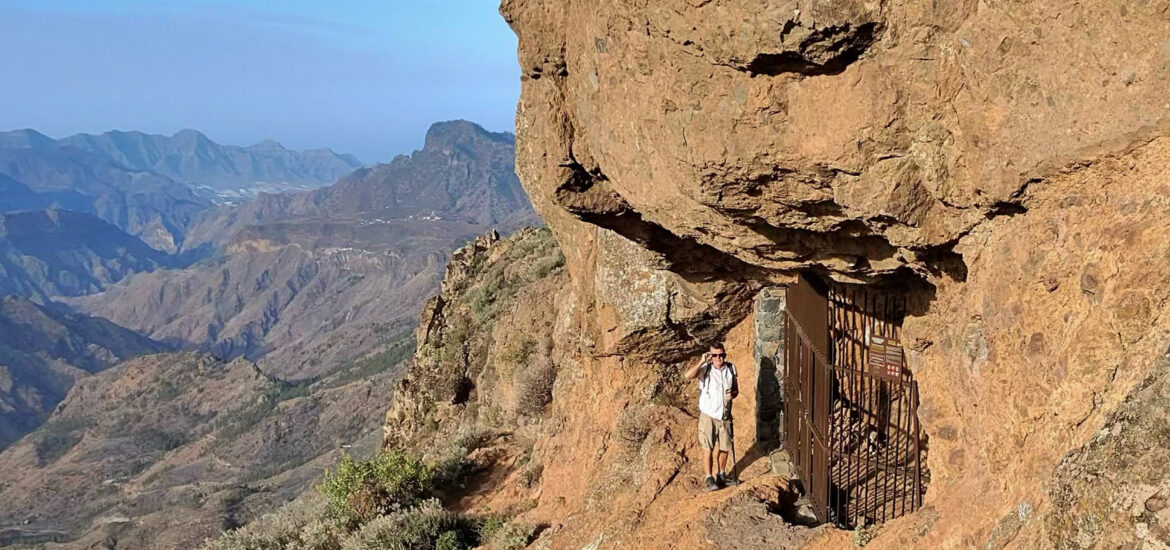
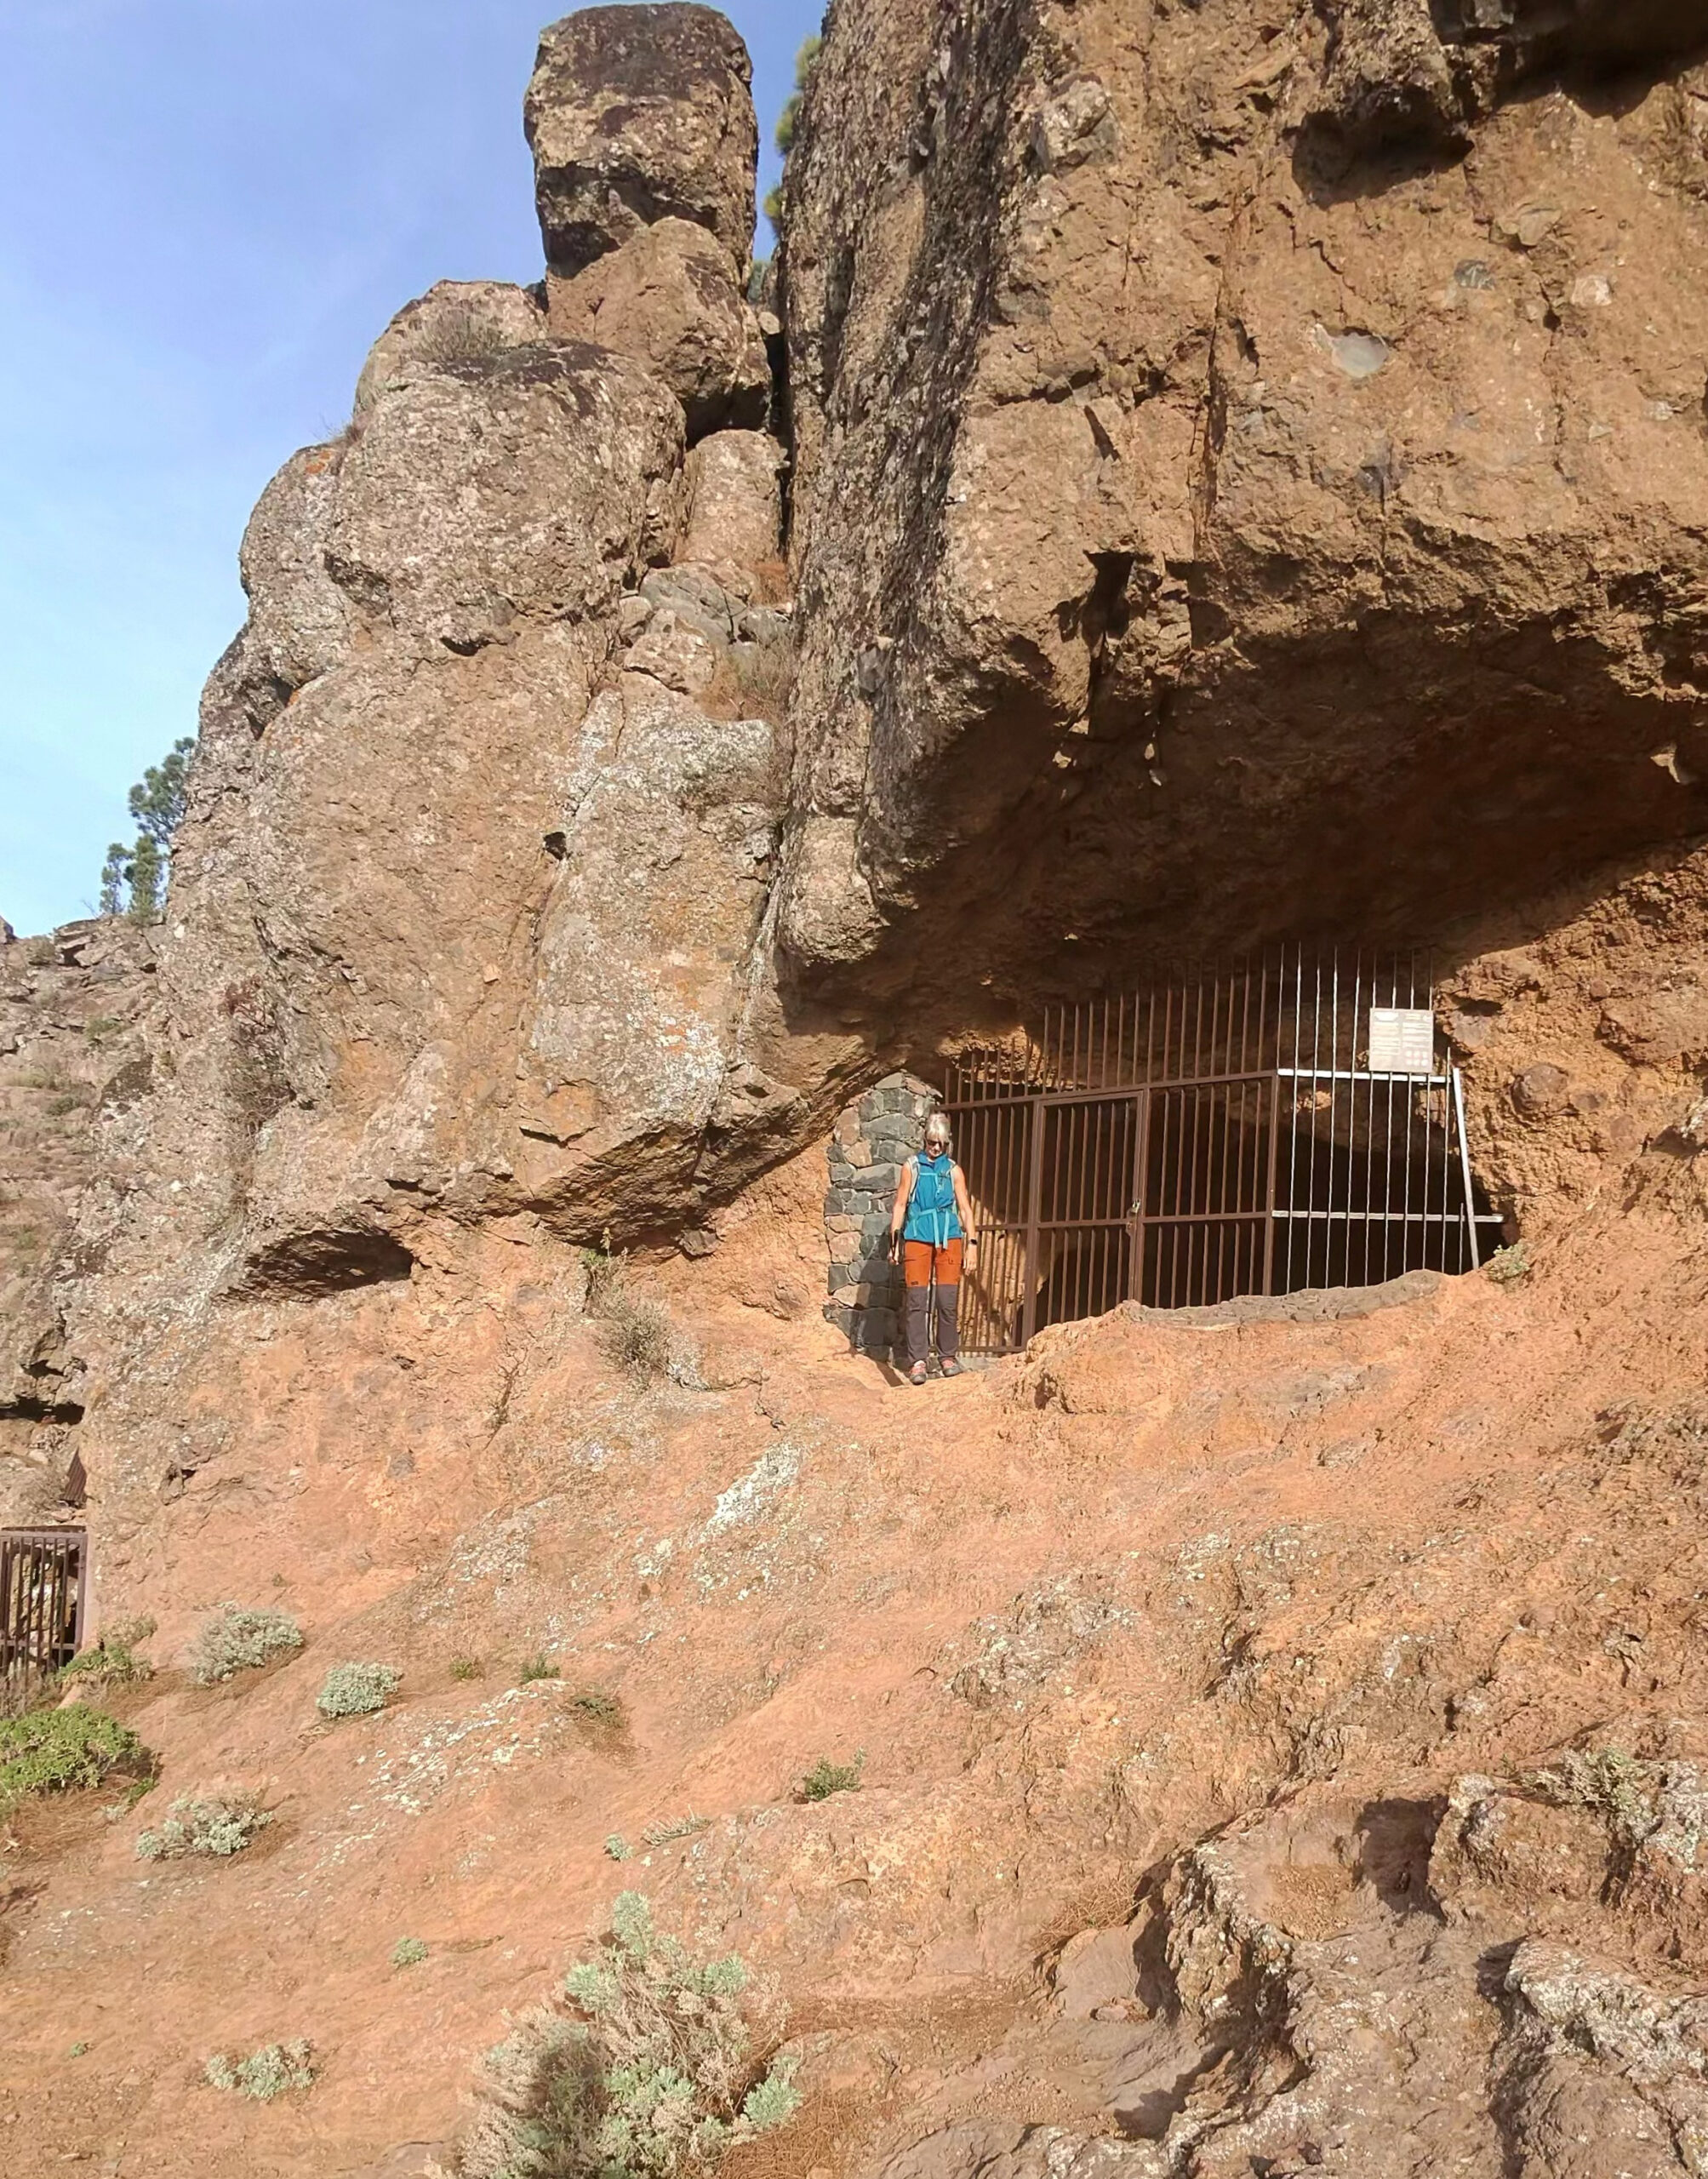
A path to the right ascends to Montaña de Artenara, but you’ll continue straight. After a climb on a wide track, you’ll have the choice to continue through the forest or ascend to the ridge on the right. From the ridge, a narrow path leads downhill to the closed cave Cueva de los Candiles, marked by an information board. Since you’ll return along the same route, you could go through the forest one way and follow the ridge on the way back. The ridge trail, however, offers magnificent views and is highly recommended.
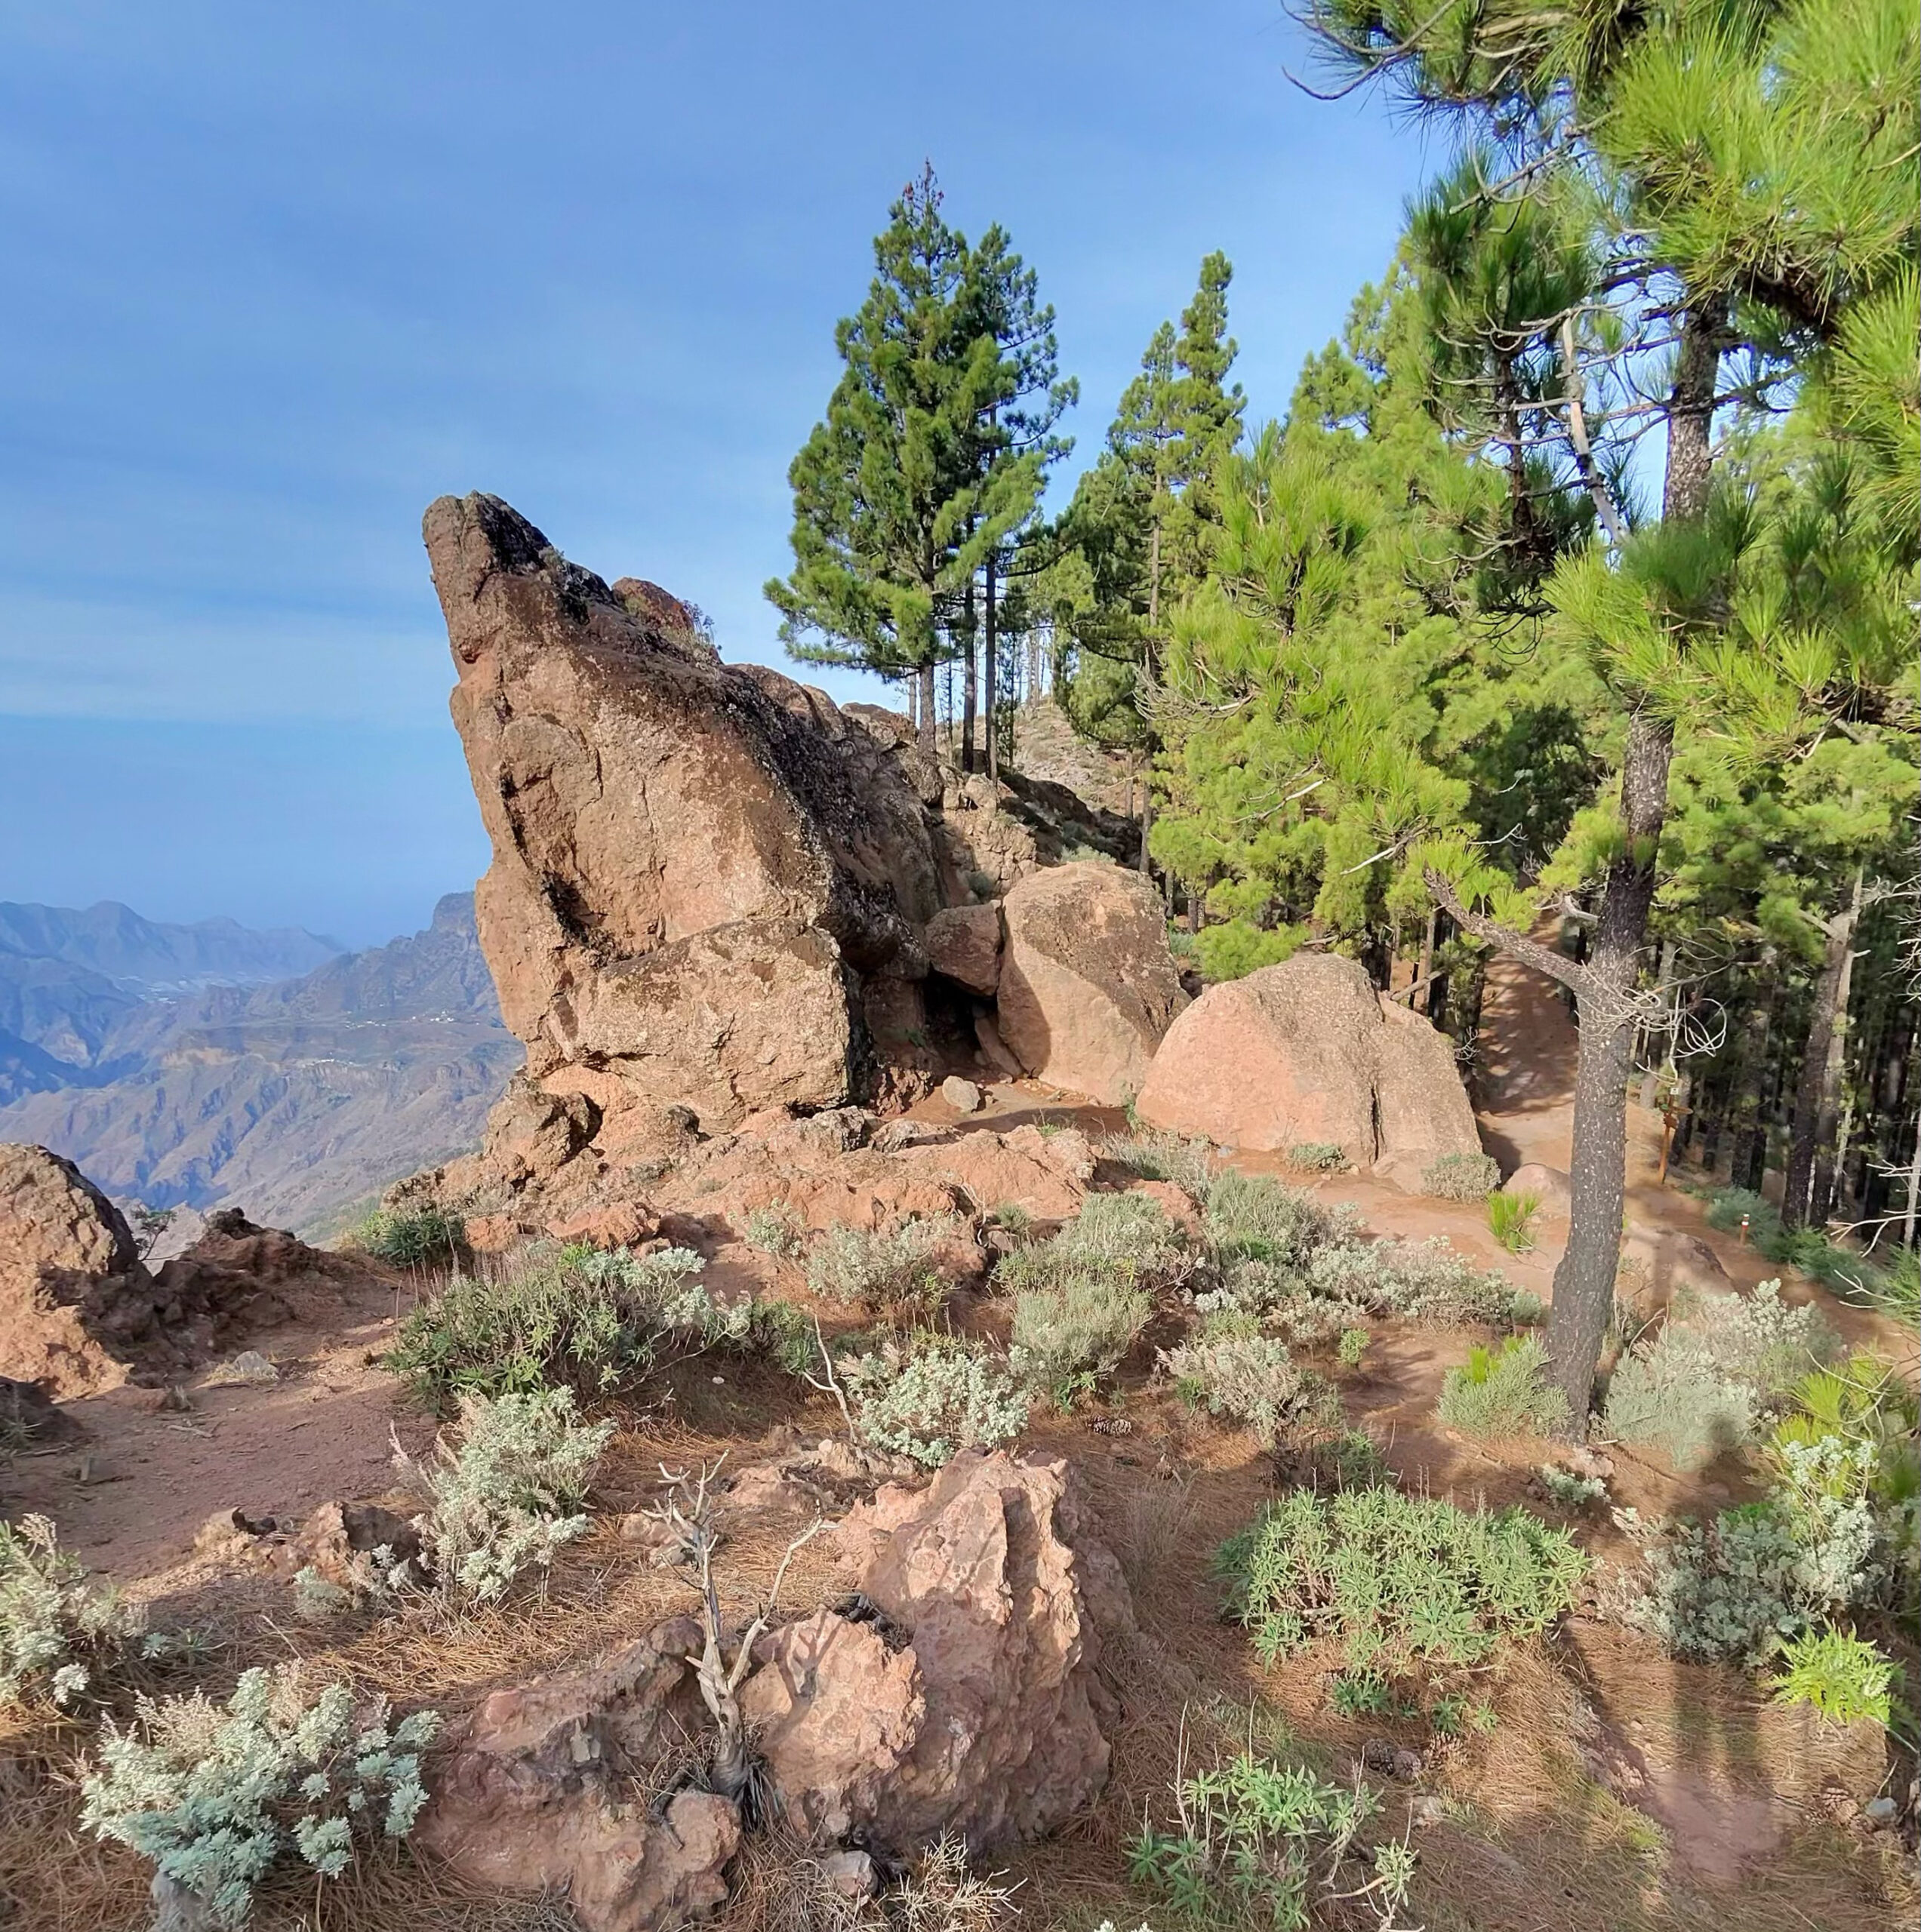
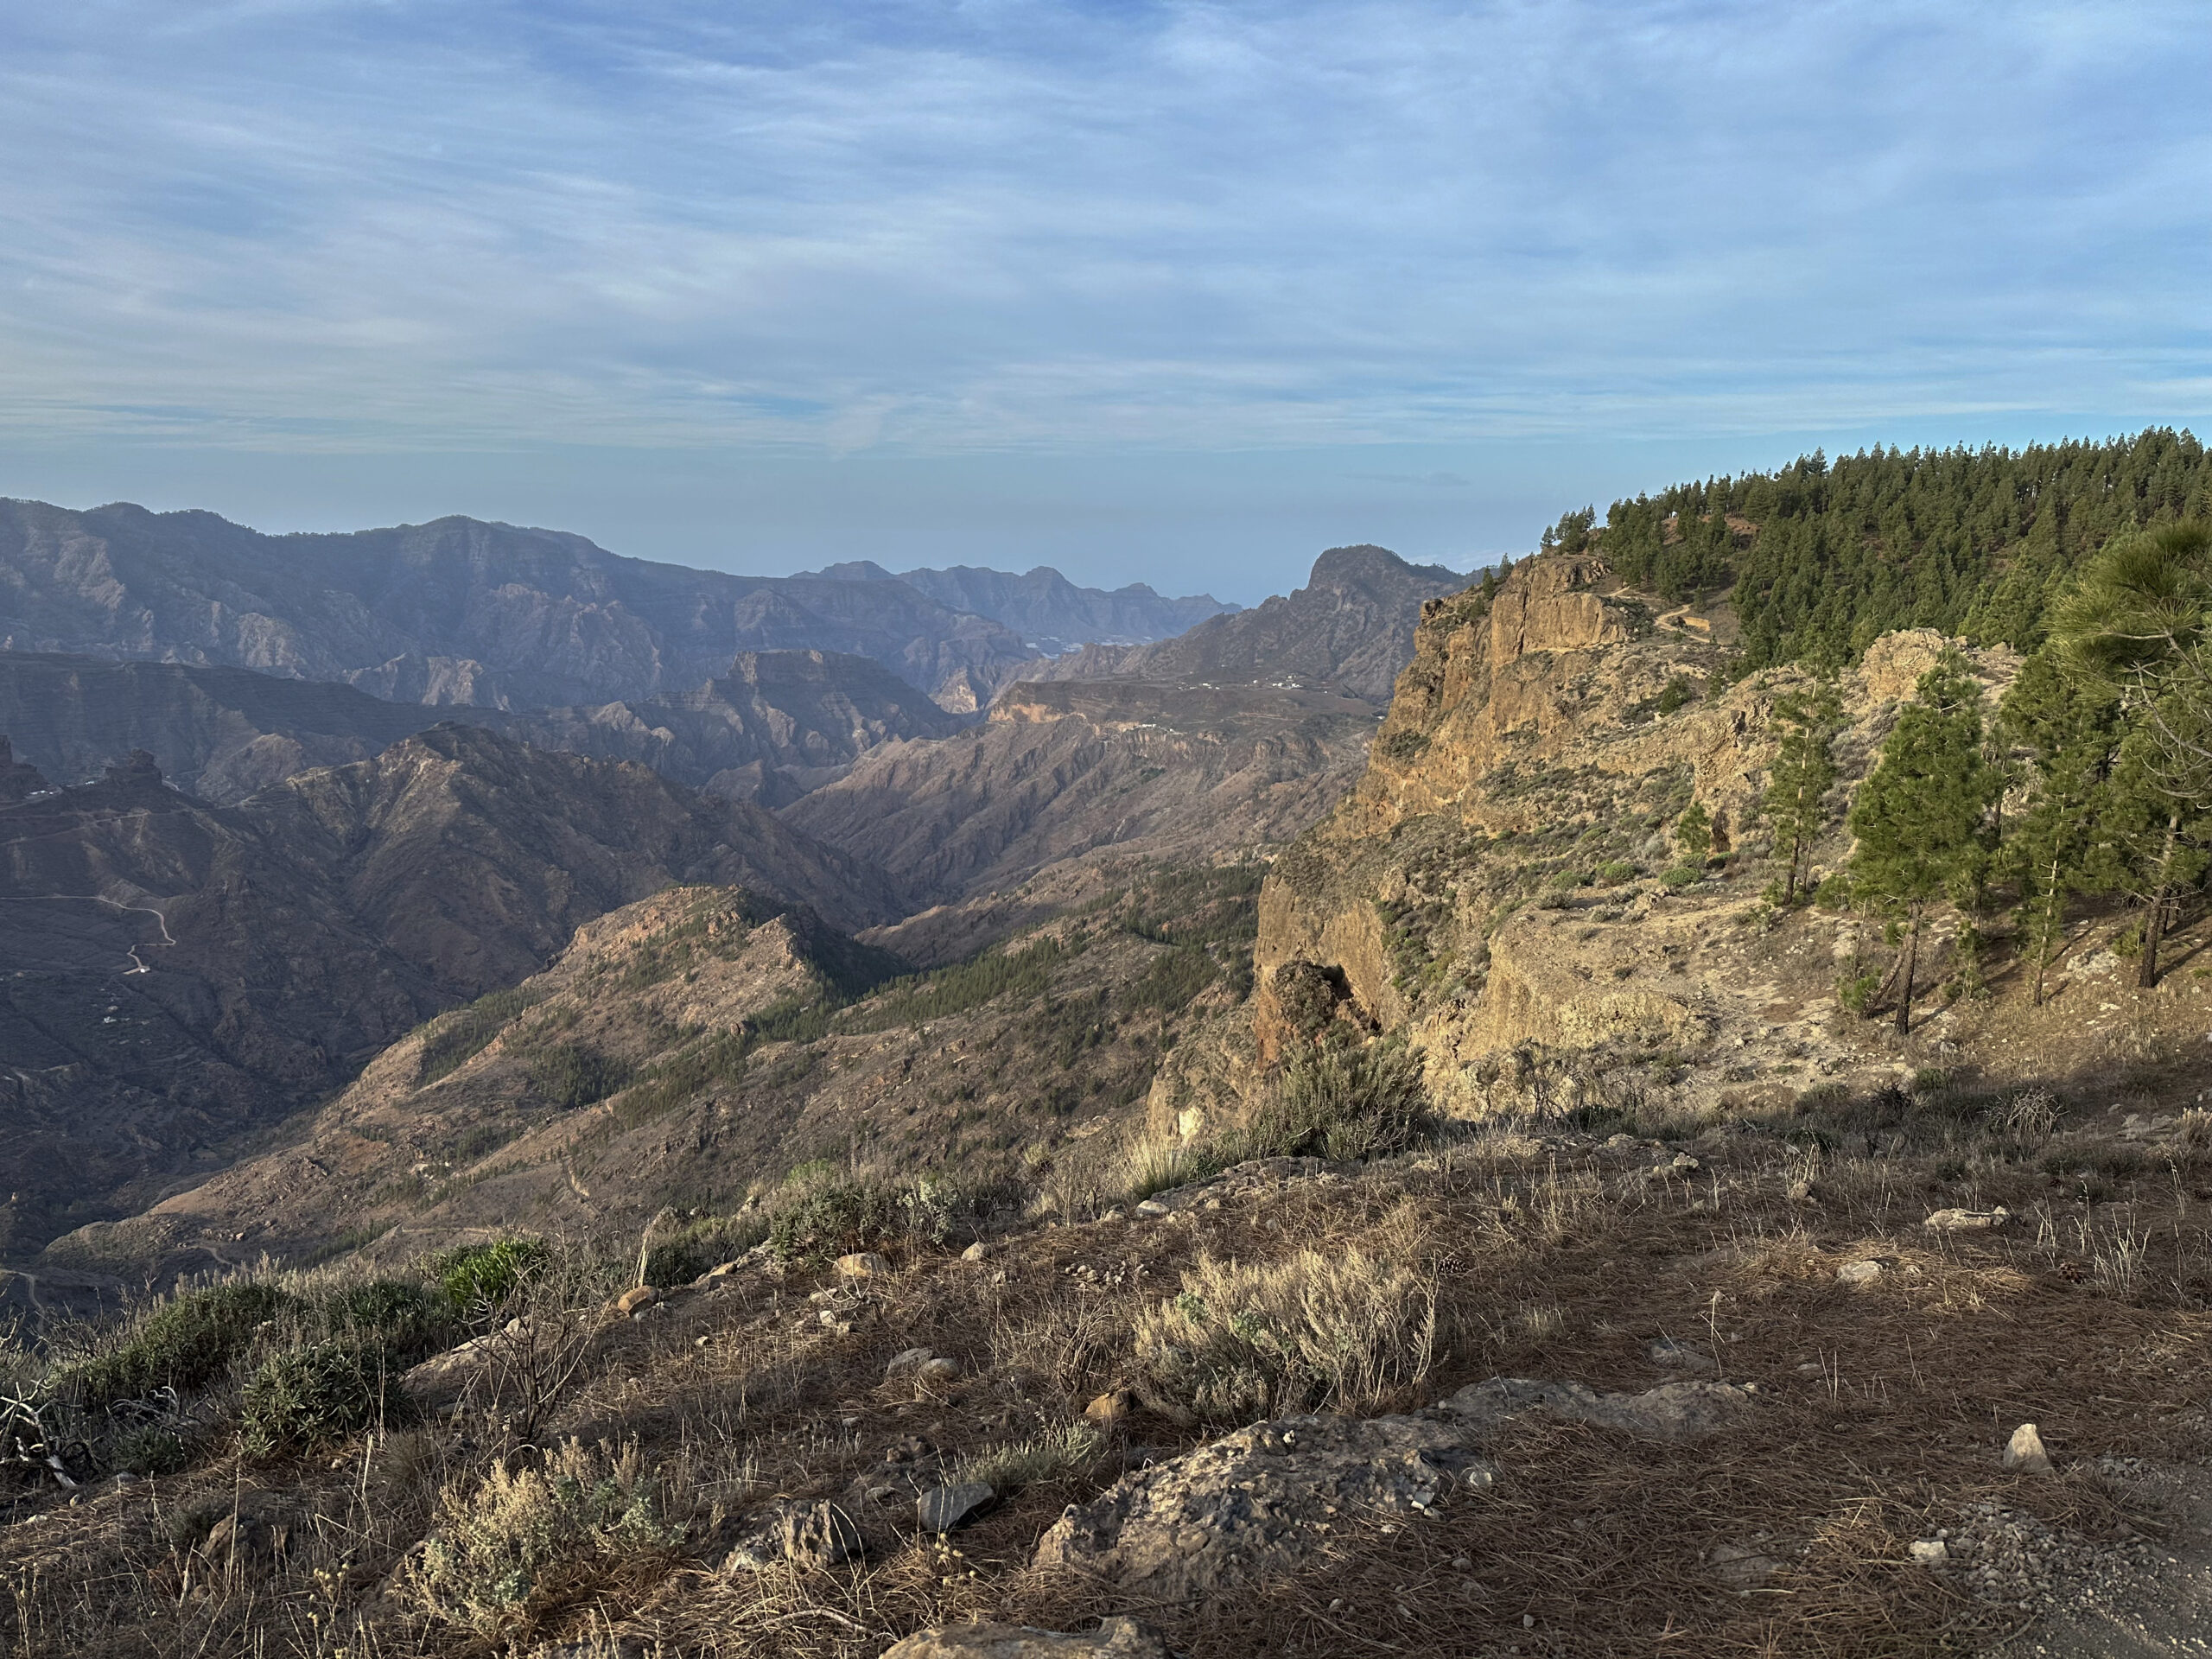
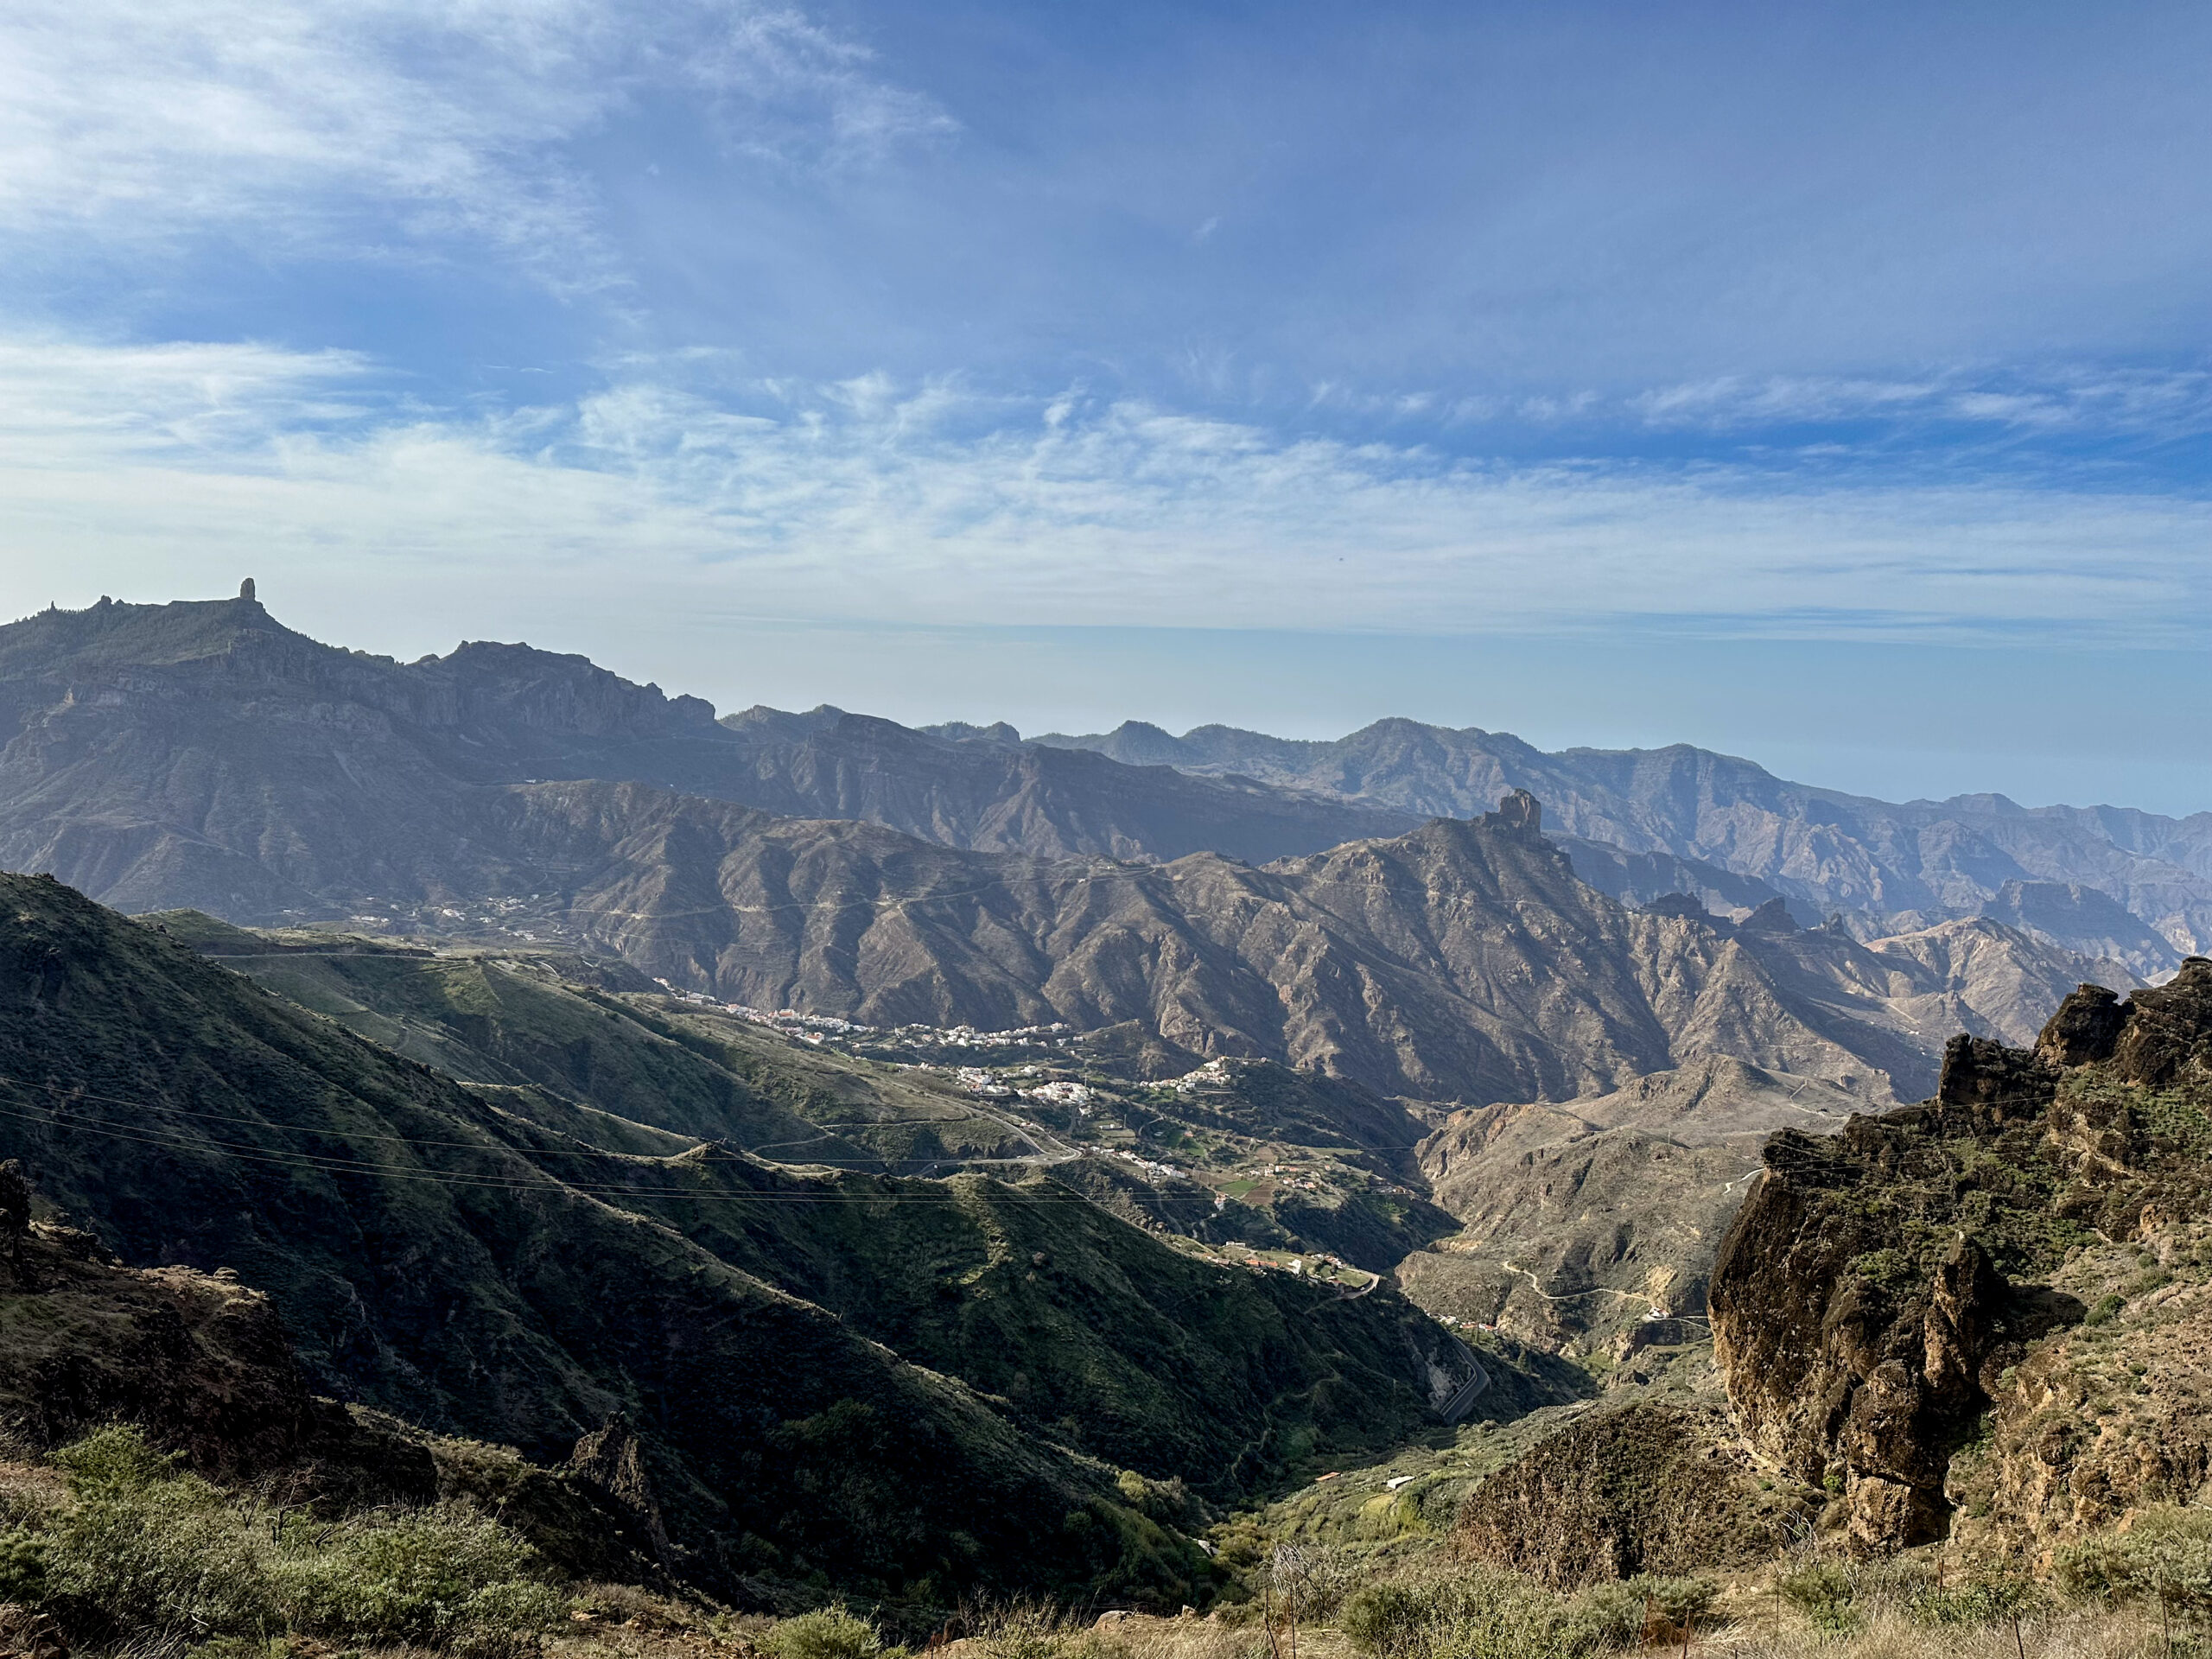
Section 3: Ridge Trail to Montaña de Los Moriscos
From the ridge path, you have marvellous views of the valley and the rock formations opposite, such as the famous Roque Nublo. Finally – if you have chosen the forest path – it turns into very steep hairpin bends. At this point at the latest, it is advisable to take the ridge path up to the right. You hike uphill along the ridge for quite some time. As the hiking trail is signposted as a long-distance hiking trail, the route is easy to follow. After a while, the path leads into the forest on the left and takes you further uphill in large hairpin bends.
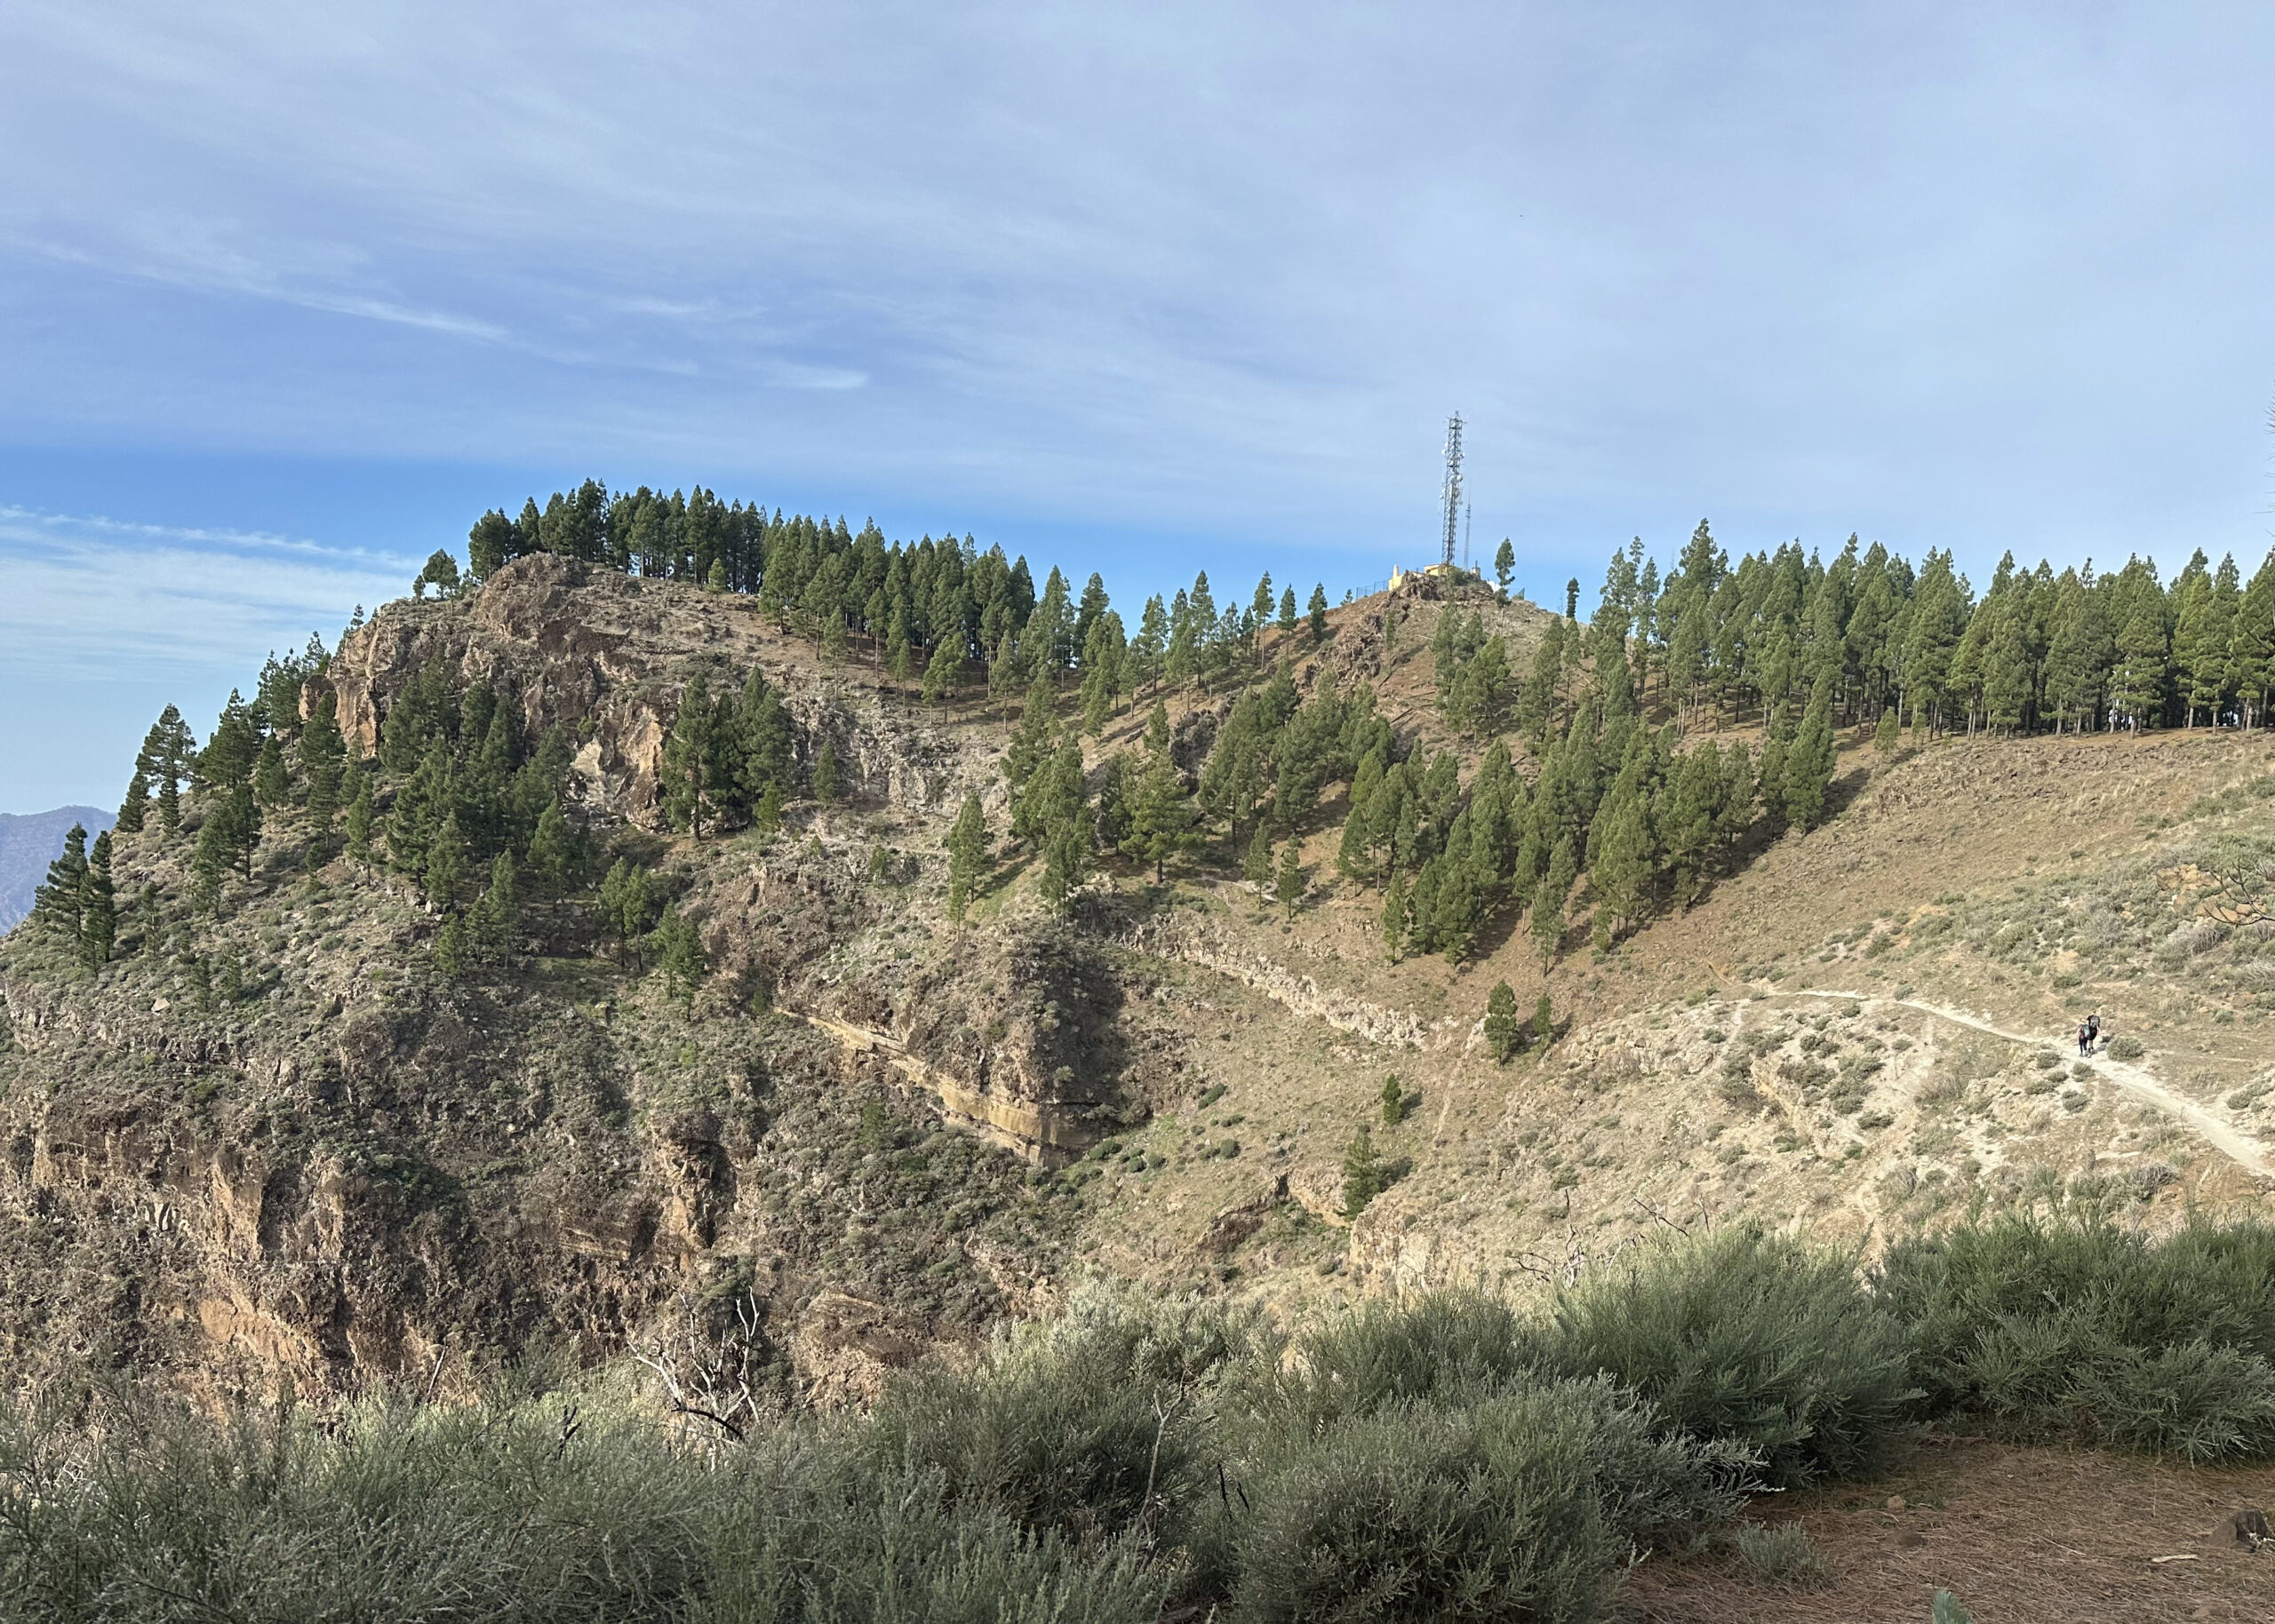
You’ll encounter prominent rocks on the right side of the trail, marked by an information board. Behind these rocks are the Cuevas de Caballero, a series of sealed caves. A detour to admire the caves and enjoy the stunning views is well worth the effort. The steep ascent then resumes near the ridge. After some time, you’ll circle the final high point of the hike, Montaña de Los Moriscos, which is topped with antennas. From here, the path begins to descend gently.
Section 4: Montaña de Los Moriscos to Mirador Degollada de las Palomas
As the trail continues, the forest thins out, revealing stunning views of the valleys below and the deep ravines surrounding Montaña Moriscos. After skirting a deep gorge, the path forks again. Take the ridge trail to vary your return route. Both paths eventually converge further along.
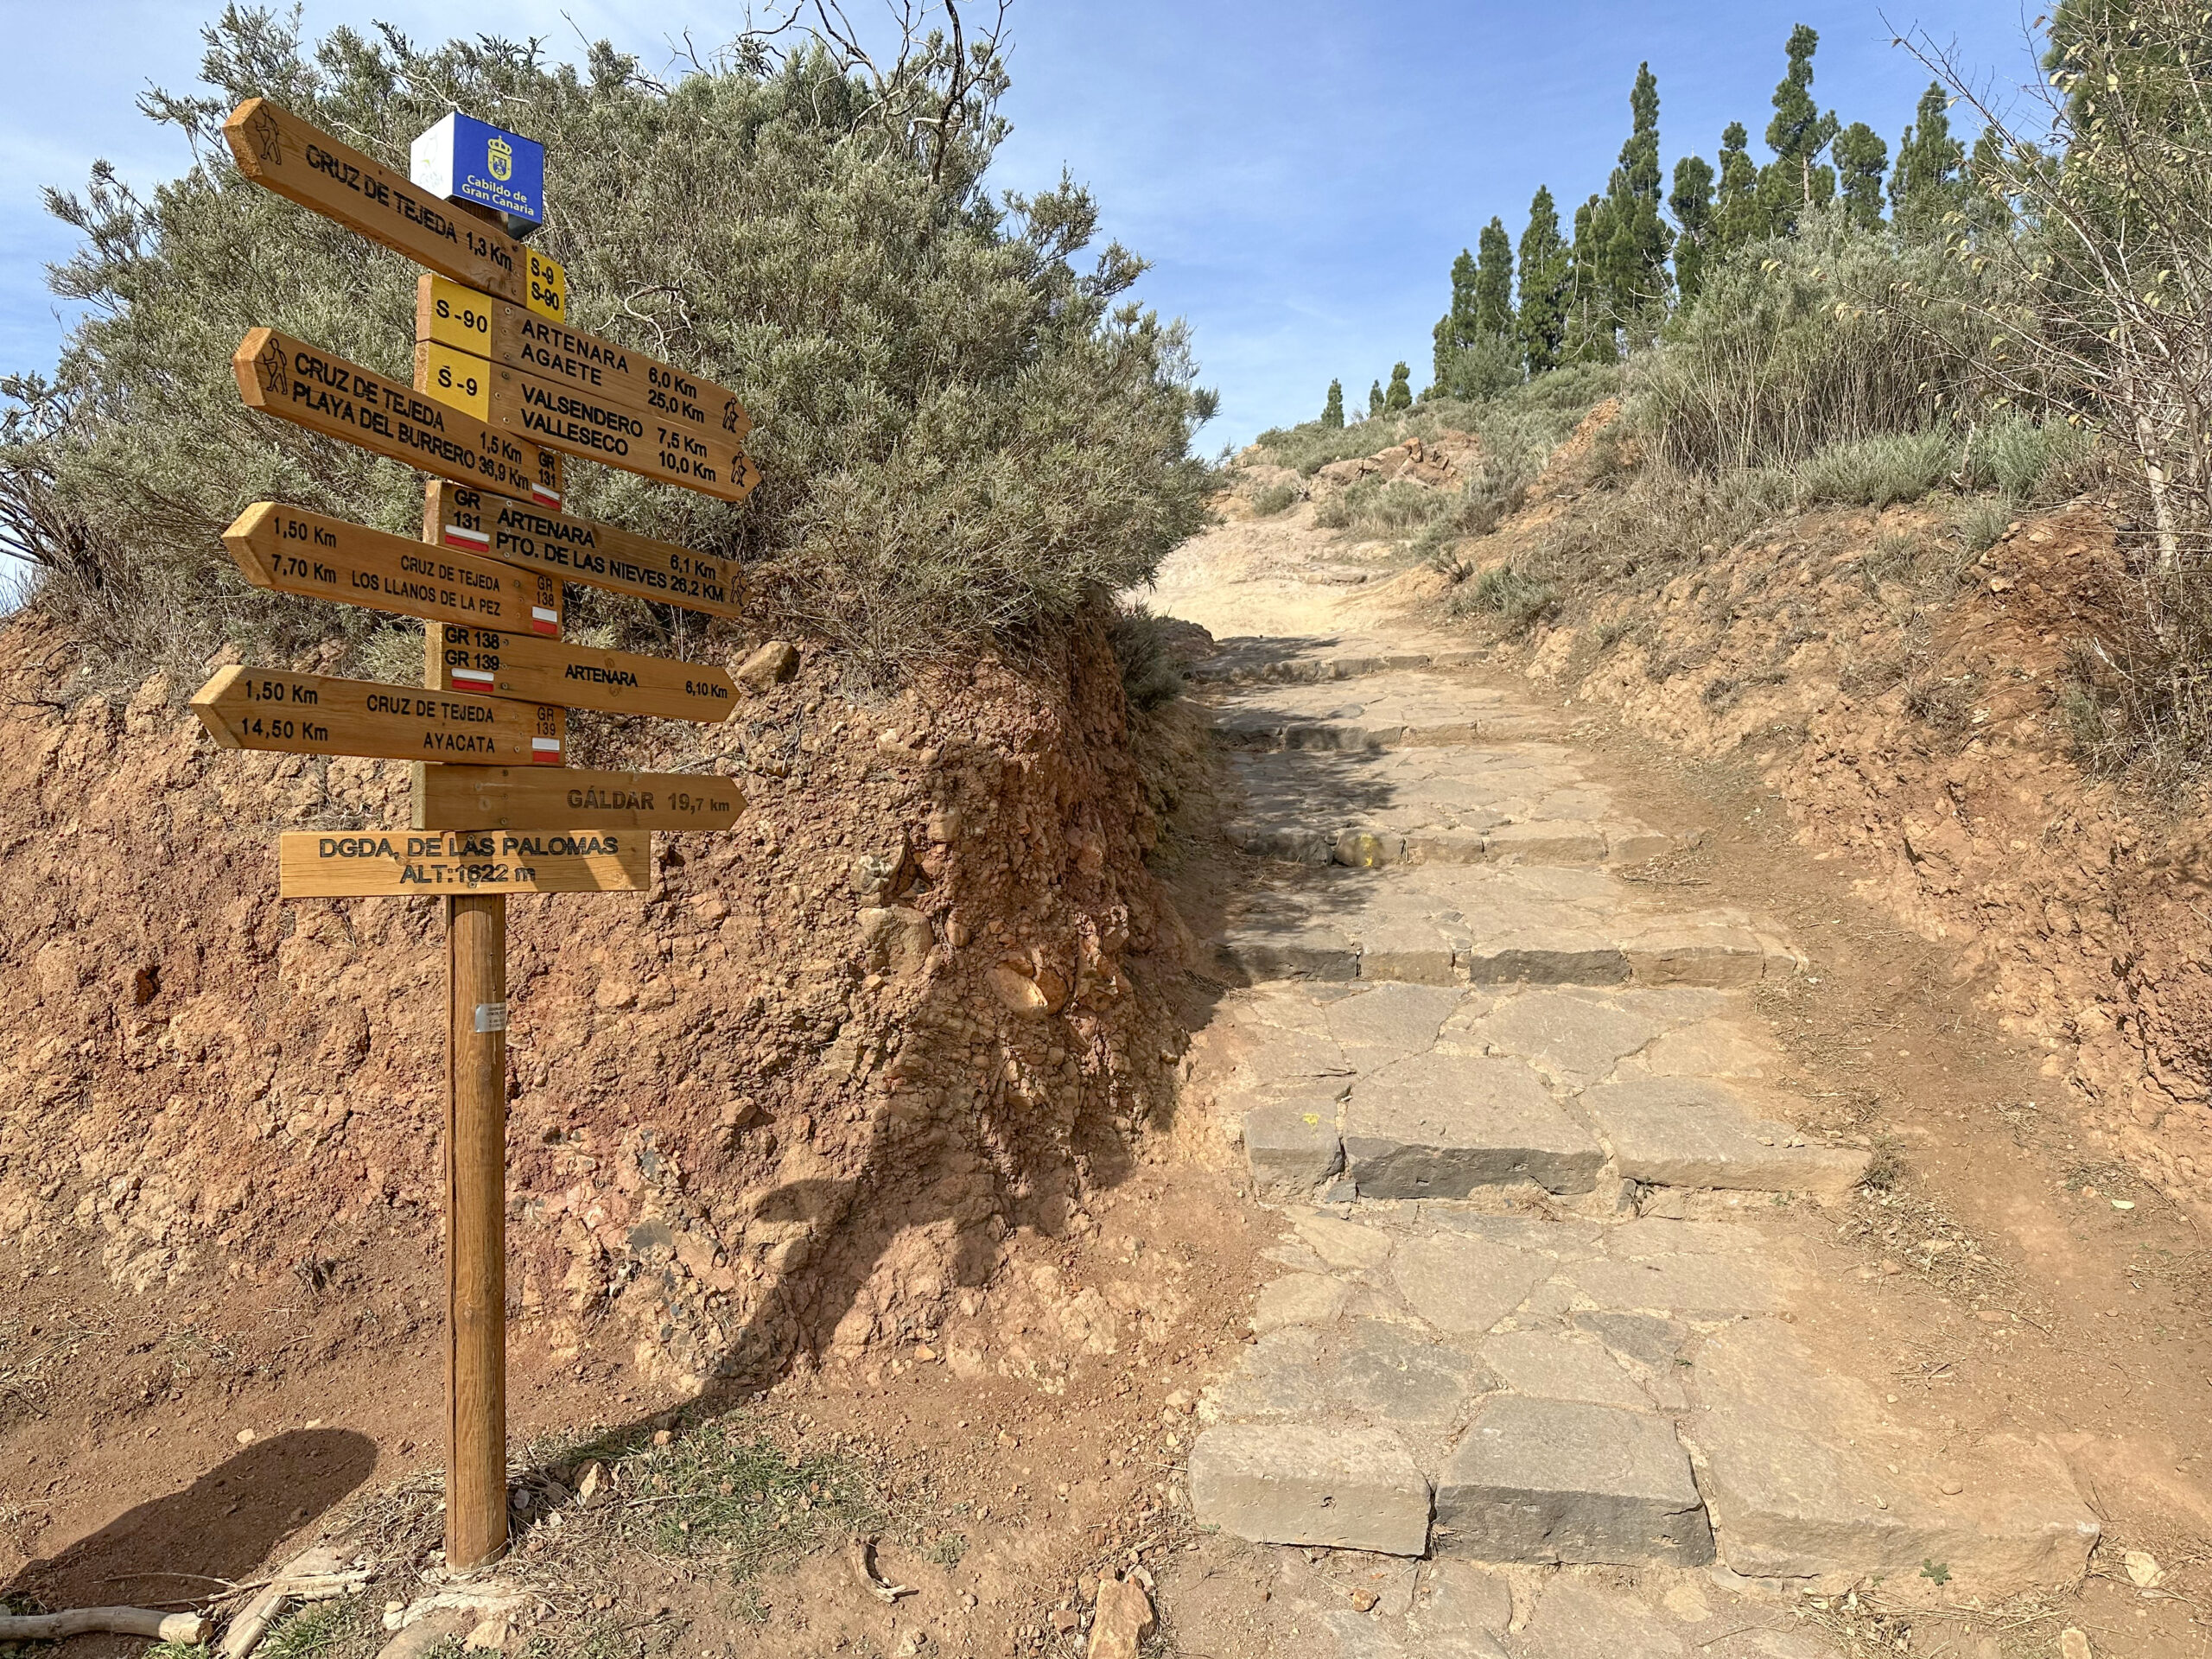
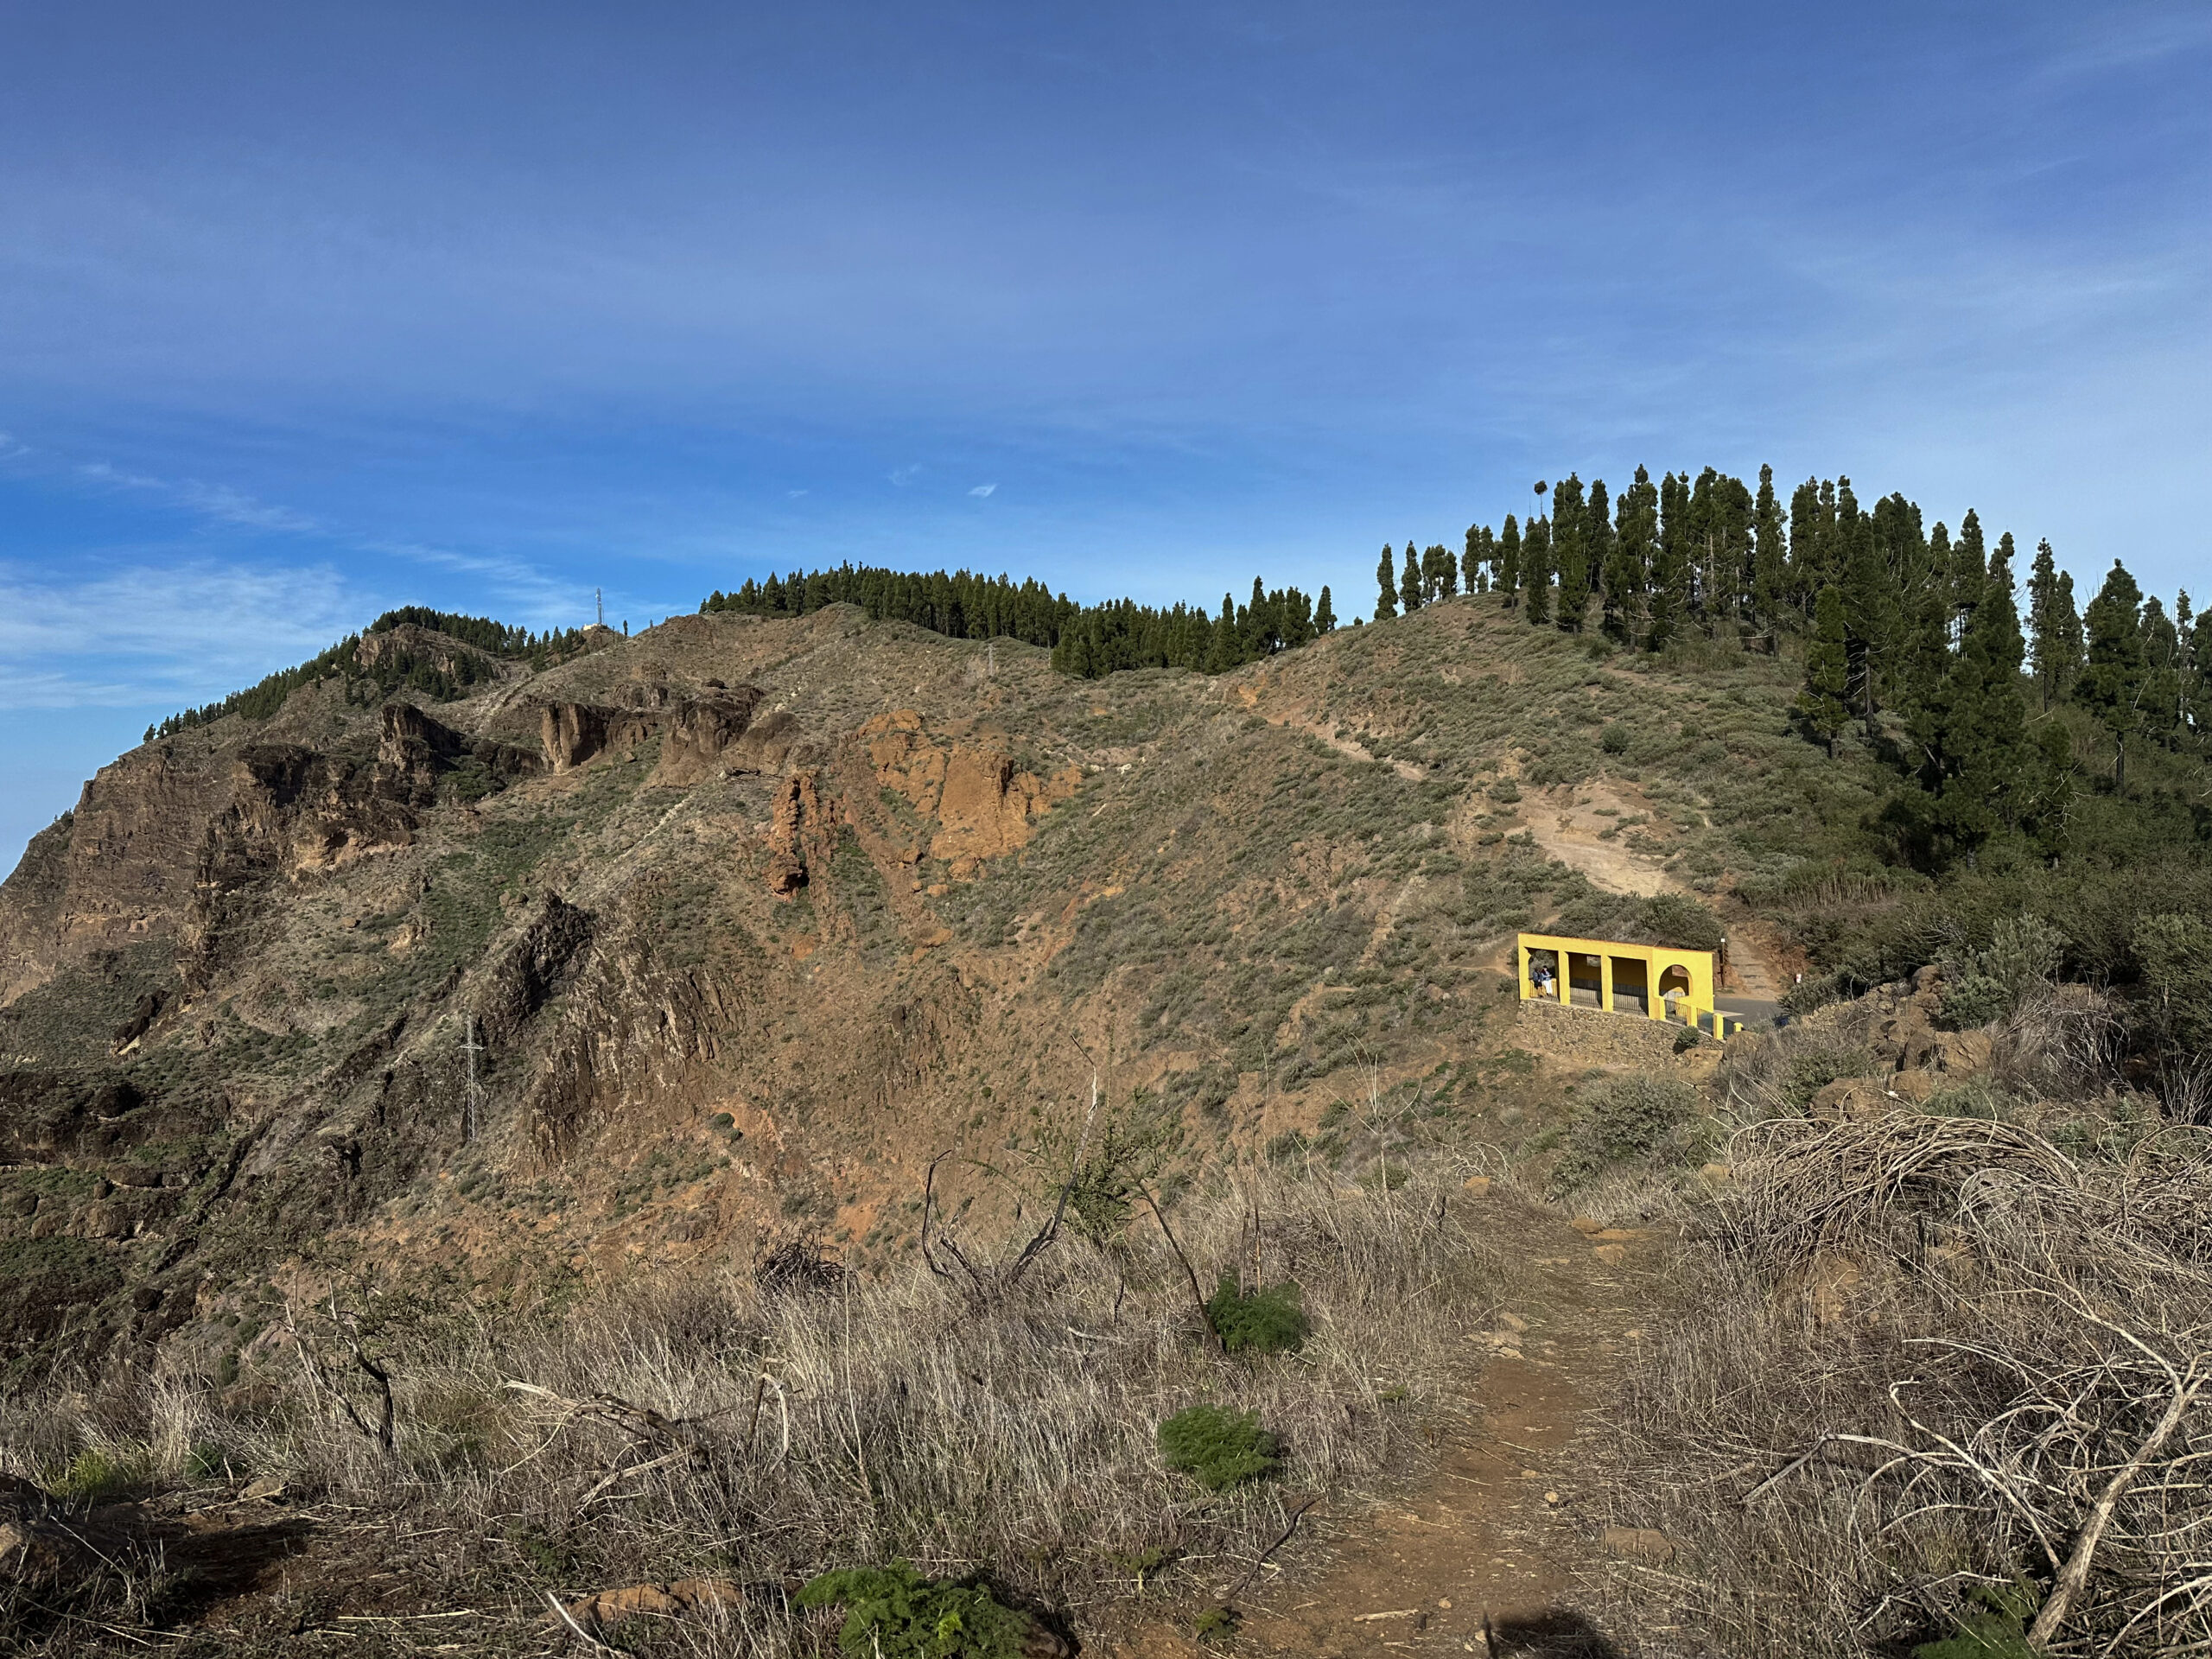
You walk through the forest for a short while and then descend along the ridge path over rocks and on stone paths to the Mirador Degollada de las Palomas viewpoint on the GC-150. There is a yellow building there and you also have an impressive view from here. It is definitely worth taking a short break. Walk a few metres to the right around the mirador and then along the GC-150.
Section 5: Mirador Degollada de las Palomas to Cruz de Tejeda
The trail then continues south along the mountainside. This stretch offers sweeping views of the valley with the village of Tejeda and its surrounding rock formations. The trail gently descends along the hillside before a steep final descent. You’ll rapidly lose elevation before reaching a small wooded area near the Parador Cruz de Tejeda.
Before the way back, which you can vary a little as described, you can take a break here. However, you may also want to take the bus back from here.
And finally
Whatever you decide, I hope you enjoyed this hike on the ridge path between Artenara and the Cruz de Tejeda. Enjoy the beautiful views. Have fun on all your hikes,
Dagmar from Siebeninseln