Today’s hike through dark tunnels and along the steep cliffs of the southwest coast of Tenerife really seems like a little adventure. A tour that is certainly not suitable for everyone. The walk through the Barranco de Santiago and the Barranco Seco is charming. But it is not only on the narrow cliff path that it offers some challenges. Those who are not absolutely free of vertigo and sure-footed should at least refrain from the last part of the hike. But nobody has to do without the tunnel adventure, because I will present good and safe alternative routes again today.
Tunnel Tour – Water from Galerias
Summary information about the article and a large selection of GPS hiking tracks are availableRegister now for my newsletter and get exclusive access to my collected GPS tracks as well as all short information about my articles.
The hike leads through two tunnels or Galerias. But what is a Galeria? As there is hardly any groundwater on Tenerife and no natural lakes, the water on the volcanic island is a precious good. It is urgently needed for the supply of the population and for agriculture. At the beginning of the 19th century, the so-called Galerias were built on Tenerife to extract water from the mountains. The first in 1840 near Orotava. Galerias are drinking water tunnels in which drinking water is collected and stored in tunnels.
The water obtained is distributed throughout the island in canals and pipes. In Tenerife, this means a system over 4000 kilometres long. There are more than 1000 drilling shafts, which are supposed to be over 1600 km long. And even today, a large part of the drinking water is still extracted from the galleries to supply the island. In addition, there are over 500 wells and water reservoirs as well as countless private weirs. The Galerias were driven horizontally into the mountain at places where water deposits were suspected to exist in order to reach the water chambers. These tunnels are still in private hands today.
Walking through dark tunnels
Some of the Galerias can still be visited today. Since it rains more in the north and therefore there is more water in the ground, many Galerias lie in this area. But if you want to walk through the tunnels on your own, you should be extremely careful. In the past it was often said that people got lost in the tunnels or were injured by falling rocks.
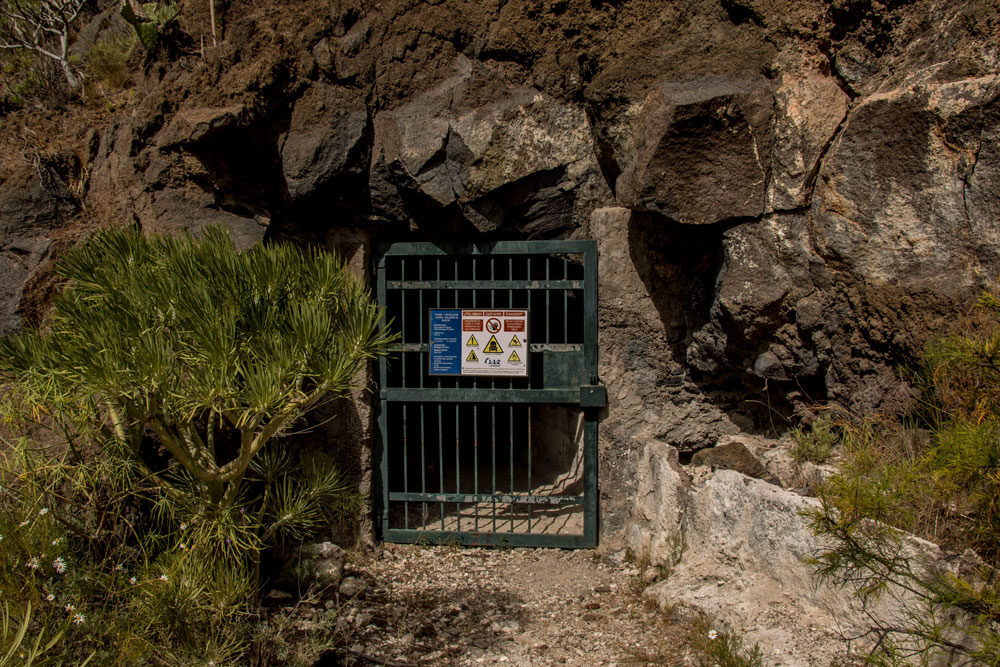
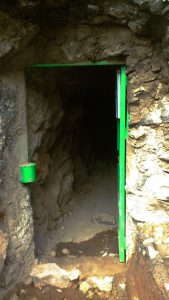
As a result, many tunnel entrances were provided with gates to prevent unauthorized persons from entering the tunnels. But not all tunnels are closed and some of them are still accessible. Nevertheless, great care must be taken. So if you want to cross a tunnel, I can only advise you to inform yourself very well beforehand whether the crossing is permitted and safe.
The hiking tour presented here was to be found from Tamaimo in old editions of the Rother hiking guide. Then it was cancelled. Now it is printed again in the last editions of the hiking guide. The circular hike leads through two tunnels. Both tunnels are about 1200 meters long. Since they have no side passages, it is not possible to get lost here. And both tunnels are well ventilated, so that at first sight no danger is recognizable. This could also be the reason why both tunnels are still open from both sides and are frequented daily by hikers.
General information
Starting point Los Gigantes
Arrival by car: park by the road in Los Gigantes or in the neighbouring district of Puerto de Santiago. If you can’t find a parking space at the side of the road, there is also a parking garage in Puerto de Santiago, Calle de Hondura or parking spaces with costs in the harbour of Los Gigantes.
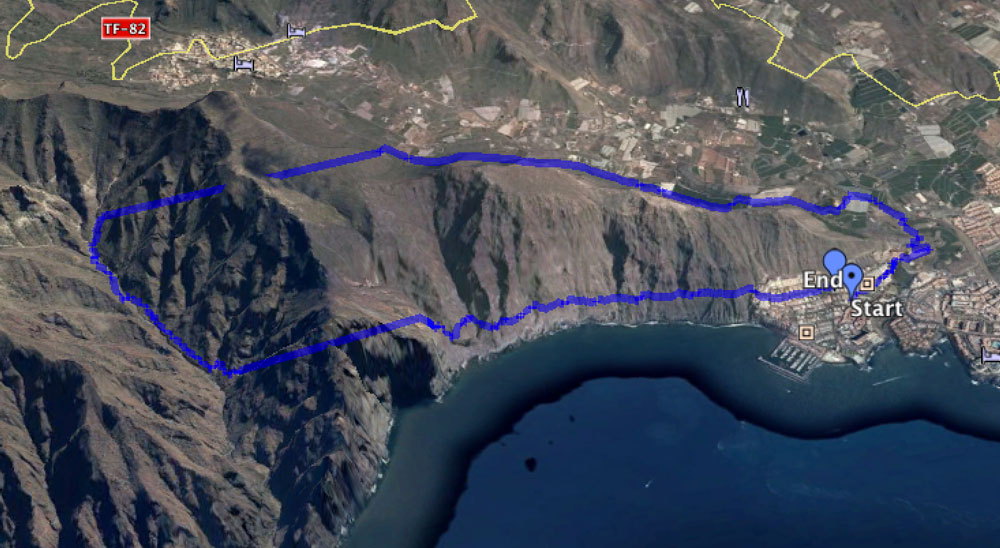
By bus: bus line Titsa 325 (Puerto de la Cruz-Los Gigantes), bus lines 462, 493, 494 (Guía de Isora – Los Gigantes), bus lines 473, 477 (Los Christianos-Los Gigantes); bus line 477 runs directly and is therefore faster – further information on Titsa Homepage.

Length, time, altitude, requirement, equipment
Route length: approx. 10 kilometres
Hiking time: approx. 4 hours
Difference in altitude: 480 metres in ascent and descent
Requirement: Absolute freedom from vertigo and sure-footedness are prerequisites for the section on the steep coast. This section should only be used in good weather (not in wet or stormy conditions). In addition, behind the first tunnel there are somewhat unpredictable “wild” paths for a short time, which are not easy to find. The rest of the tour is mostly comfortable on good to narrow hiking trails. In the tunnels it can be dusty – especially if many people have walked there that day.
Stop for refreshments
Restaurants and bars in Los Gigantes or with a small detour to Tamaimo.
Equipment:
A good torch or headlamp is essential for crossing the tunnel. Officially a head protection (helmet) has to be worn.

Warning: Officially the path along the steep coast is closed at the moment, because there have been more landslides and rockfalls. There is also a sign on the second tunnel off the cliffs that could be dangerous to enter.
Alternative hikes
The tour can also be started/finished in Tamaimo. It leads back through the tunnel and via Los Gigantes (see also hiking guide Rother).
Difference in altitude
650 in ascent and descent
Hiking time
5 hours
Starting point
Tamaimo main road or church
Directions by car
Main road TF 454, Carretera Puerto, sufficient parking available at the roadside in Tamaimo
By bus
Titsa Bus lines 325 (Puerto de la Cruz-Los Gigantes), 460 (Icod de los Vinos-Costa Adeje), 462 (Guía de Isora-Los Gigantes)
Those who like to cross a tunnel, but want to avoid the exposed steep coast, can follow the hike until after the first tunnel into the Barranco Seco. Afterwards there is the possibility to either
to go the same way back through the tunnel (back to Los Gigantes or shorter to Tamaimo).
Total walking time : approx. 4.5 hours (approx. 2.5 hours).
Total route length: approx. 12 kilometres (approx. 5 kilometres)
Difference in altitude: 480 metres in ascent and descent (approx. 150 metres)

Alternatively, there is a path up the Barranco Seco and over the saddle back to Tamaimo (in both directions as a circular walk possible).
Hiking time
approx. 4.5 hours
Route length
approx. 7.5 kilometers
Difference in altitude
approx. 480 metres in descent and ascent

Those who wish a double tunnel tour without steep cliffs can go back through another tunnel located above in the Barranco Seco. The times below are calculated from a hike from Los Gigantes. From Tamaimo they are correspondingly shorter.
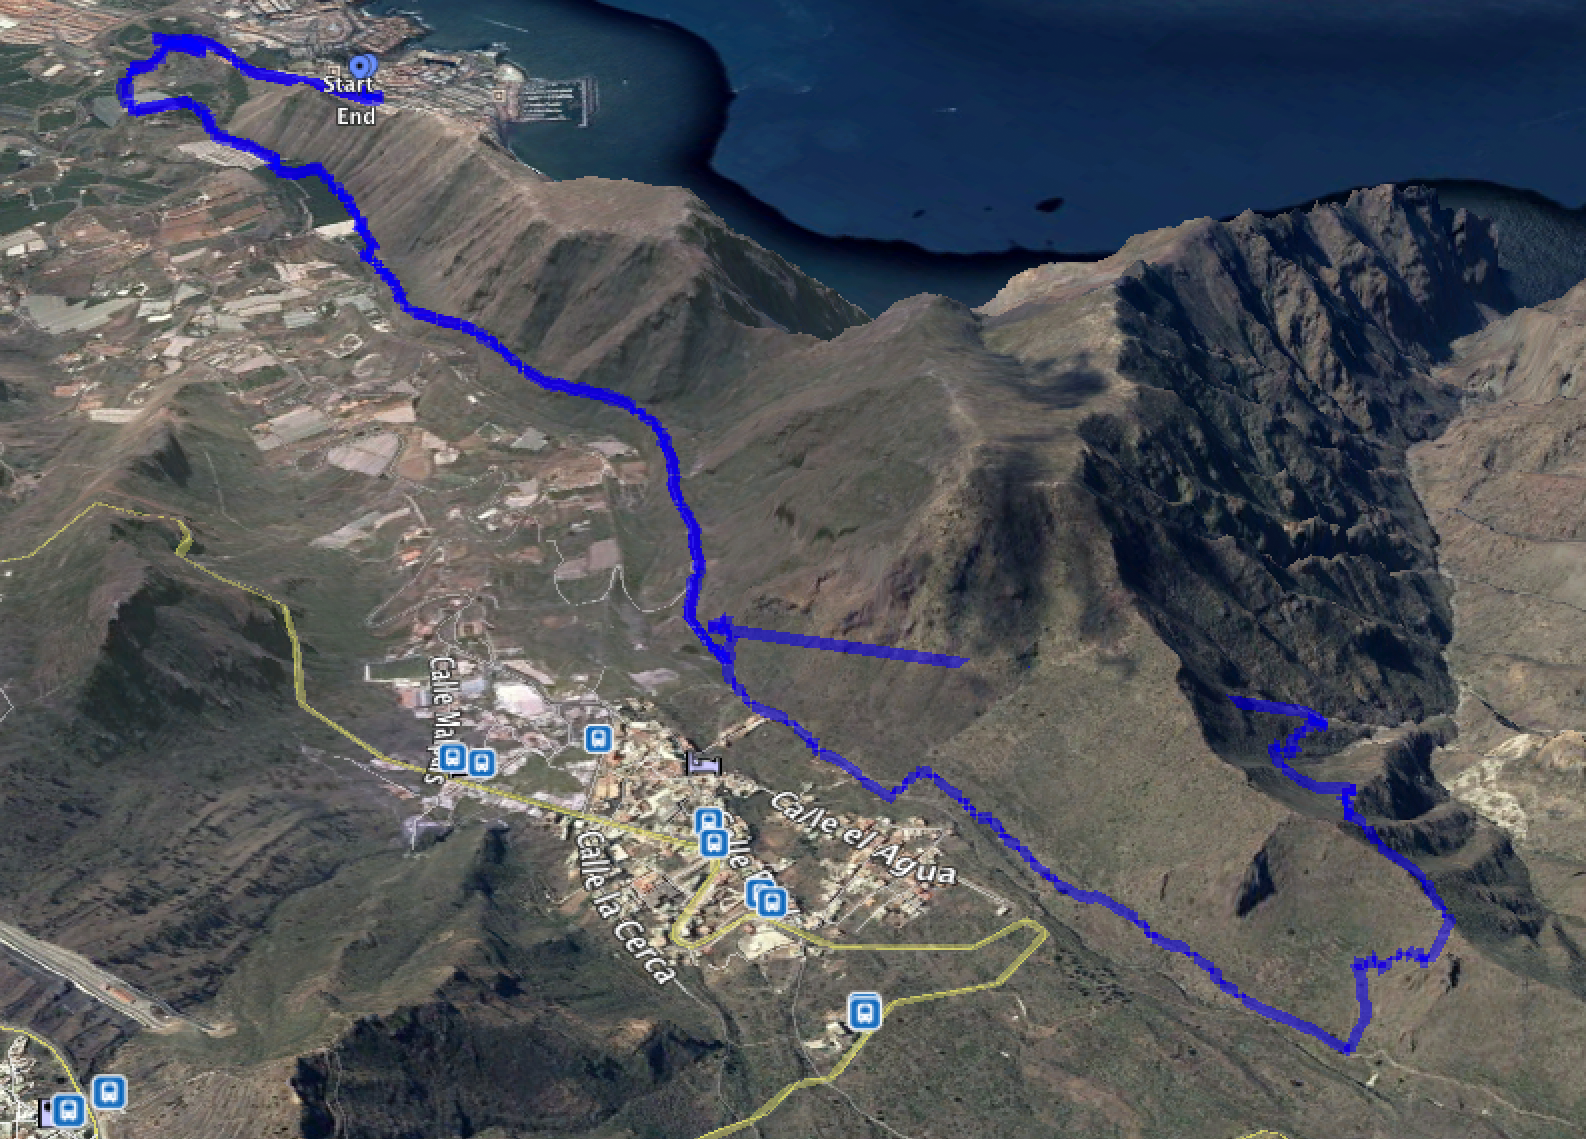
Hiking time: approx. 5.5 hours
Route length
approx. 14 kilometres
Difference in altitude
950
This hike can be combined with hikes through Barranco Seco and Barranco Natero.
Summary information about the article and a large selection of GPS hiking tracks are availableRegister now for my newsletter and get exclusive access to my collected GPS tracks as well as all short information about my articles.
Note about the tour times
Please take the times as a guide only. I have walked the course several times. Of course it depends on the weather conditions and the condition of the fellow hikers as well as on the daily form. Not least due to breaks, no tour time is exactly like the other. Therefore please consider all data and times really only as rough guideline values.
Preliminary remark Tunnel and steep cliff tour
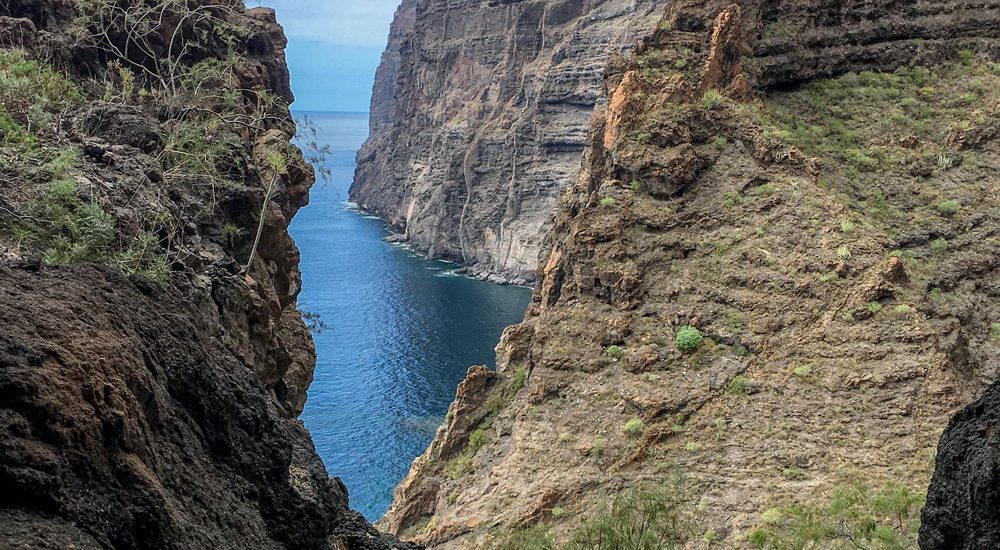
When this exciting beautiful hiking tour was still possible without restrictions, I made it very often and really very gladly. The hike offers a little thrill in dark tunnel vaults and fantastic views from the gigantic rocks of the Teno Mountains. You can see the Atlantic Ocean as far as the neighbouring islands and at the same time see the huge cliffs of the Acantilados of Los Gigantes from a completely new angle. The use of the tunnels not only makes the route unusual and adventurous, but also enables a kind of “shortcut” between the Barranco de Santiago and the Barranco Seco.
As far as I know, there are three walkable tunnels between the Barranco Seco and the Barranco de Santiago. The most frequently used tunnel is probably the tunnel below Tamaimo directly at the Camino Real TF-65 (approx. 480 metres above sea level). In the following, I will refer to it as tunnel 1. tunnel 2, I will refer to the tunnel that leads from Barranco Seco directly to the steep coastal path into the Acantilados (approx. 220 vertical meters). Tunnel 3 is a tunnel in the upper part of the Barranco Seco, which begins/ends below Tamaimo and a little above the Camino Real (580 vertical meters).
Hike Los Gigantes – Tunnel 1 – Tunnel 2 – Los Gigantes
Hiking route Los Gigantes – tunnel entrance 1
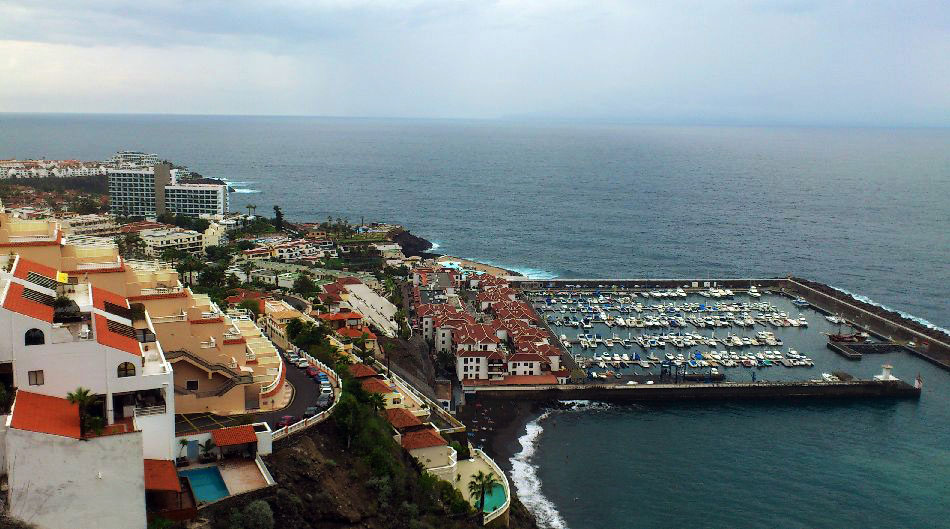
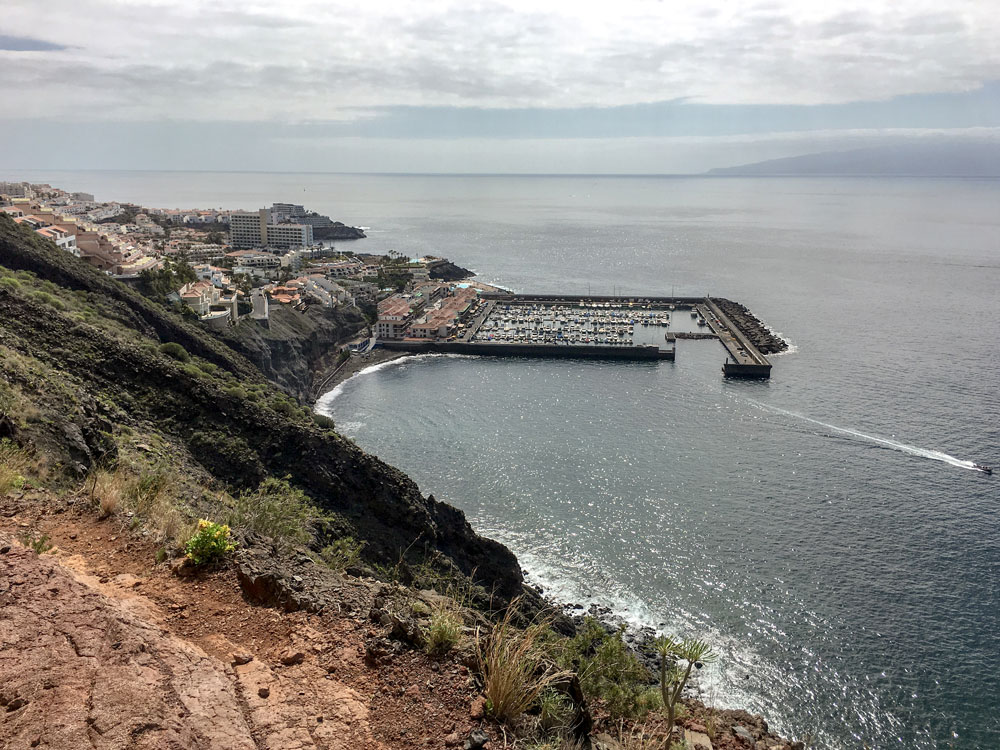
The hike starts at the bus stop or anywhere in Los Gigantes where you parked your car. There are three footpaths out of Los Gigantes. All you have to do is go uphill and out of town. In some places there are also signs for “Salida” (exit). All three footpaths (two on the road, one on a slope) lead to the main road, Carretera General Puerto de Santiago, TF 454, which you follow straight uphill through a long serpentine. Then you will pass the Mirador Archipenque. From there you have a magnificent view of the rocks and the whole cliffs of Los Gigantes.
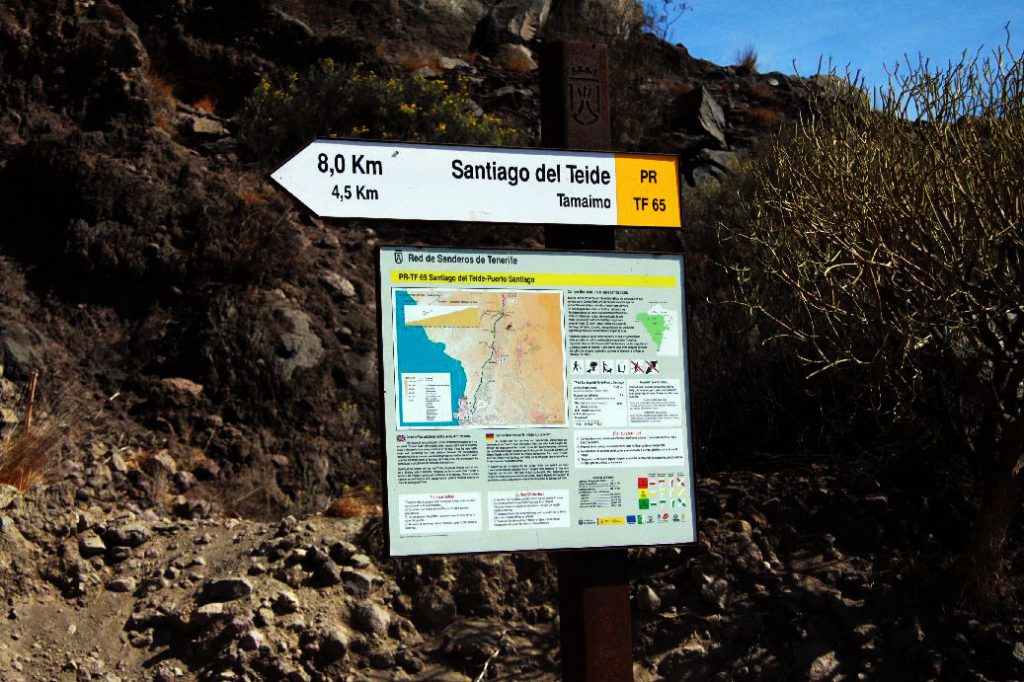
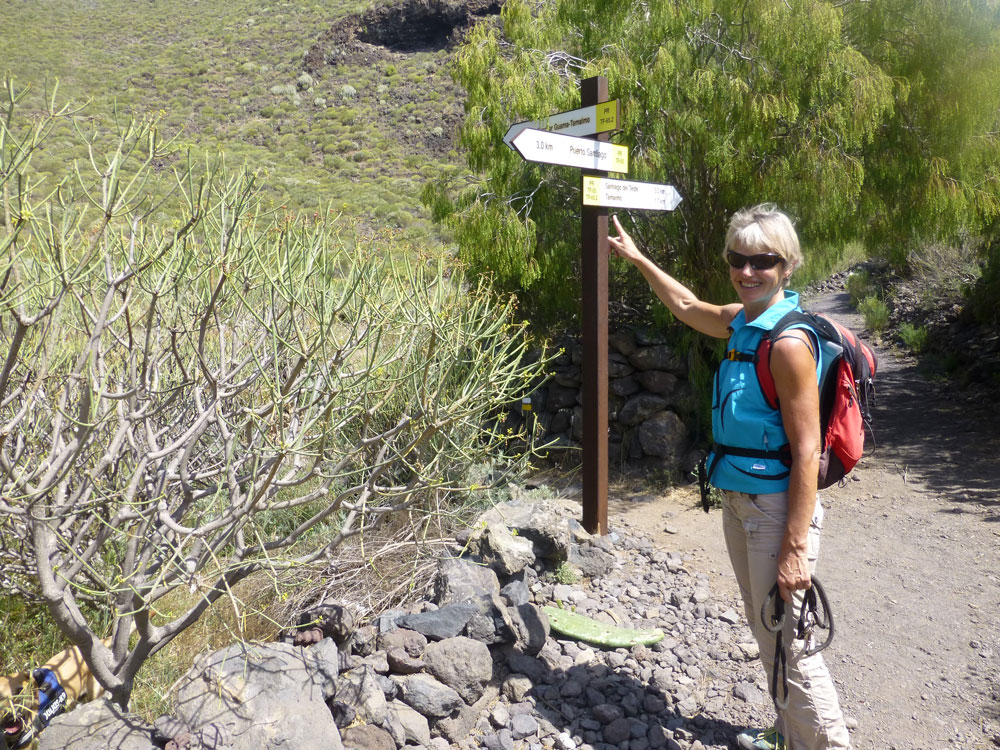
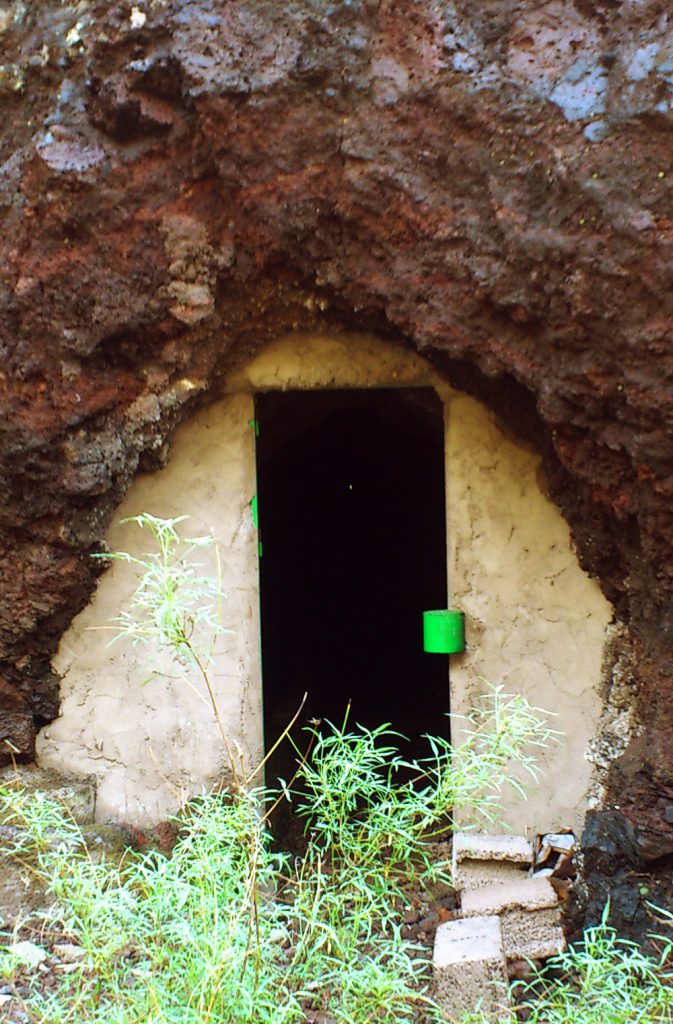
Continue along the road around a bend and after about 50 metres you will find on your left the PR-TF 65 (white-yellow with information board) to Santiago del Teide. A small asphalted road climbs steeply uphill and then a few minutes further past some houses and banana plantations. Then the actual hiking trail (Camino Real) begins. This leads through the banana plantations and past a finca and a water reservoir to Tamaimo. The way uphill is well signposted. After just under an hour and four kilometres of hiking, the TF-65.2 circular hiking trail branches off on the left. Continue straight ahead for a few hundred metres and you will see two white barracks on the left, to which a small path leads. Right between these two barracks is the first tunnel entrance. Your tunnel adventure can begin.
Tunnel 1 between the Barranco de Santiago and the Barranco Seco
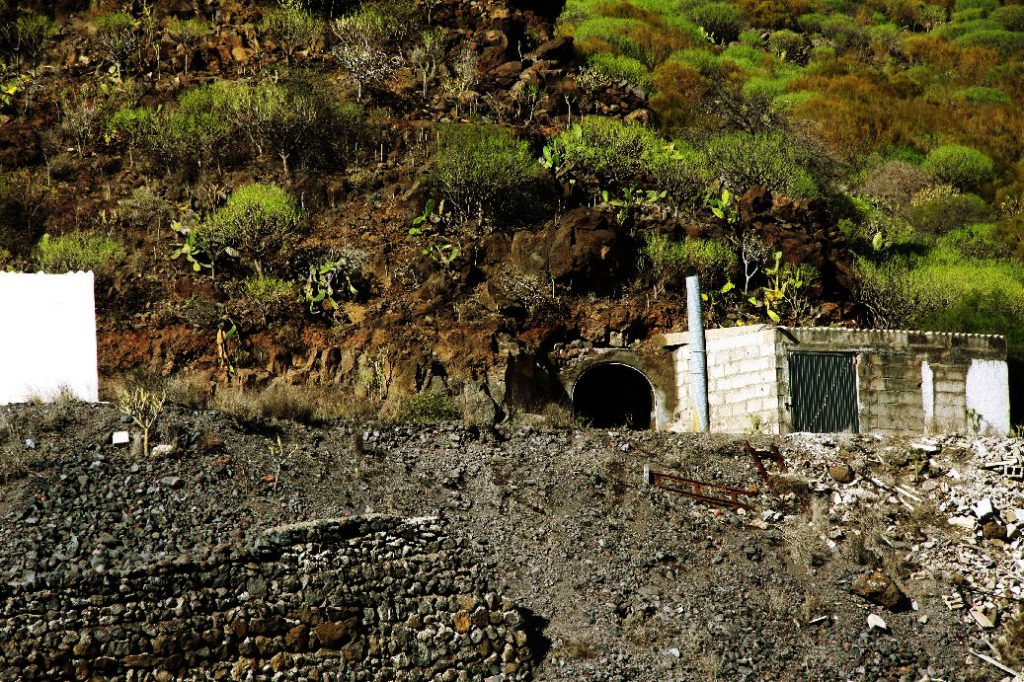
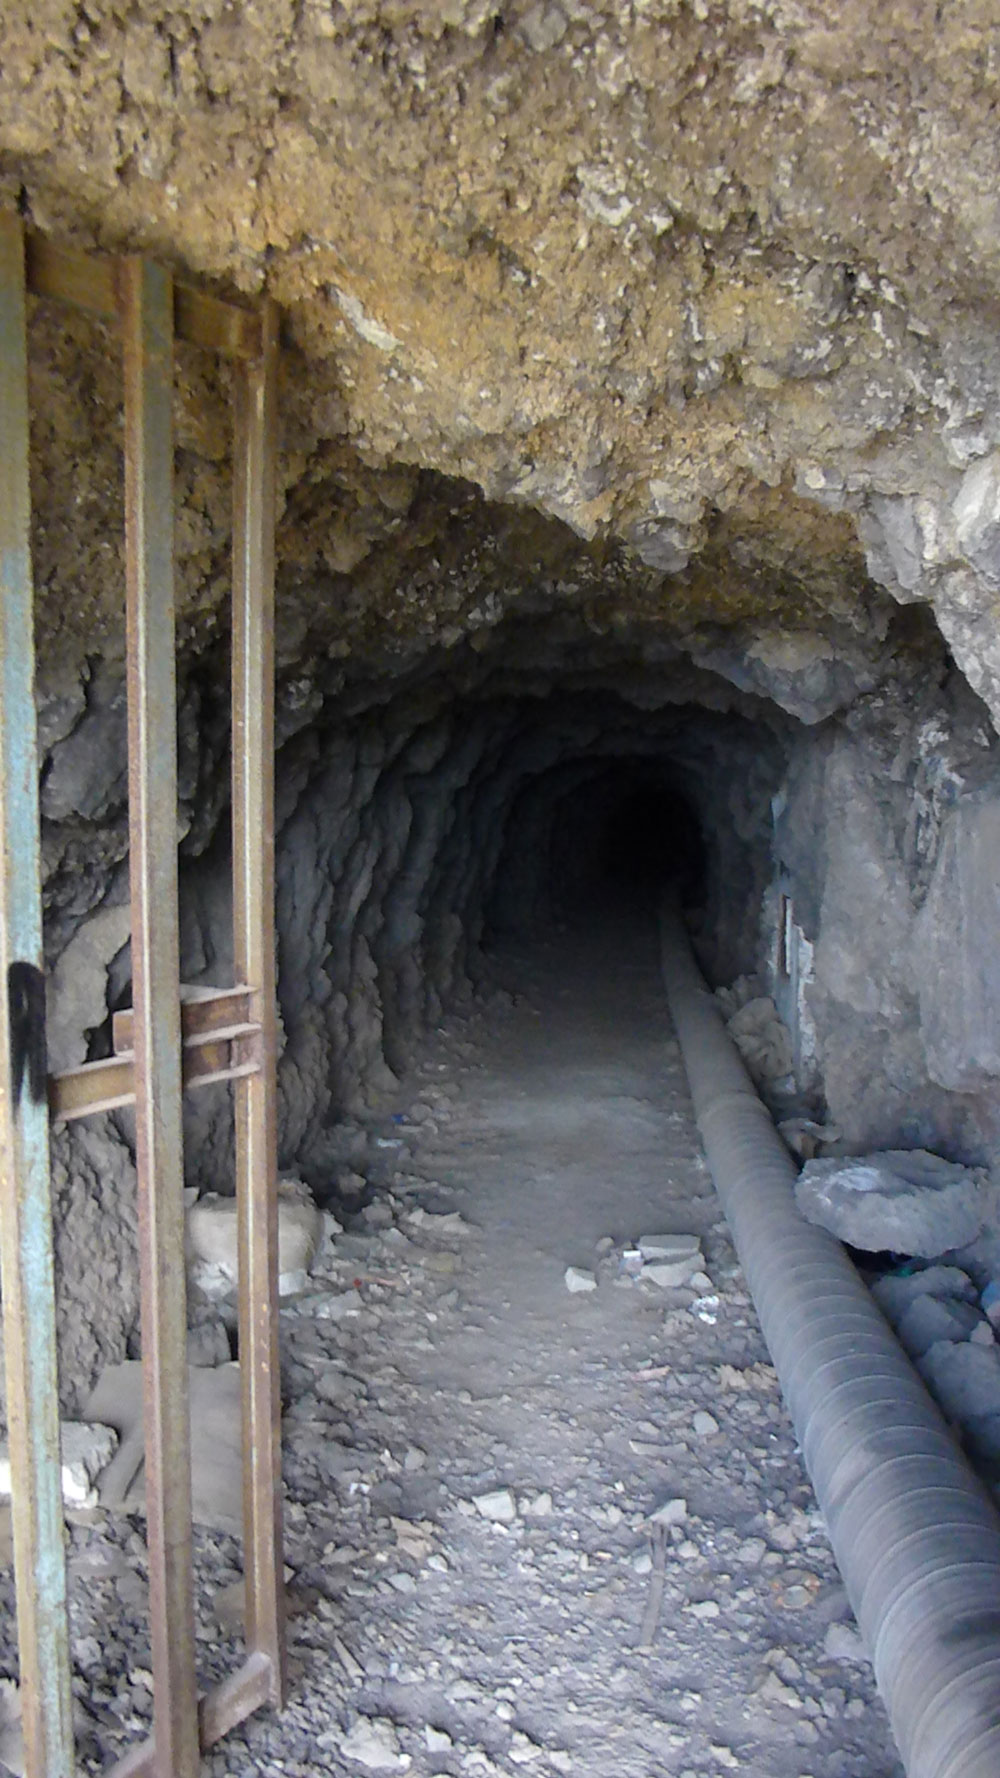
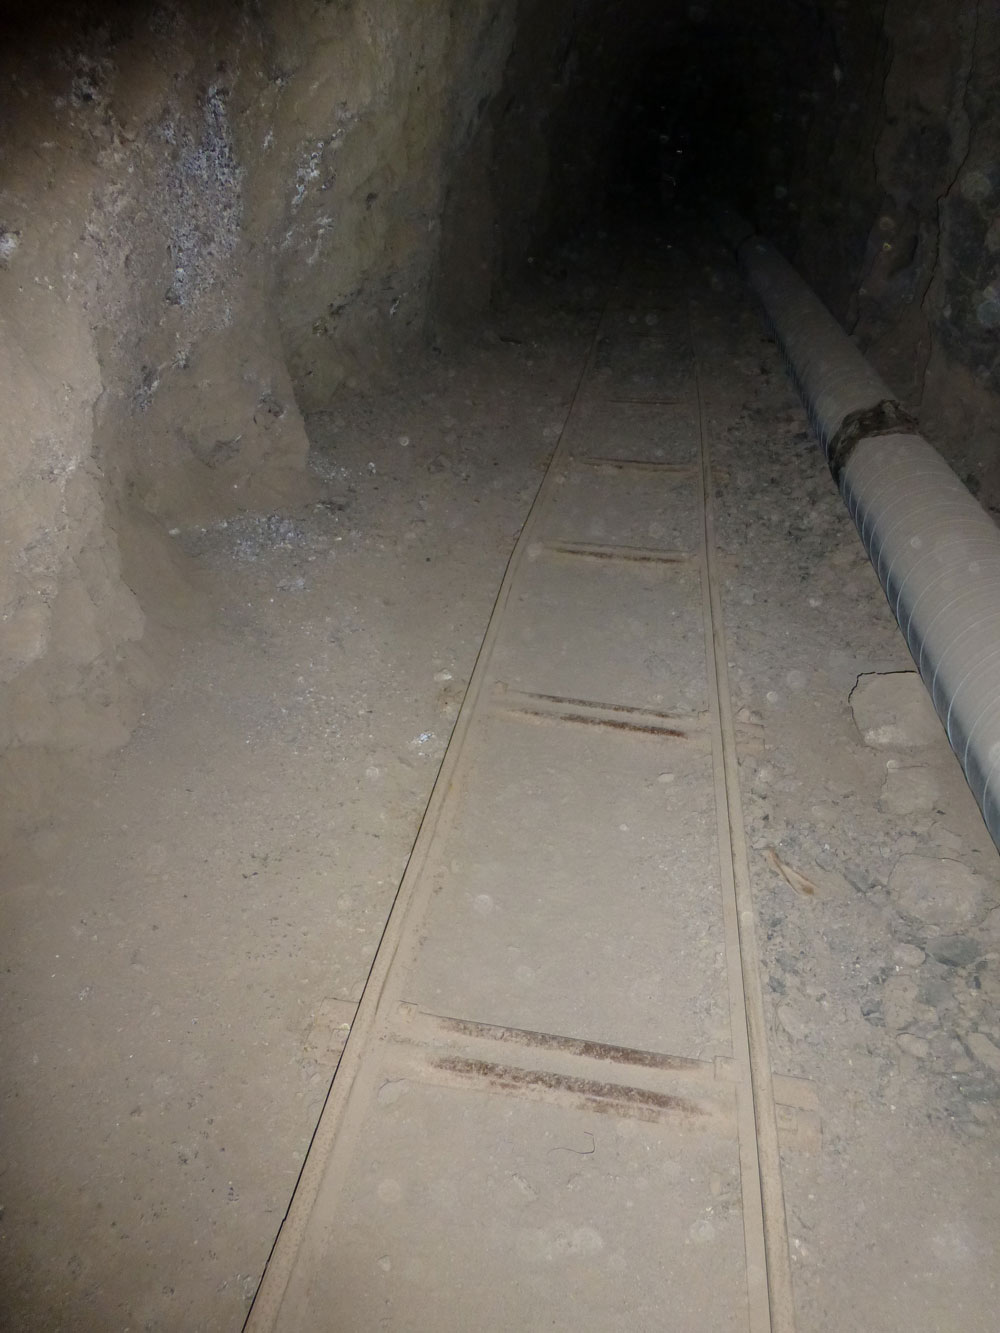
The first tunnel is approximately 1.2 kilometres long. Already after a few meters it is very dark in the dusty passage. Without a flashlight you won’t see much. The tunnel is more comfortable to walk through with a headlamp because it is better illuminated. The crossing takes about 15-20 minutes. On the ground, after some time, you will see old tracks that have been laid for wagons. In the past, these wagons were used to remove the rubble and rock material from the tunnel. Be careful not to bump your head against the sharp rock. In most places, however, this tunnel is high enough for a taller man to walk upright.
The way through the tunnel leads you slightly downwards. Quickly you can’t see the light from the entrance. After about half of the way the path descends a bit more. After three quarters of the way the tracks suddenly stop. This makes it a little easier to walk through the darkness on the smooth rock and ground. Only relatively late, when it goes up again from the tunnel depression, you will see a small point of daylight at the end of the tunnel. A wonderful feeling when it gets a little brighter with every step in the dark tunnel. And then everything goes really fast. Suddenly you are standing on a small viewing platform above the Barranco Seco again in daylight. In front of you lies the massive massif of the Risco Blanco and below you stretches the Barranco Seco.
Hiking route tunnel 1 to tunnel 2
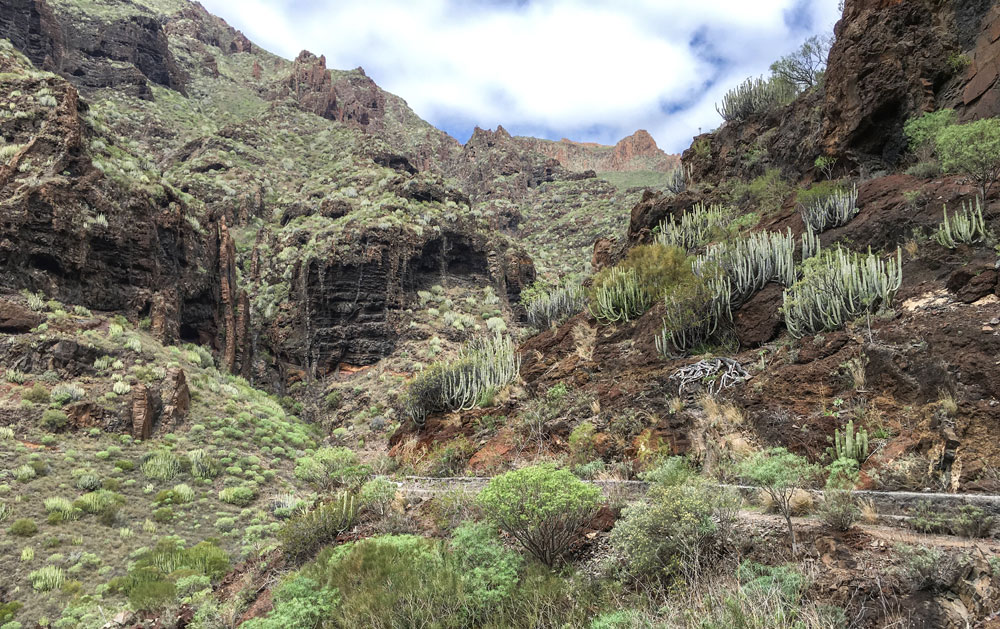
From the small platform, the further way cannot be found at first sight. But on closer inspection, you can see a small unclear path on the left side of the slope. On this partly overgrown path you go downhill for about 50 meters towards Barranco Grund. The little stone men serve as orientation. Towards the west and downhill there are some possibilities to get back to the main path that leads through the Barranco Seco. After a short descent you will come across the path that descends from El Molledo to the beach of Barranco Seco. The path takes you further down in wide serpentines.
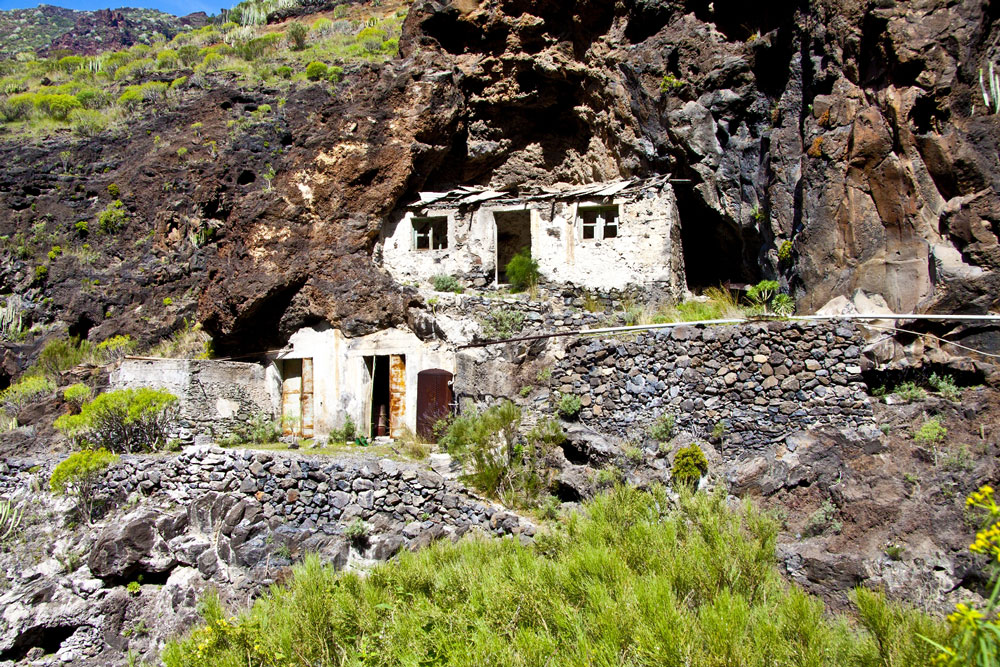
A short time later you will see the ruins and the water channel of the Galeria de la Junquera. In summer, the bottom of the Barranco sometimes contains only a small trickle, while in winter there may be slight difficulties crossing the Barranco due to the flowing water. You follow the path that leads you past the old ruins, downhill on the right side of the gorge.
After some time, the path crosses the bed of Barranco and goes back from the right to the left side of the gorge. After another 20 to 30 minutes you will come across a covered water channel on your left. Follow it to the left to the edge of the gorge. The main path continues down to the beach of Barranco on the right. You stay at the rock face and the water channel and reach the second tunnel after a short time.
Way from the second tunnel to the Barranco Gully

In contrast to the first tunnel, in this tunnel you see the light at the end of the tunnel from the beginning. But also here a torch is necessary. On the left side there is a water channel. After about 1200 meters and a quarter of an hour walk you come back to daylight. You are about 220 meters above the Atlantic in the steep wall of the Acantilados de los Gigantes.
Summary information about the article and a large selection of GPS hiking tracks are availableRegister now for my newsletter and get exclusive access to my collected GPS tracks as well as all short information about my articles.
This is where the most demanding part of this hike begins. When I stepped out of the tunnel on this side for the first time, I was completely overwhelmed by the great view that is offered up here from the rocks over the whole steep coast and the Atlantic. But as nice as the view is, it is important to pay attention here and concentrate on the way. A small path runs first immediately down to the right side of the valley. There you have to cross a small rock nose that is marked with stone men. The course of the path can often only be determined by these stone figures. It is not always easy to recognize.
Way from the Barranco Gully to Los Gigantes
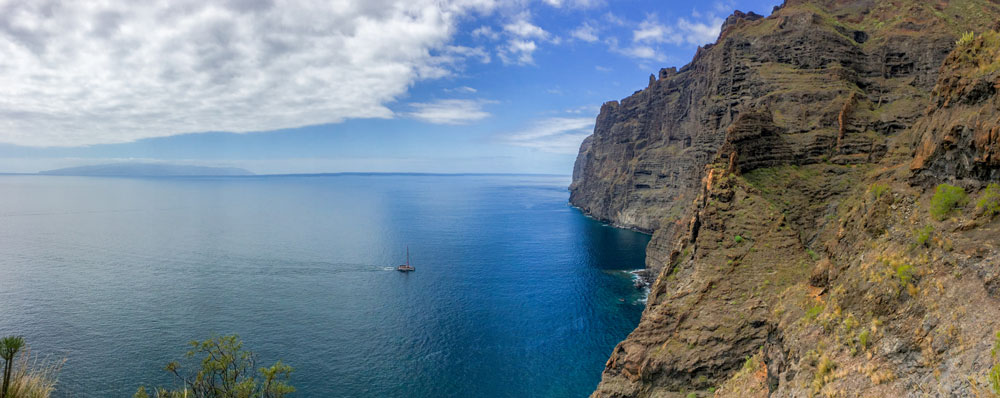
Through the channel of the Barranco the path leads you to the other side. From there the route follows a very narrow path, often washed out and buried by rocks and stones, along the steep slope. After some time you will see Los Gigantes in front of you. The path is exposed, so you need to be absolutely free of vertigo and sure-footed. From time to time it goes slightly uphill, but mostly downhill towards Los Gigantes. All the time there are great views of La Gomera, the Atlantic Ocean, the cliffs, Los Gigantes and a little later also Punta de Teno, the western lookout point of Tenerife.
When I walked there once after a stronger rain, actually small waterfalls flowed in the middle of the way. They didn’t make hiking over the smooth rocks any easier. In such cases, one has to be very careful not to slip. But after about an hour you will meet a wide path in Los Gigantes that will take you to Calle Tabaiba after about 100 meters. You are suddenly back from the wild nature and are again in the middle of Los Gigantes.
Alternative hiking routes
Tour start in Tamaimo via Los Gigantes
You can also start the same tour as described under 5. from Tamaimo. Since you start a little higher and have to hike up from Los Gigantes to Tamaimo at the end, the tour will take about 5 hours and will have an ascent and descent of over 650 meters. The route description is the same as Tour 5 from the entrance to the first tunnel. You get there from Tamaimo downhill on the hiking trail TF-65. This tour is also described in some editions of the Rother hiking guide.
Tunnel tours without steep coast
Now follow hikes through tunnels for those who like to cross a tunnel but want to avoid the exposed cliffs. You can follow the hike 5 until after the first tunnel into the Barranco Seco. The Barranco Seco is scenically beautiful and few hikers get lost here. Therefore you can take your time to walk along the main path and see the remains of the ruins of the Galeria de la Junquera. Back there are also some good hiking possibilities without cliffs.
Way back through the tunnel
The easiest way is the way back through the tunnel. You go back the same way you came. This way you will have another tunnel experience from the other side. Depending on whether you go back to Los Gigantes or finish the tour in Tamaimo, you will need more or less time. The approximate details are listed above under point 3. Information.
Hiking trail through the Barranco Seco
With this variant you follow tour 5 through the tunnel and into the Barranco Seco. However, you don’t go back through the tunnel, but follow the main path upwards through the Barranco. The route then climbs steeply up the mountain ridge in wide serpentines. Now you practically go over the ridge under which you came on the way through the tunnel. From the ridge you don’t go further up towards El Molledo, but keep going down towards Tamaimo. In wide serpentines you will be led downhill to the TF-65, the Camino Real. This will take you back downhill to Tamaimo after a short time.
This variant is a very charming round tour. In this way you take the little adventure tunnel with you and hike over a mountain ridge with a fantastic view. Since it is a circular hiking trail, you can walk in both directions. So you can also hike up from Tamaimo, descend into Barranco Seco and then return through the tunnel.
Double tunnel tour without steep cliffs
And for those who want a double tunnel tour, but want to avoid the steep cliffs. Yes, there is a possibility for that too. In addition to the two tunnels mentioned so far, there is a third tunnel in the Barranco Seco. If you want to go this way, follow hike 5 to the Barranco Grund. Then you go back first like tour 6.2.2 on the hiking trail towards Berggrat/Tamaimo. At a conspicuous spot with white lime deposits you have to leave the path to the right and climb up the slope a little.
Up there you will find the entrance to the third tunnel. This leads you back to the other side into the Barranco de Santiago. The tunnel ends over a slope and over the Camino Real TF-65. From there it is only a short way back to Tamaimo. I would like to point out, however, that this tunnel is closed today by a gate on the side to the Barranco de Santiago. Nevertheless, hikers seem to use it, as the gate allows a passage at one point.
Hiking with dog
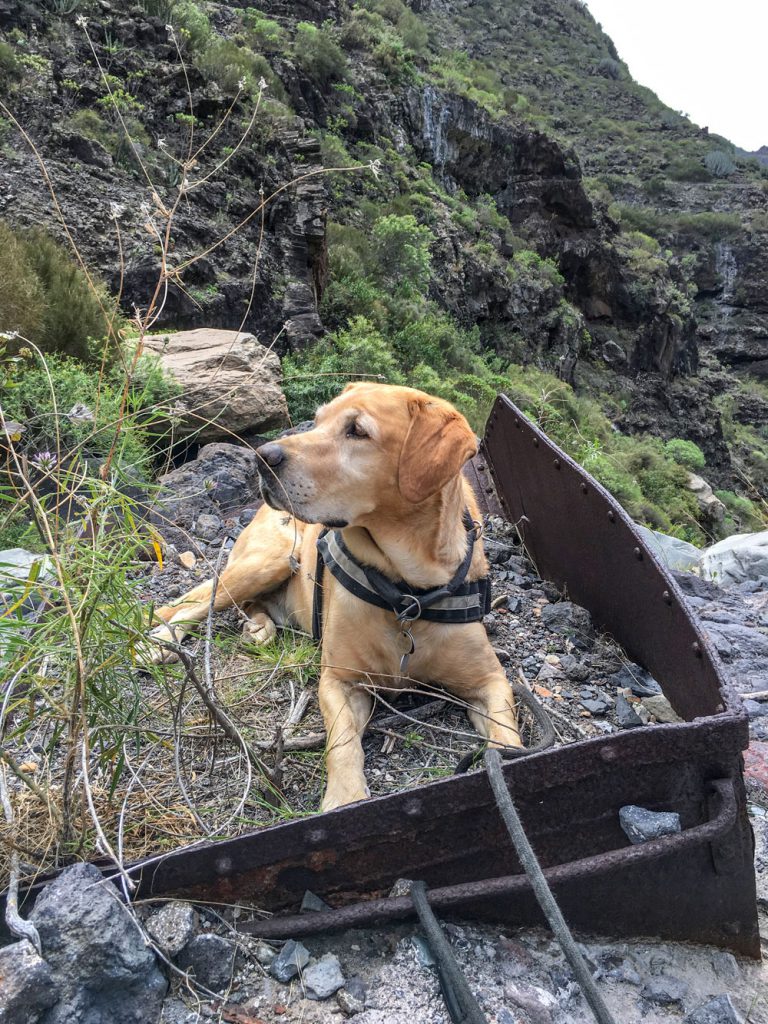
Since I am always on the road with my dog, I would like to give some tips for other dog owners at this point for this tour. My dog often did these tours with me. It is clear that the dog must be in good condition and not be afraid in the tunnels. On the steep cliffs and on the way out of the first tunnel he must have some climbing skills.
When the dry season is not exactly dry, there is always enough water in the Barranco or the watercourses in the Barranco Seco despite the name. There is also an open water channel in the second tunnel from which water can be drawn. Thus the water supply of your dog is secured on this tour.
Finally
I would be happy if you enjoyed my hiking tours through the dark tunnels around the Barranco Seco. Write me about your experiences. But for now I wish you exciting hikes and take good care of youself,
Dagmar von SiebenInseln
Summary information about the article and a large selection of GPS hiking tracks are availableRegister now for my newsletter and get exclusive access to my collected GPS tracks as well as all short information about my articles.
Hi, your articles are excellent, very well written and very descriptive. I have hiked to El agujero(bujero) 4 times which is mostly on the trails you describe. I am coming to Tenerife again in Sept. 2023 and my daughter and son in law are meeting us. I really hope to do some of the tunnel hikes with them that you describe. Thanks for the work you put in to these hiking articles.
Glad to here. Please look here – red heading – for actual news about closures of tunnels: https://siebeninseln.de/en/up-to-date/tunnel-closure-2/
Hi. We were there 10.12.2023. The Cliff Tunnel and the first Tamaimo Tunnel are open. The second Tamaimo tunnel is closed. There’s a new, very solid door at the entrance. Thanks for the information here!
Thanks for info – if you read the red lines in the beginning of this article – then you could see so 🙂