Refugio de Chasogo – a locked mountain hut
Refugio de Chasogo is a shelter located below Montaña de Chasogo. It’s a partial destination of this extensive circular hike starting in Chirche. I’ll present two different routes to hike from Chirche up towards Cañadas and hence to Refugio de Chasogo. Both routes include a visit to Galería Hoyo de la Leña, while the second option also allows you to visit Galería Machado 1. Upon reaching Refugio de Chasogo, you’ll likely find the hut locked.
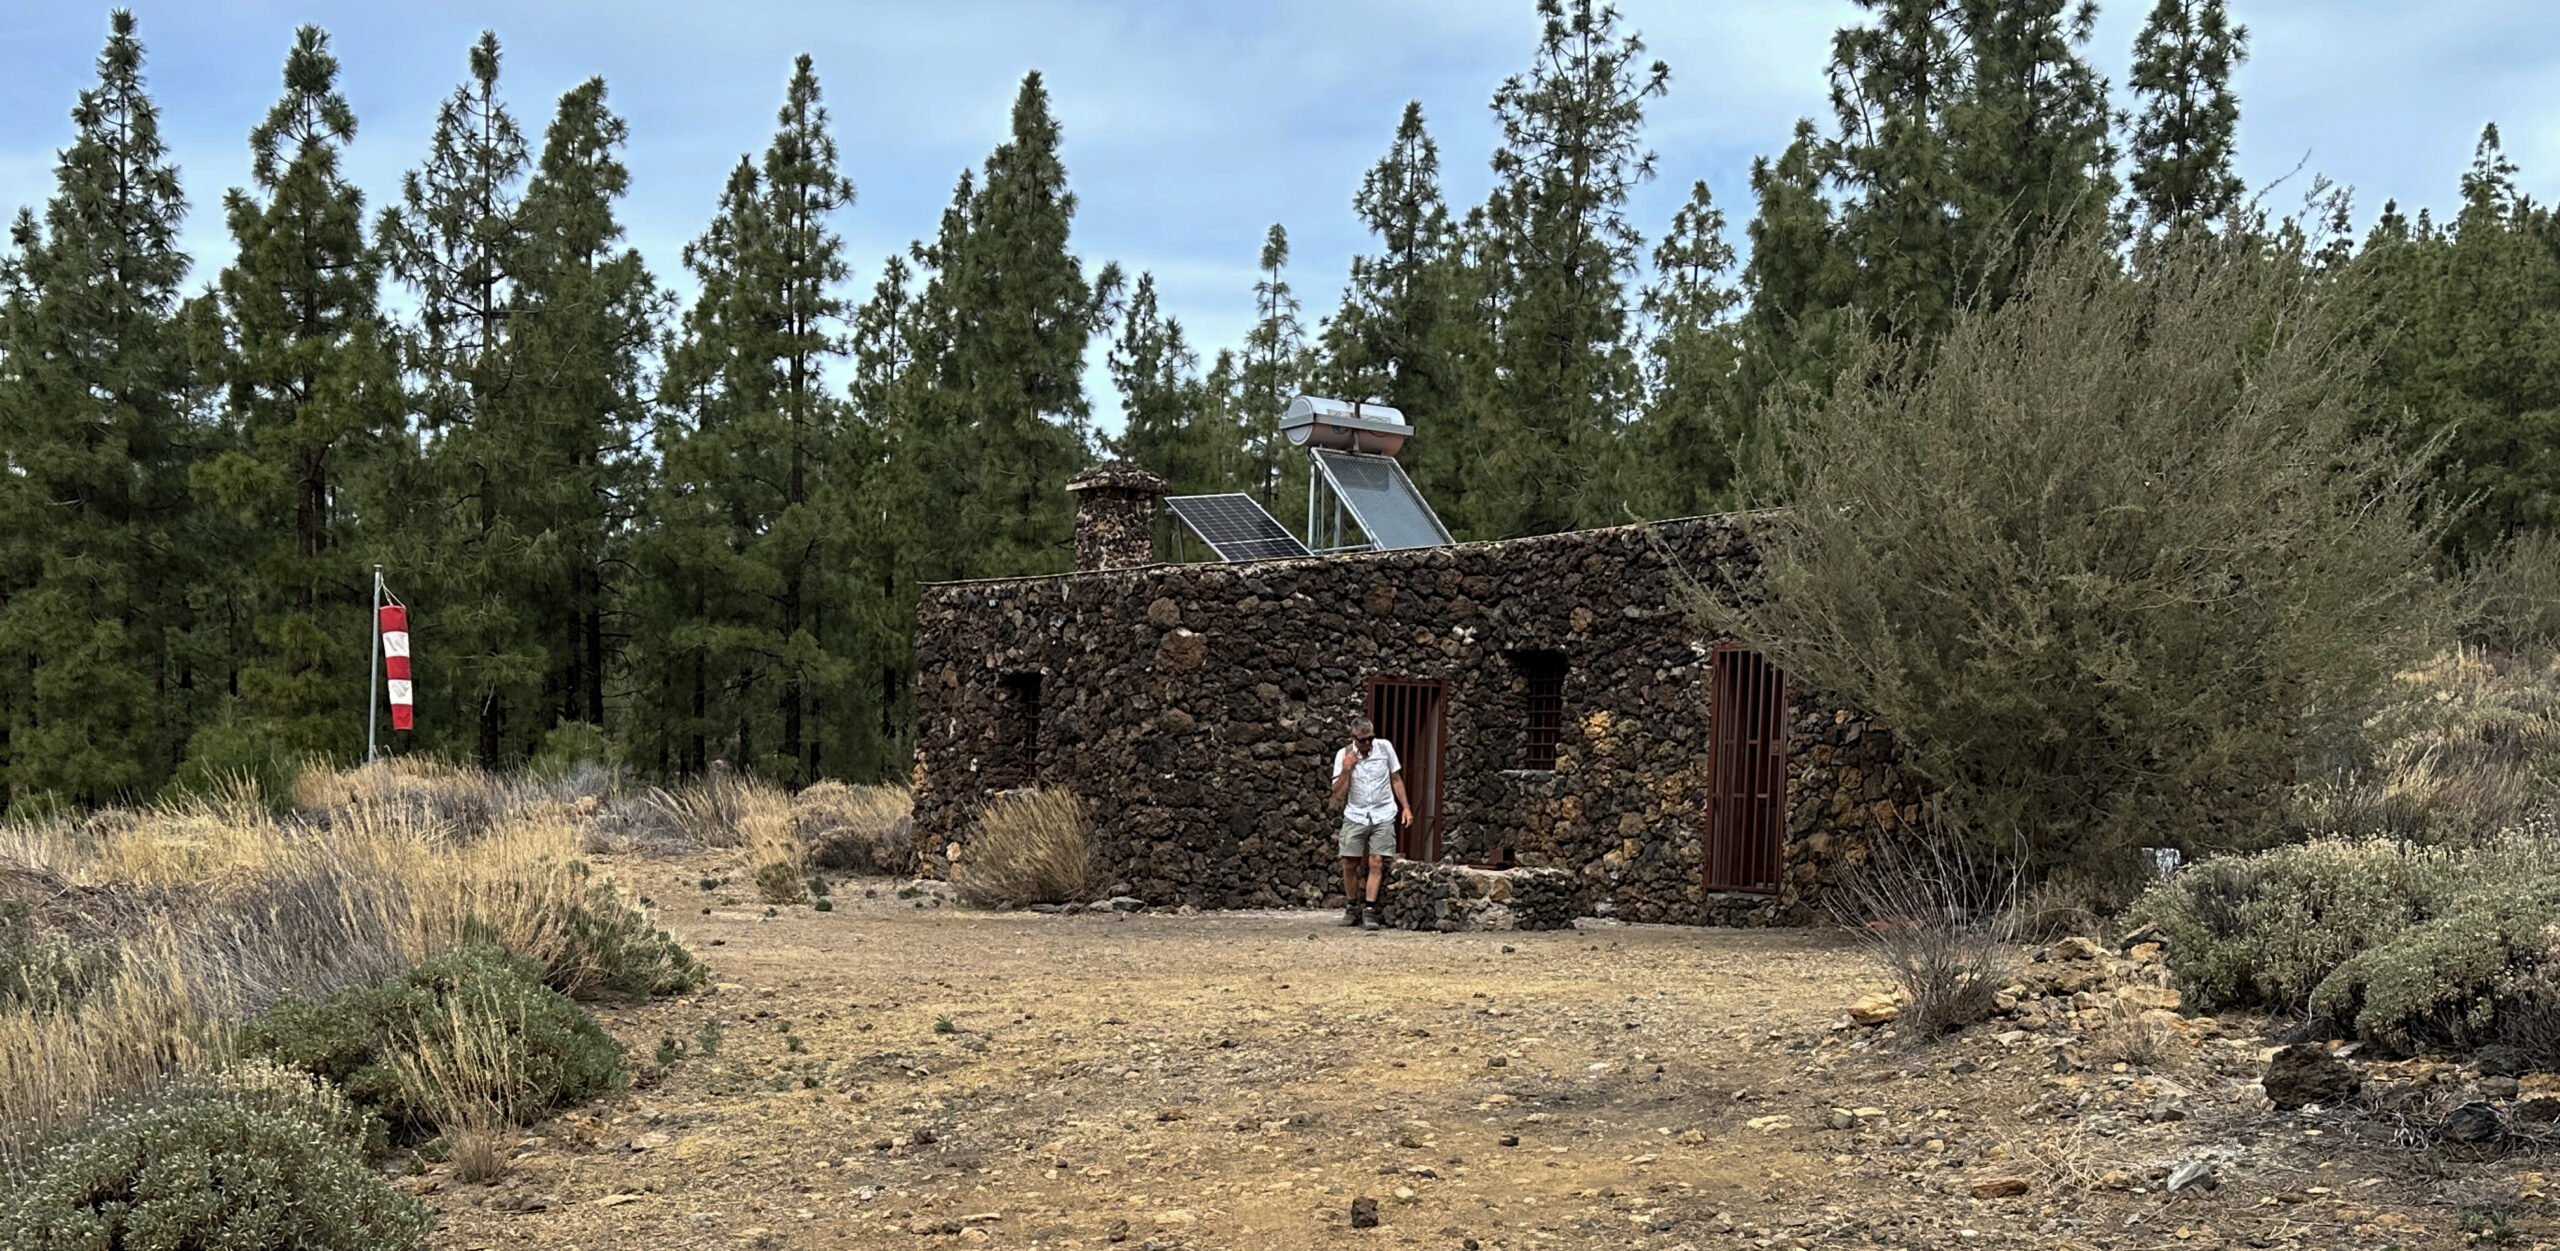
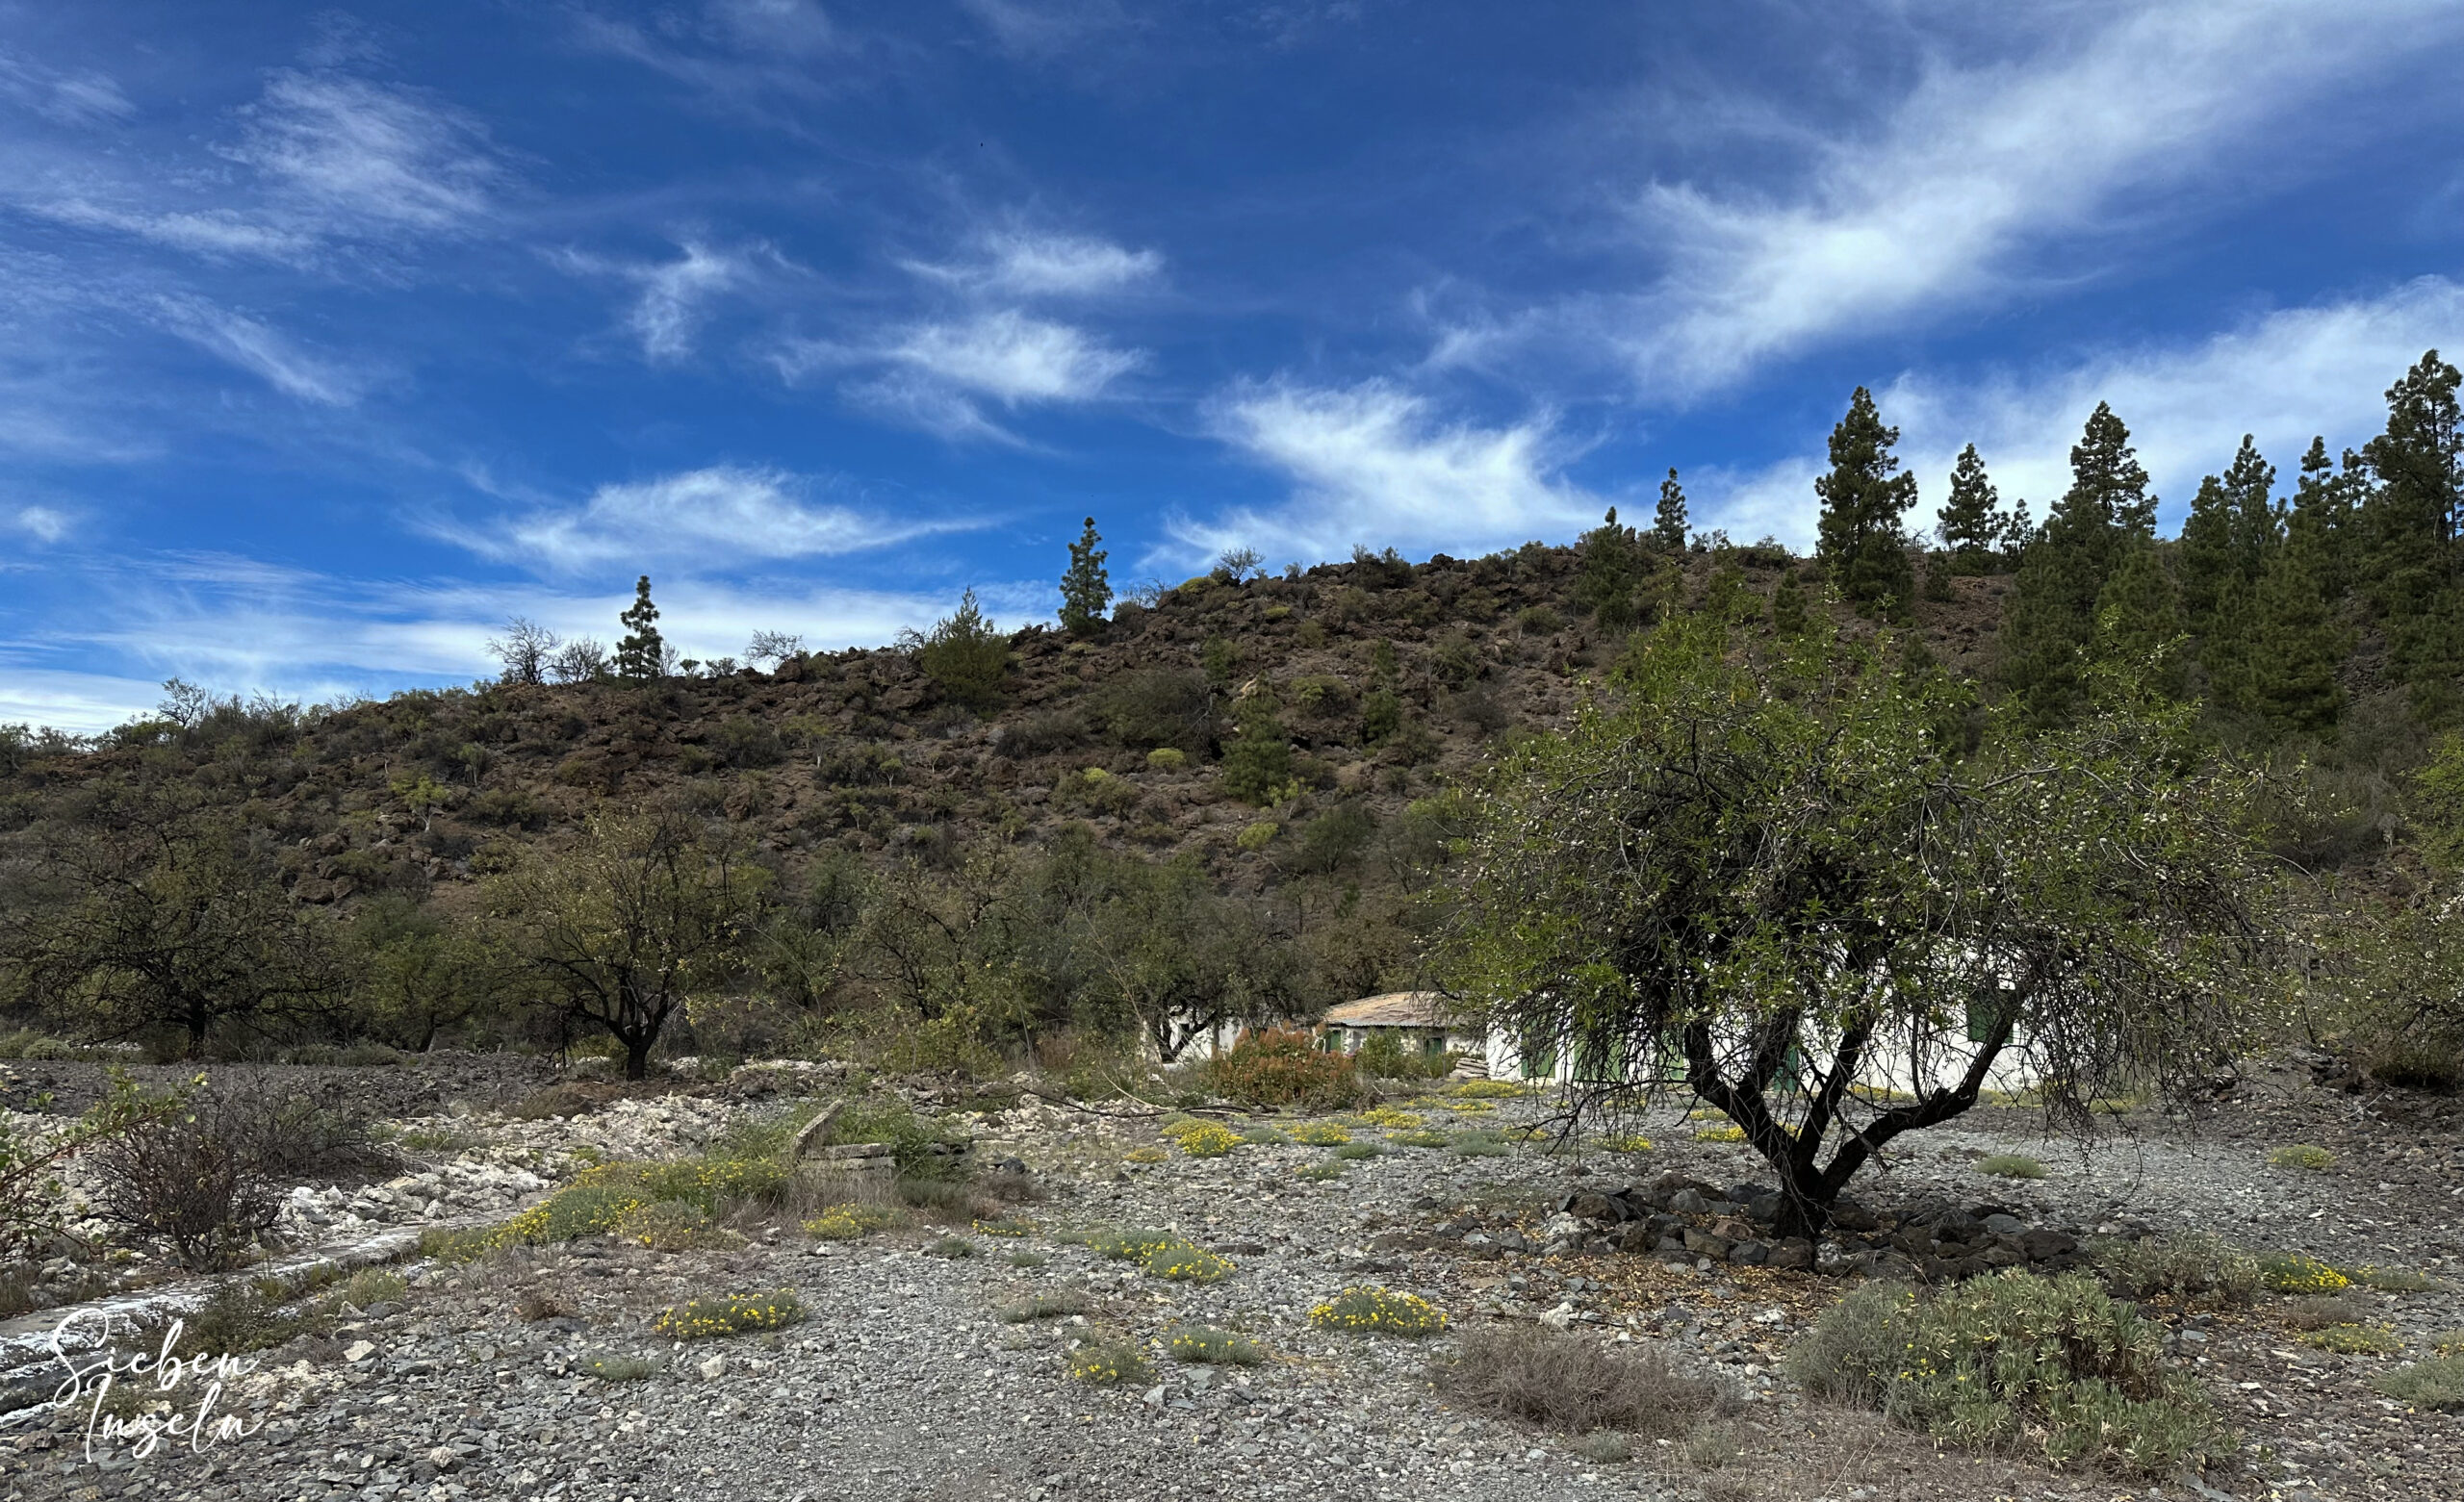
I haven’t yet discovered the reason for this. Perhaps Refugio de Chasogo is only used for emergencies, although it has water supply and solar panels. Besides the hut, there’s also a helicopter landing pad. However, you won’t find any information on-site about the use of the mountain hut. Unfortunately, Refugio de Chasogo doesn’t offer much protection anyway, as there’s not even a terrace, an open space, or a sheltering roof.
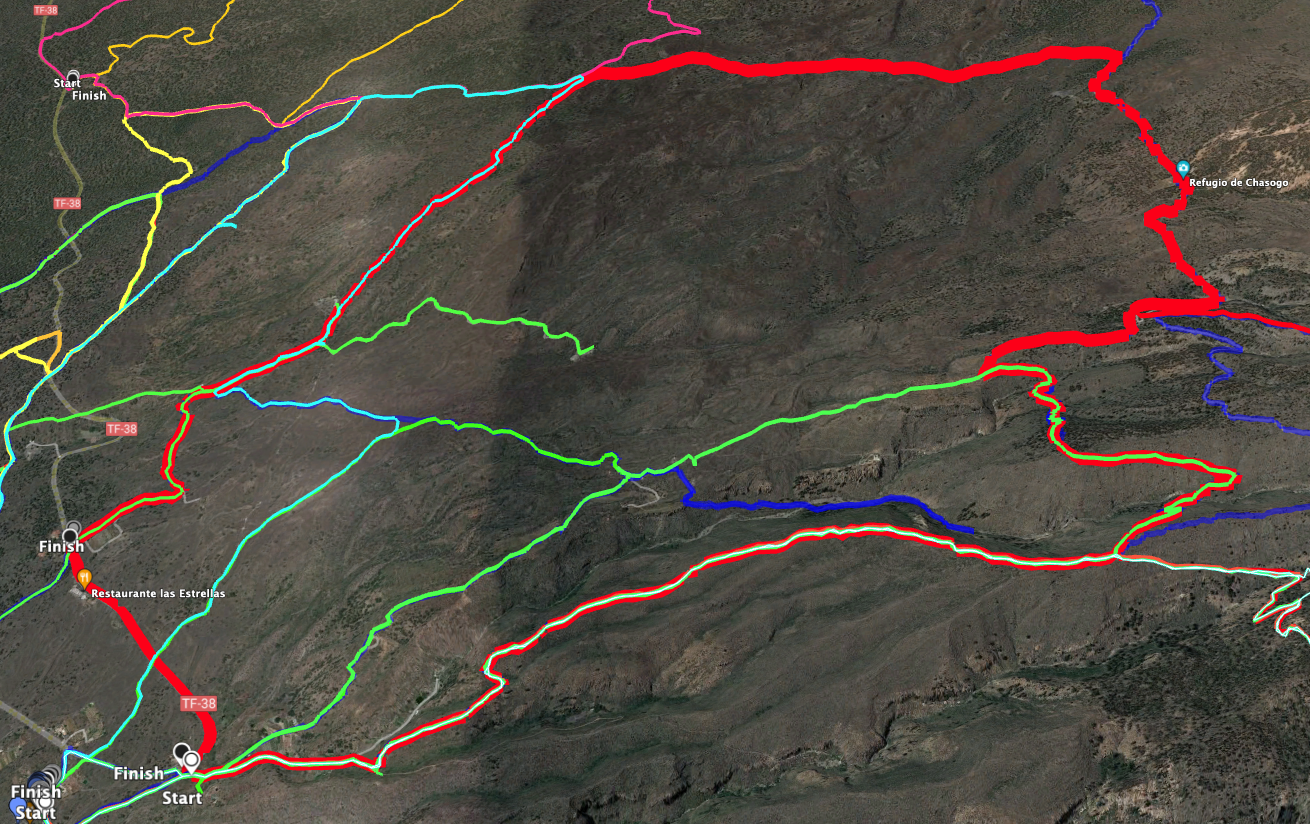
Circular hike Chirche – Refugio de Chasogo – Galleries
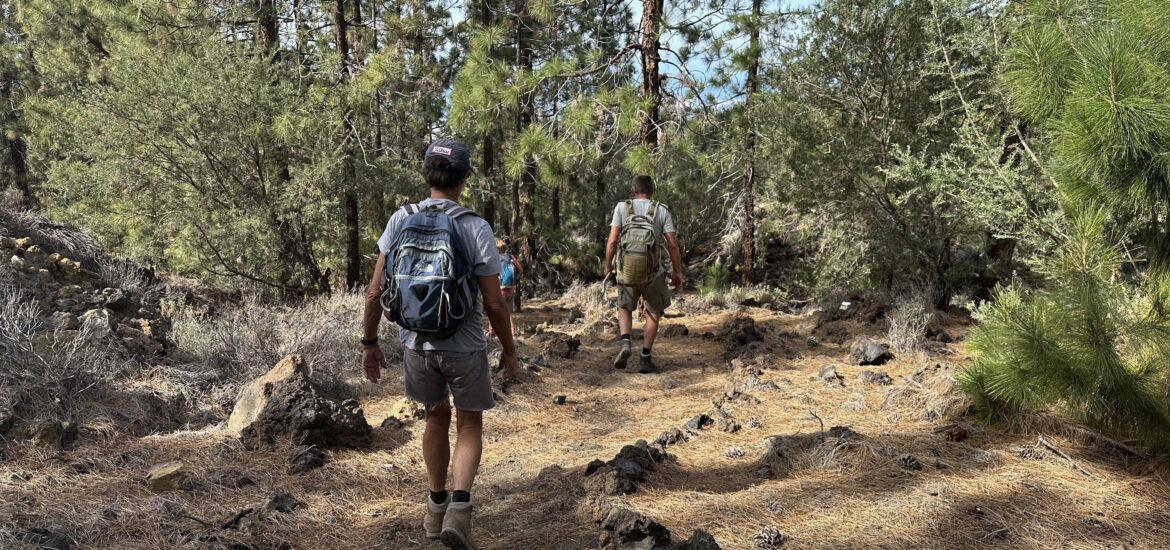
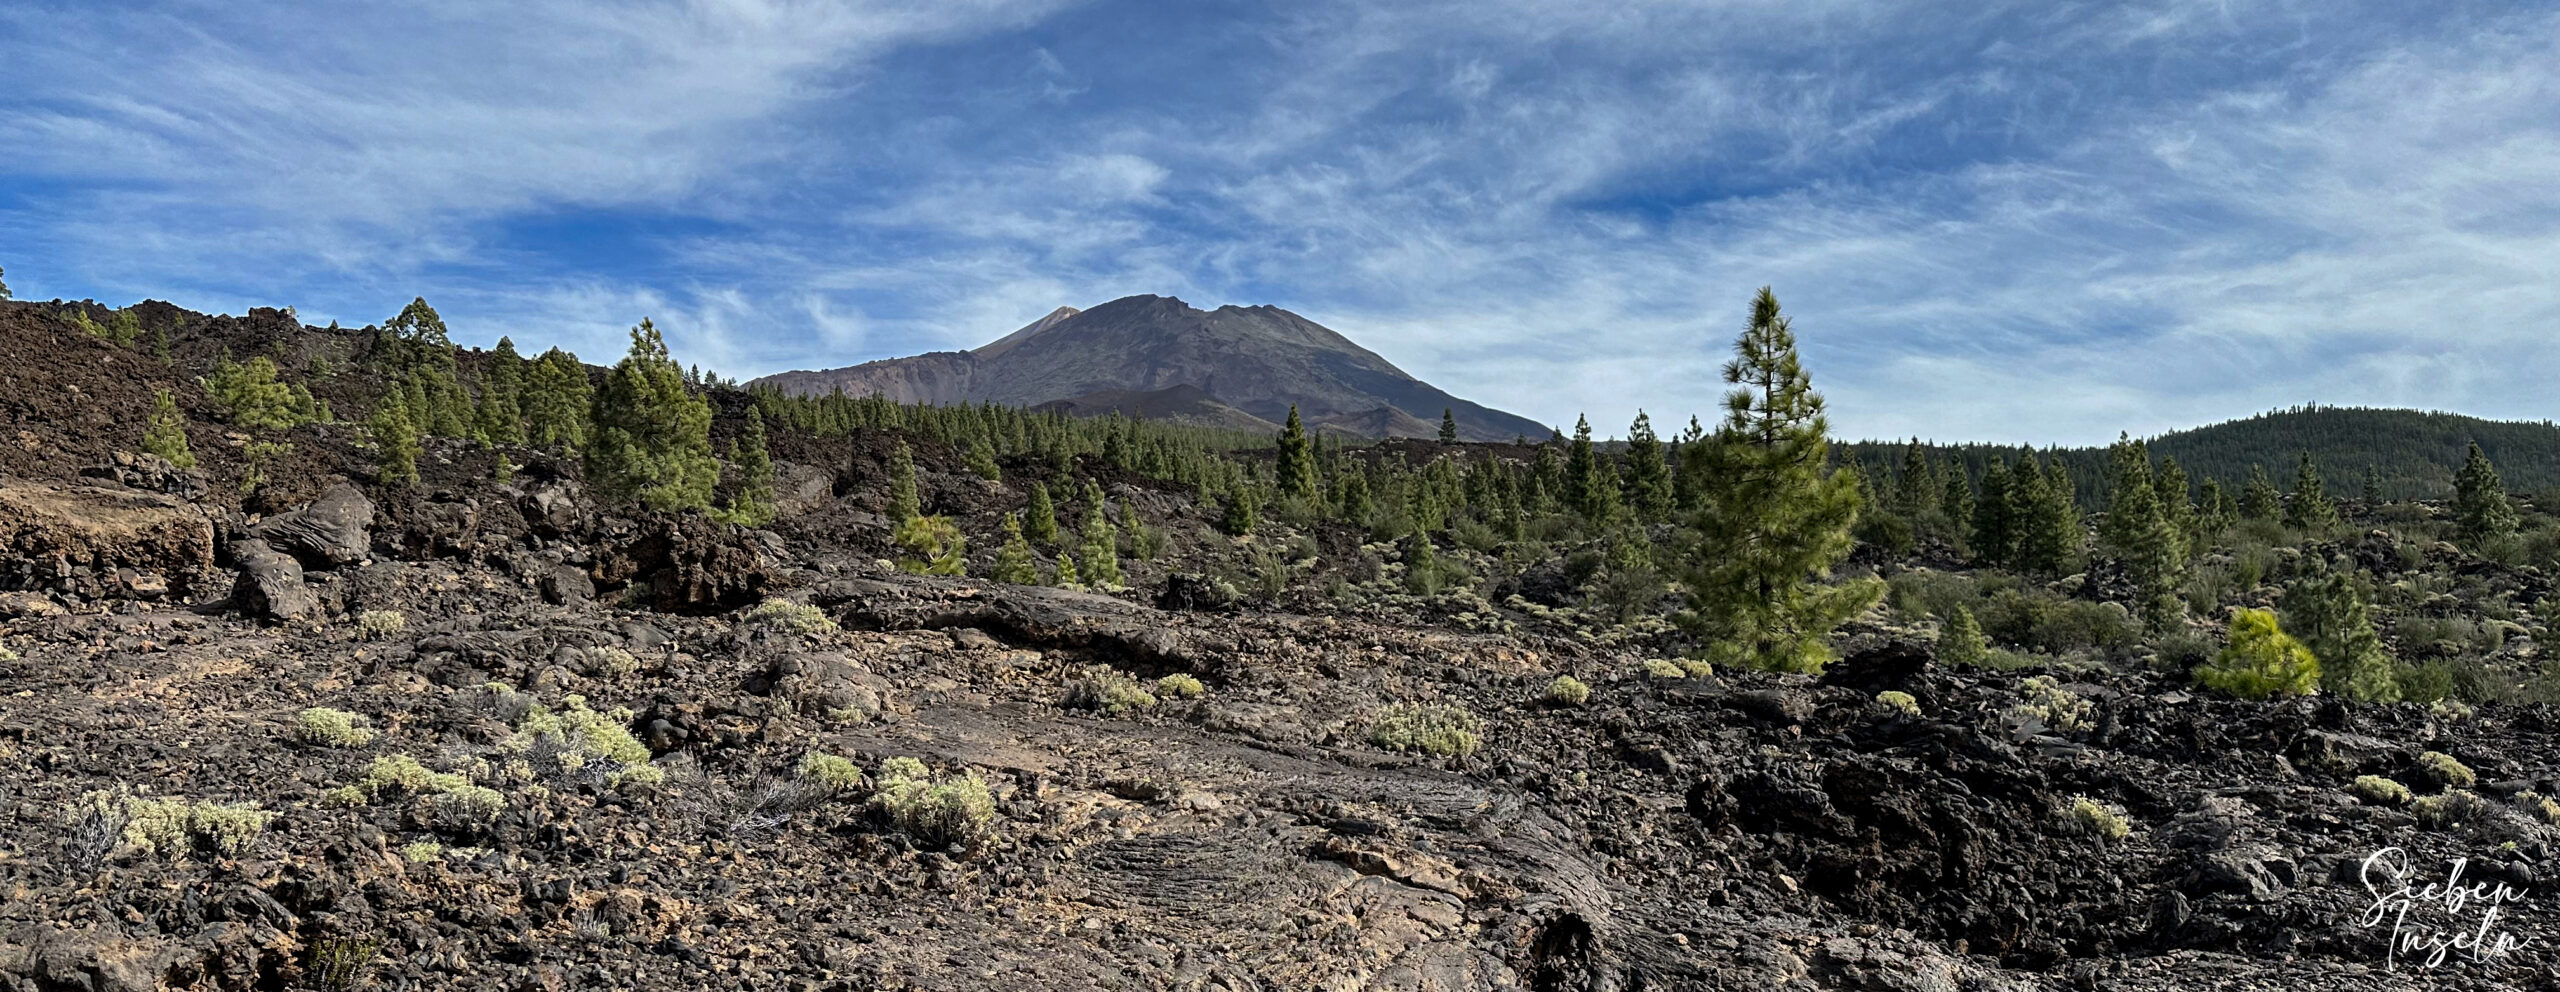
You commence your hike in Chirche. Here, I present two variants, which are similar in length. However, if you opt out of visiting Galería Machado 1 in one variant, it’s shorter. The return journey from Refugio de Chasogo is the same for both routes. Initially, you hike on PR-TF 69.1 through lava fields, pine forests, and downhill with magnificent views.
You’ll also encounter lava caves and another gallery (Hoyo de la Leña) on the way back. Unfortunately, the final stretch of the trail requires walking on the road. Previously, there were other paths and options, but they are now marked as private property and closed to hikers. Nevertheless, you’ll enjoy this extensive and varied route beneath Teide National Park.
General information about the circular hike to Refugio de Chasogo
Starting point and access
You commence your hike right next to TF-38 near KM 23 on trail PR-TF 70.
Access by car
You can reach the starting point from both directions (south coast or Cañadas del Teide) via TF-38. There’s limited space for parking at the described location. However, if you turn off the road earlier at the signposted Mirador de Chirche, you’ll find plenty of parking spaces. From there, you can quickly reach the starting point on both the road and the signposted hiking trail PR-TF 70.
Access by bus
There are no direct bus connections to the starting point. However, you can take a bus to Chirche. From there, you’ll have to climb further to the starting point of the hike. Alternatively, taking a taxi from Chirche is also an option. For more information on bus connections, refer to the Titsa website.
Time
I’m reluctant to provide specific time estimates as they vary greatly. For the first hike, including longer breaks, we took 6.5 hours, and for the second hike, including breaks and a detour to Galería Machado 1, we needed 6 hours.

Elevation gain and distance
The elevation difference for the first variant is approximately 910 meters, and the distance is just over 17 kilometers. For the second variant, it’s just over 1020 meters with a detour to the gallery, totaling 17.5 kilometers. Without the gallery, the distance is around 15 kilometers.

Difficulty
The hike generally follows good trails, tracks, or narrow paths. The long descent through the lava fields with many stones can be a bit tiring. A good level of fitness is required due to the length and elevation gain.
Refreshments
There are no refreshment options along the entire hike. Therefore, it’s essential to bring sufficient water and food.
Variants
Variants already exist as I present two options here, which you can combine well to make a relatively short hike, for example. You can ascend on variant 1 and descend on variant 2 to make a relatively short hike. Regardless, there are numerous opportunities along the entire route to extend, shorten, or modify the trail, all well signposted.
A shorter hike, also passing through Refugio de Chasogo, can be found on SiebenInseln here: Montaña de Chasogo – Major hike on the western slopes of Tenerife
You can find more hikes near this one on SiebenInseln here:
- Hike around Montaña Cascajo to Montaña Corredera
- Circular hike – to Montaña de las Cuevitas and around Montaña la Corredera
- Major circular hike from Chirche to Barranco Tagara
Circular hike to Refugio de Chasogo
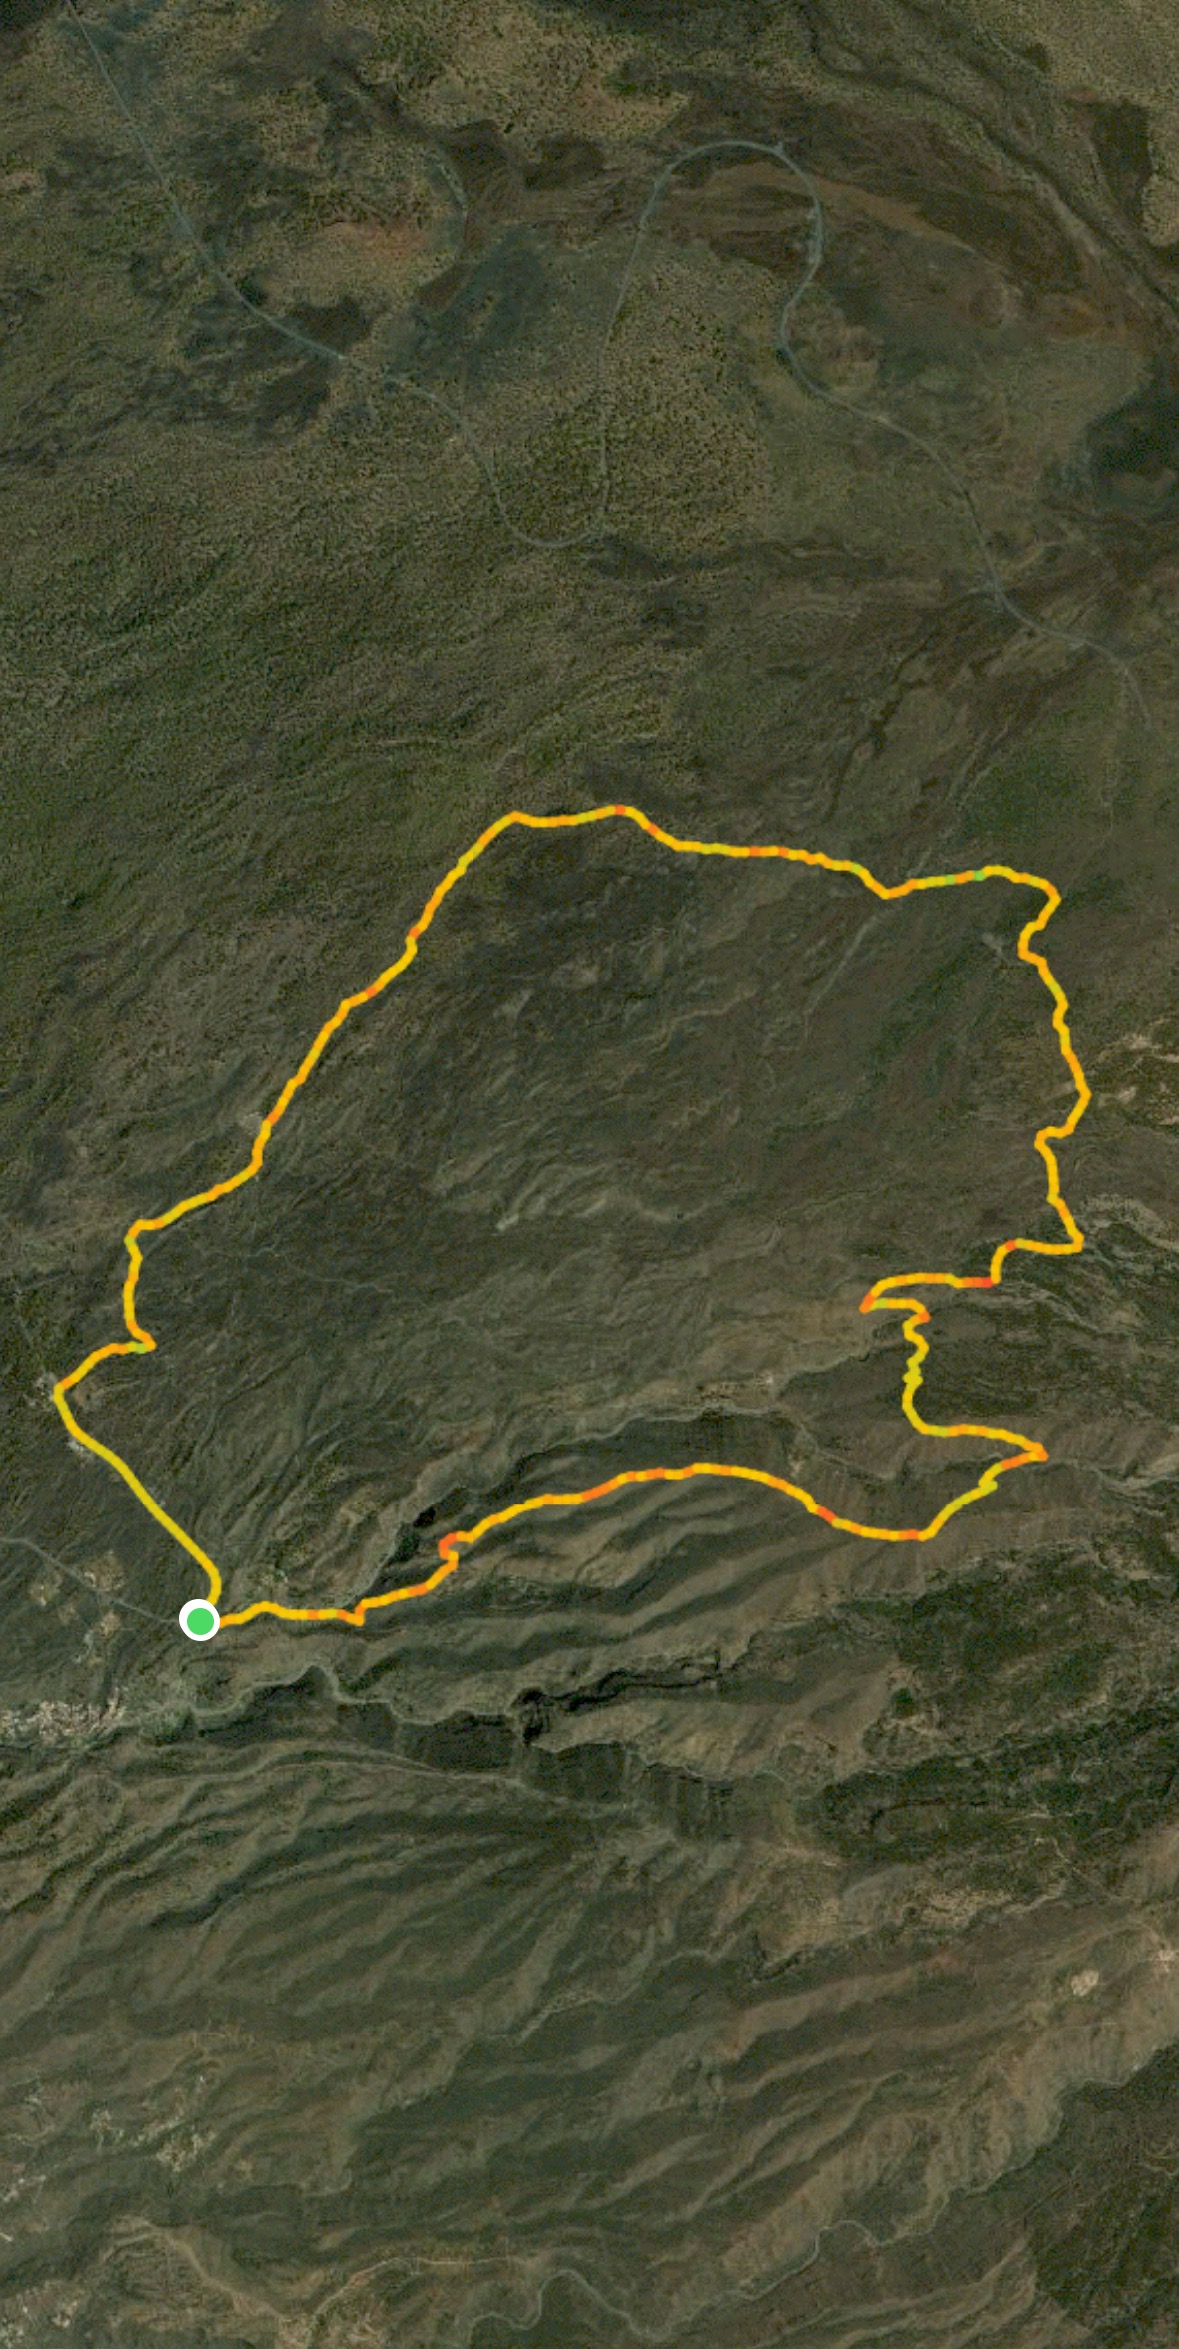
Variant 1: Section from Chirche to the trail junction above Barranco Tamuja
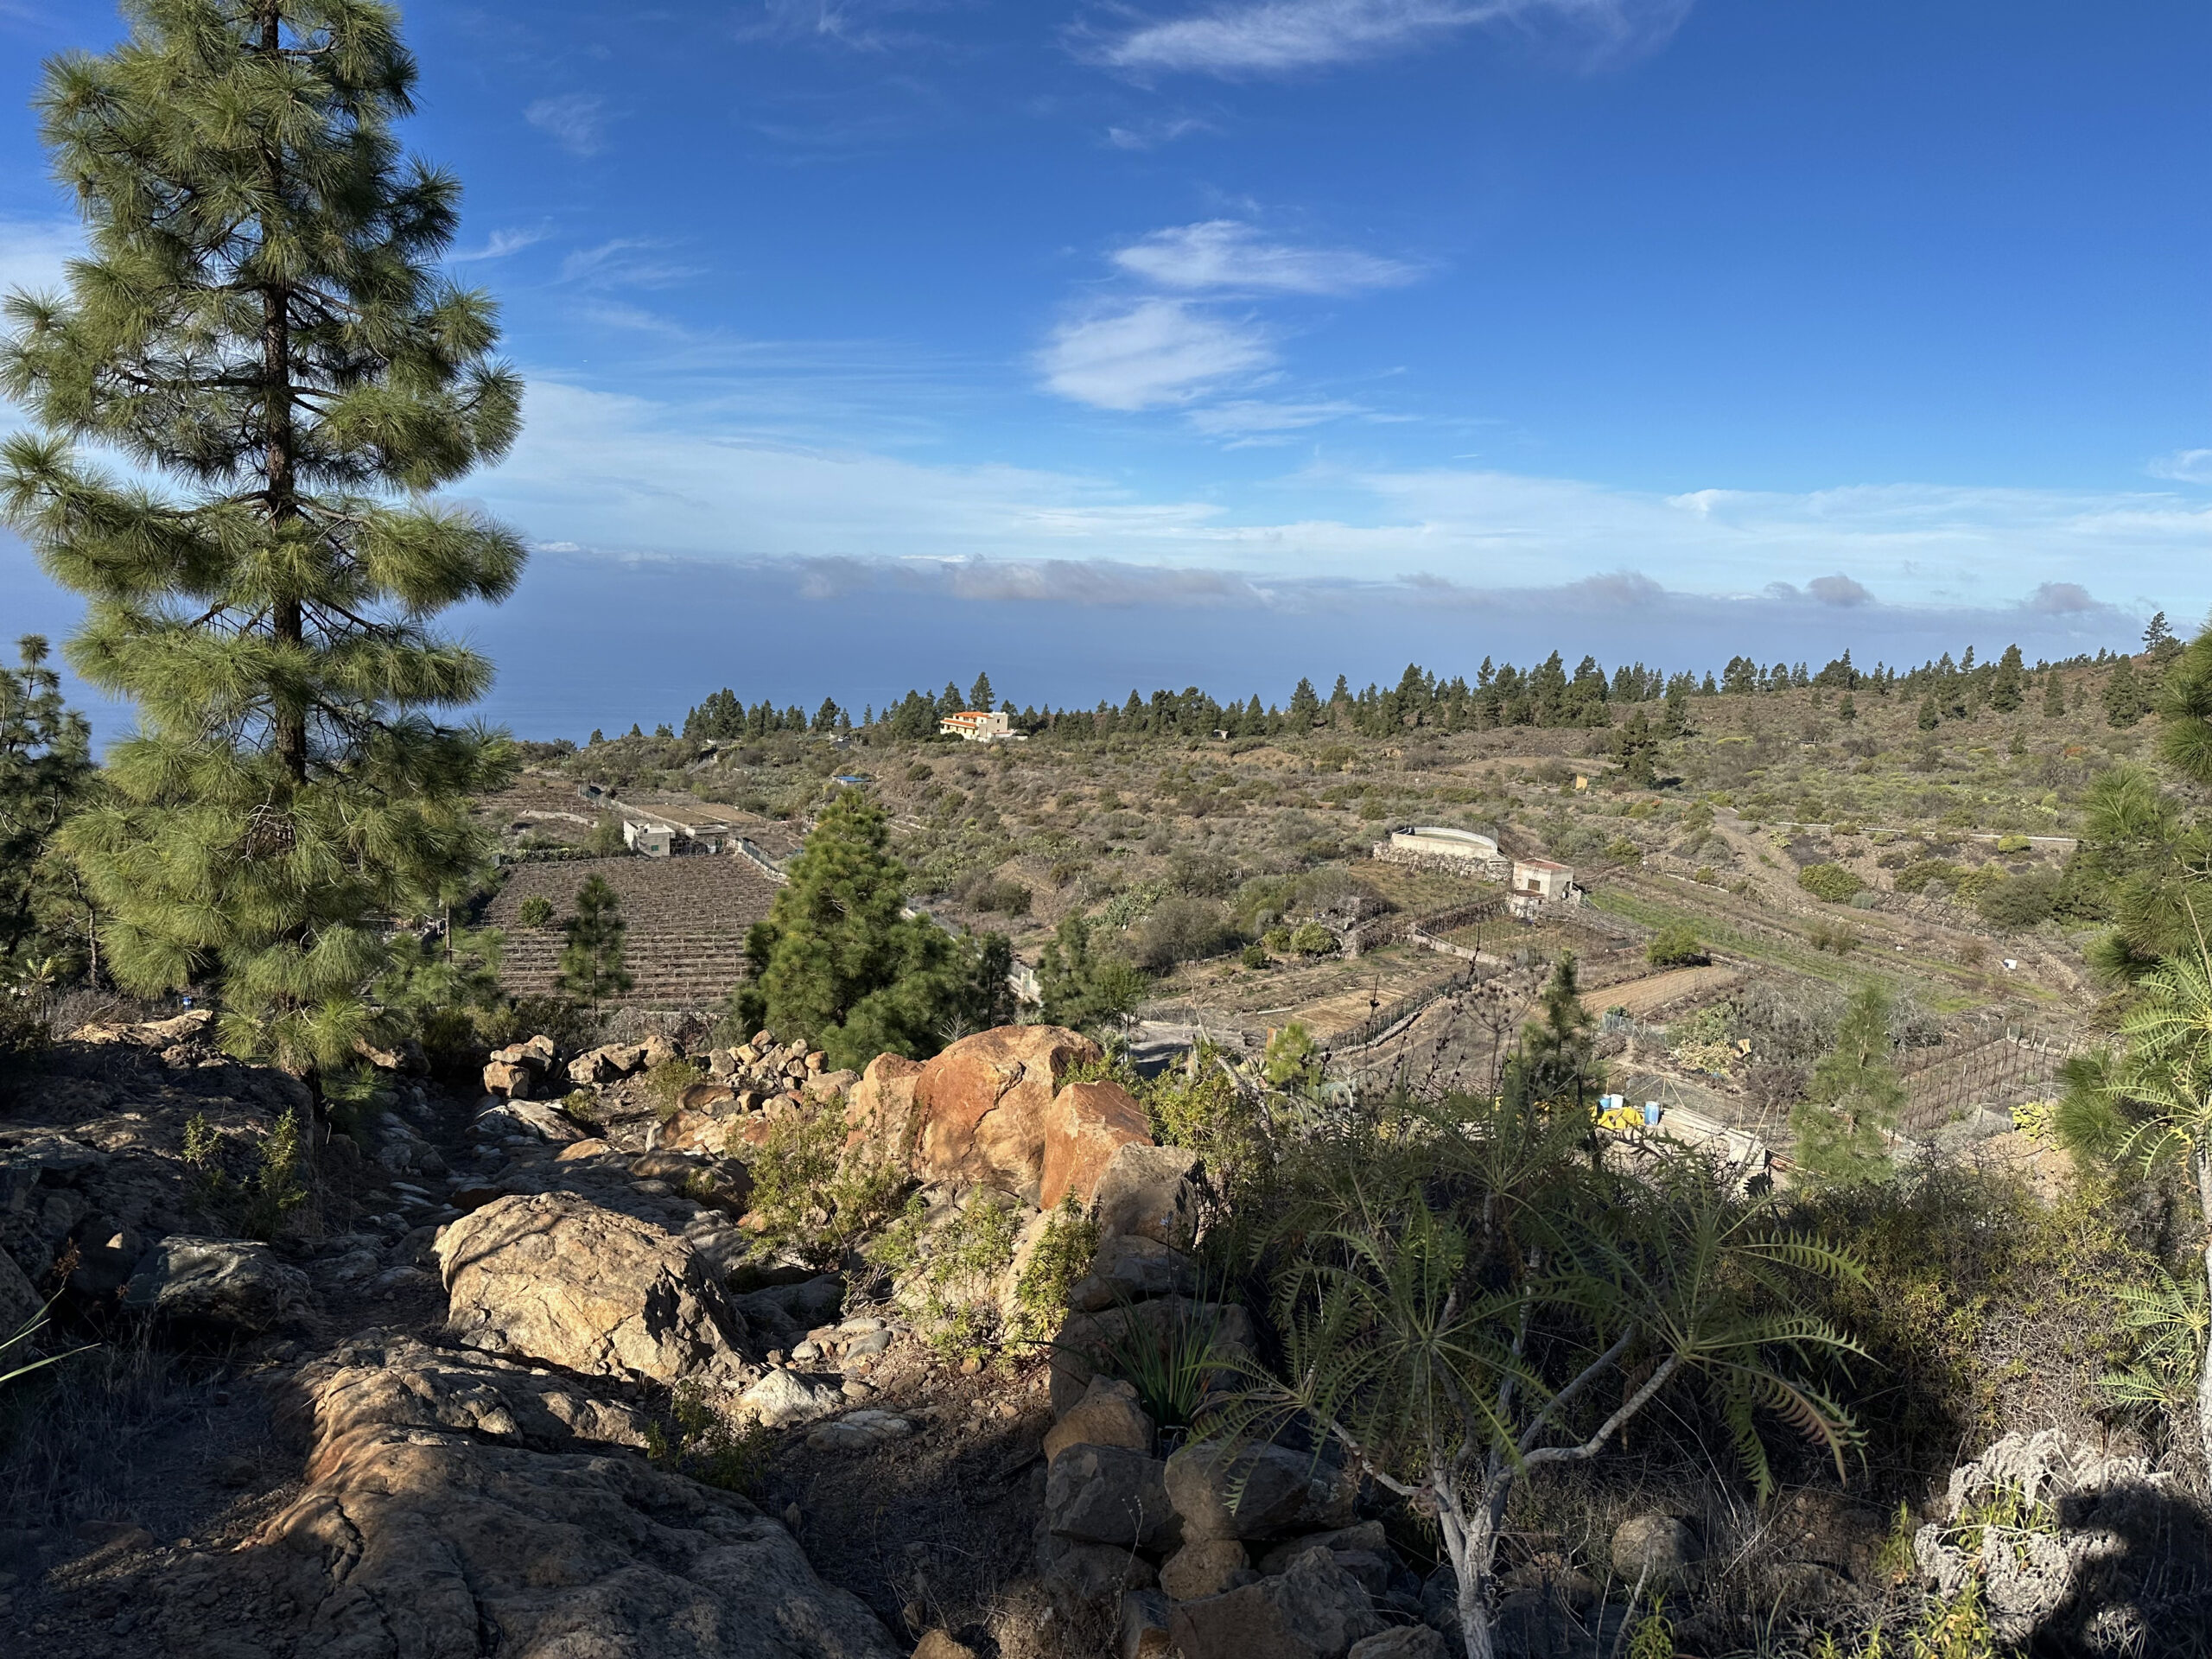
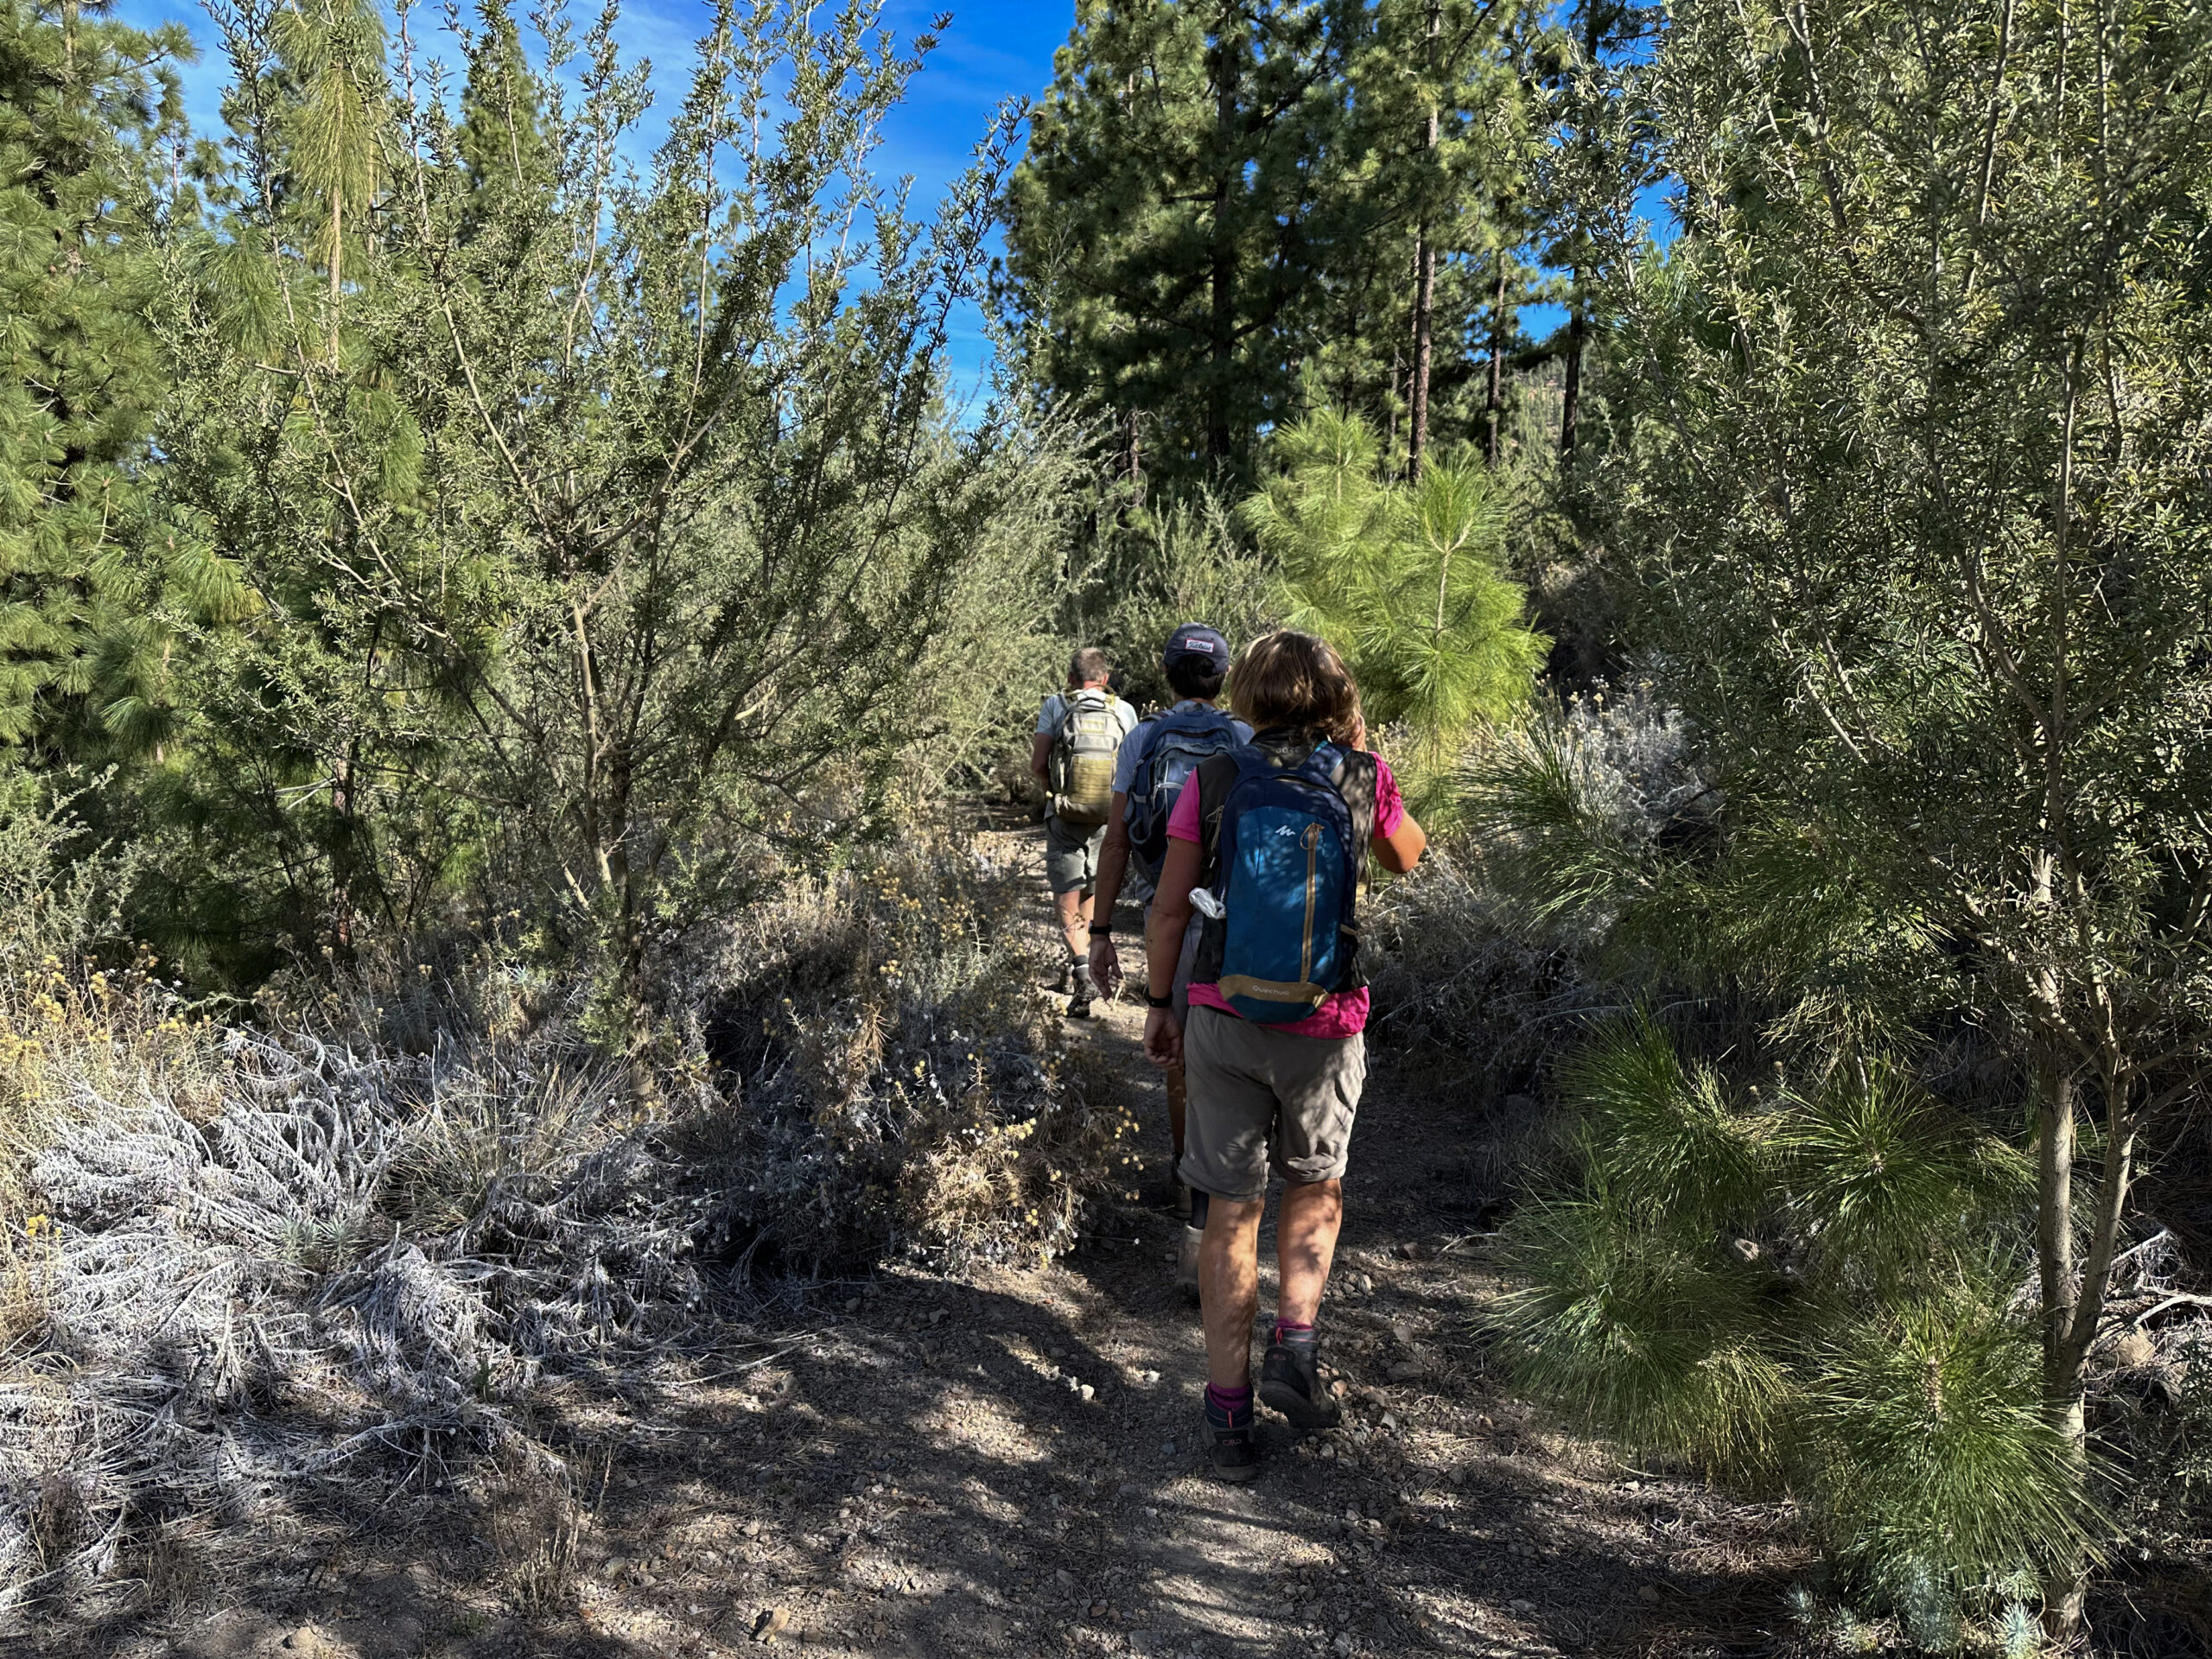
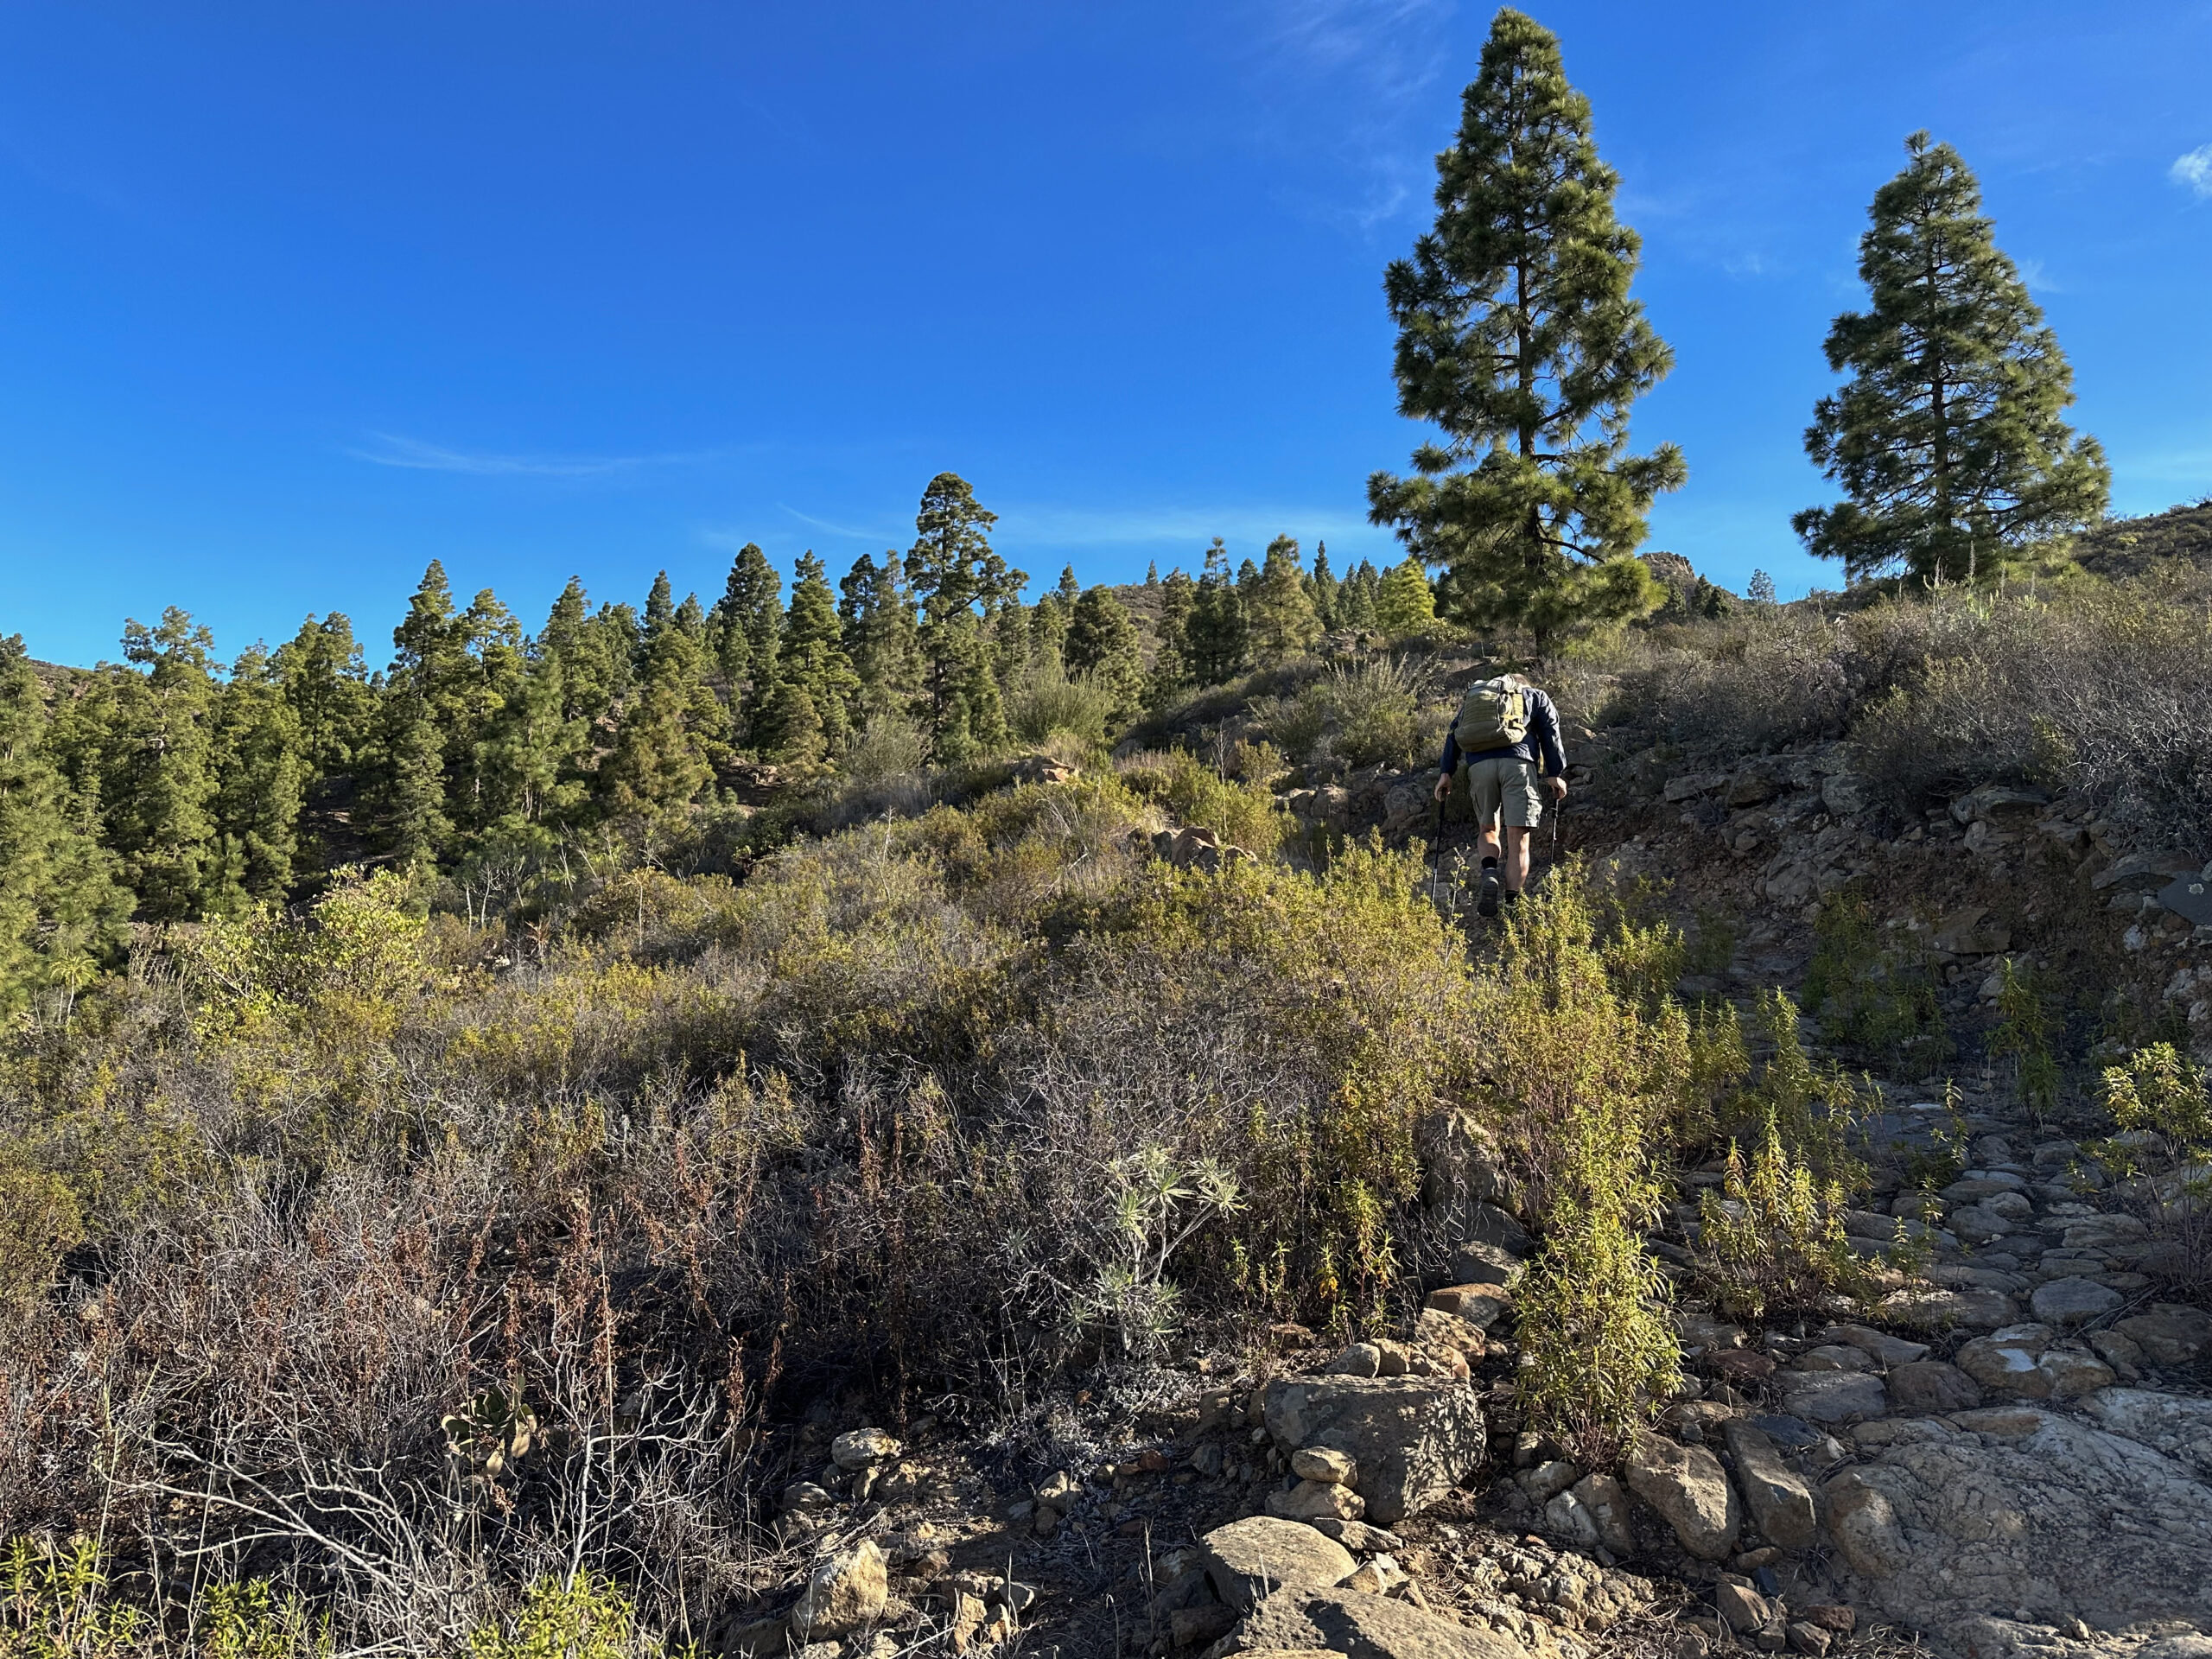
You start your hike next to TF-38 on trail PR-TF-70. This trail takes you past gardens, meadows, and terraced fields. At the first major fork, keep right. After a short while, the main path continues straight ahead. However, trail PR TF-70 sharply turns left, marked in yellow and white. It follows a narrow path along a large vineyard. On the other side of the vineyard, it ascends steeply. The path leads you up the ridge via switchbacks. From the top, you can enjoy a beautiful view back over Chirche and the surroundings. After some time, the trail descends from the ridge and around the next peak before ascending again to the next ridge.

You’ll follow this ridge trail to the highest point of the hike. Now comes perhaps the most strenuous part of the hike, as it’s a long uphill climb. You’ll hike along the ridge between Barranco Tamuja and Barranco de la Corcova, which later merges into Barranco de Tagara. You’ll be rewarded for your effort with magnificent views of the Cañadas in front of you, the gorges on the sides, and the coastline of Tenerife behind you. After some elevation gain and a long ascent, you’ll reach a small trail junction. To the right, it descends into Barranco Tagara. Straight ahead leads to the hike to Montaña de Chasogo. However, for this circular route, you’ll keep left.

Barranco Mañoca
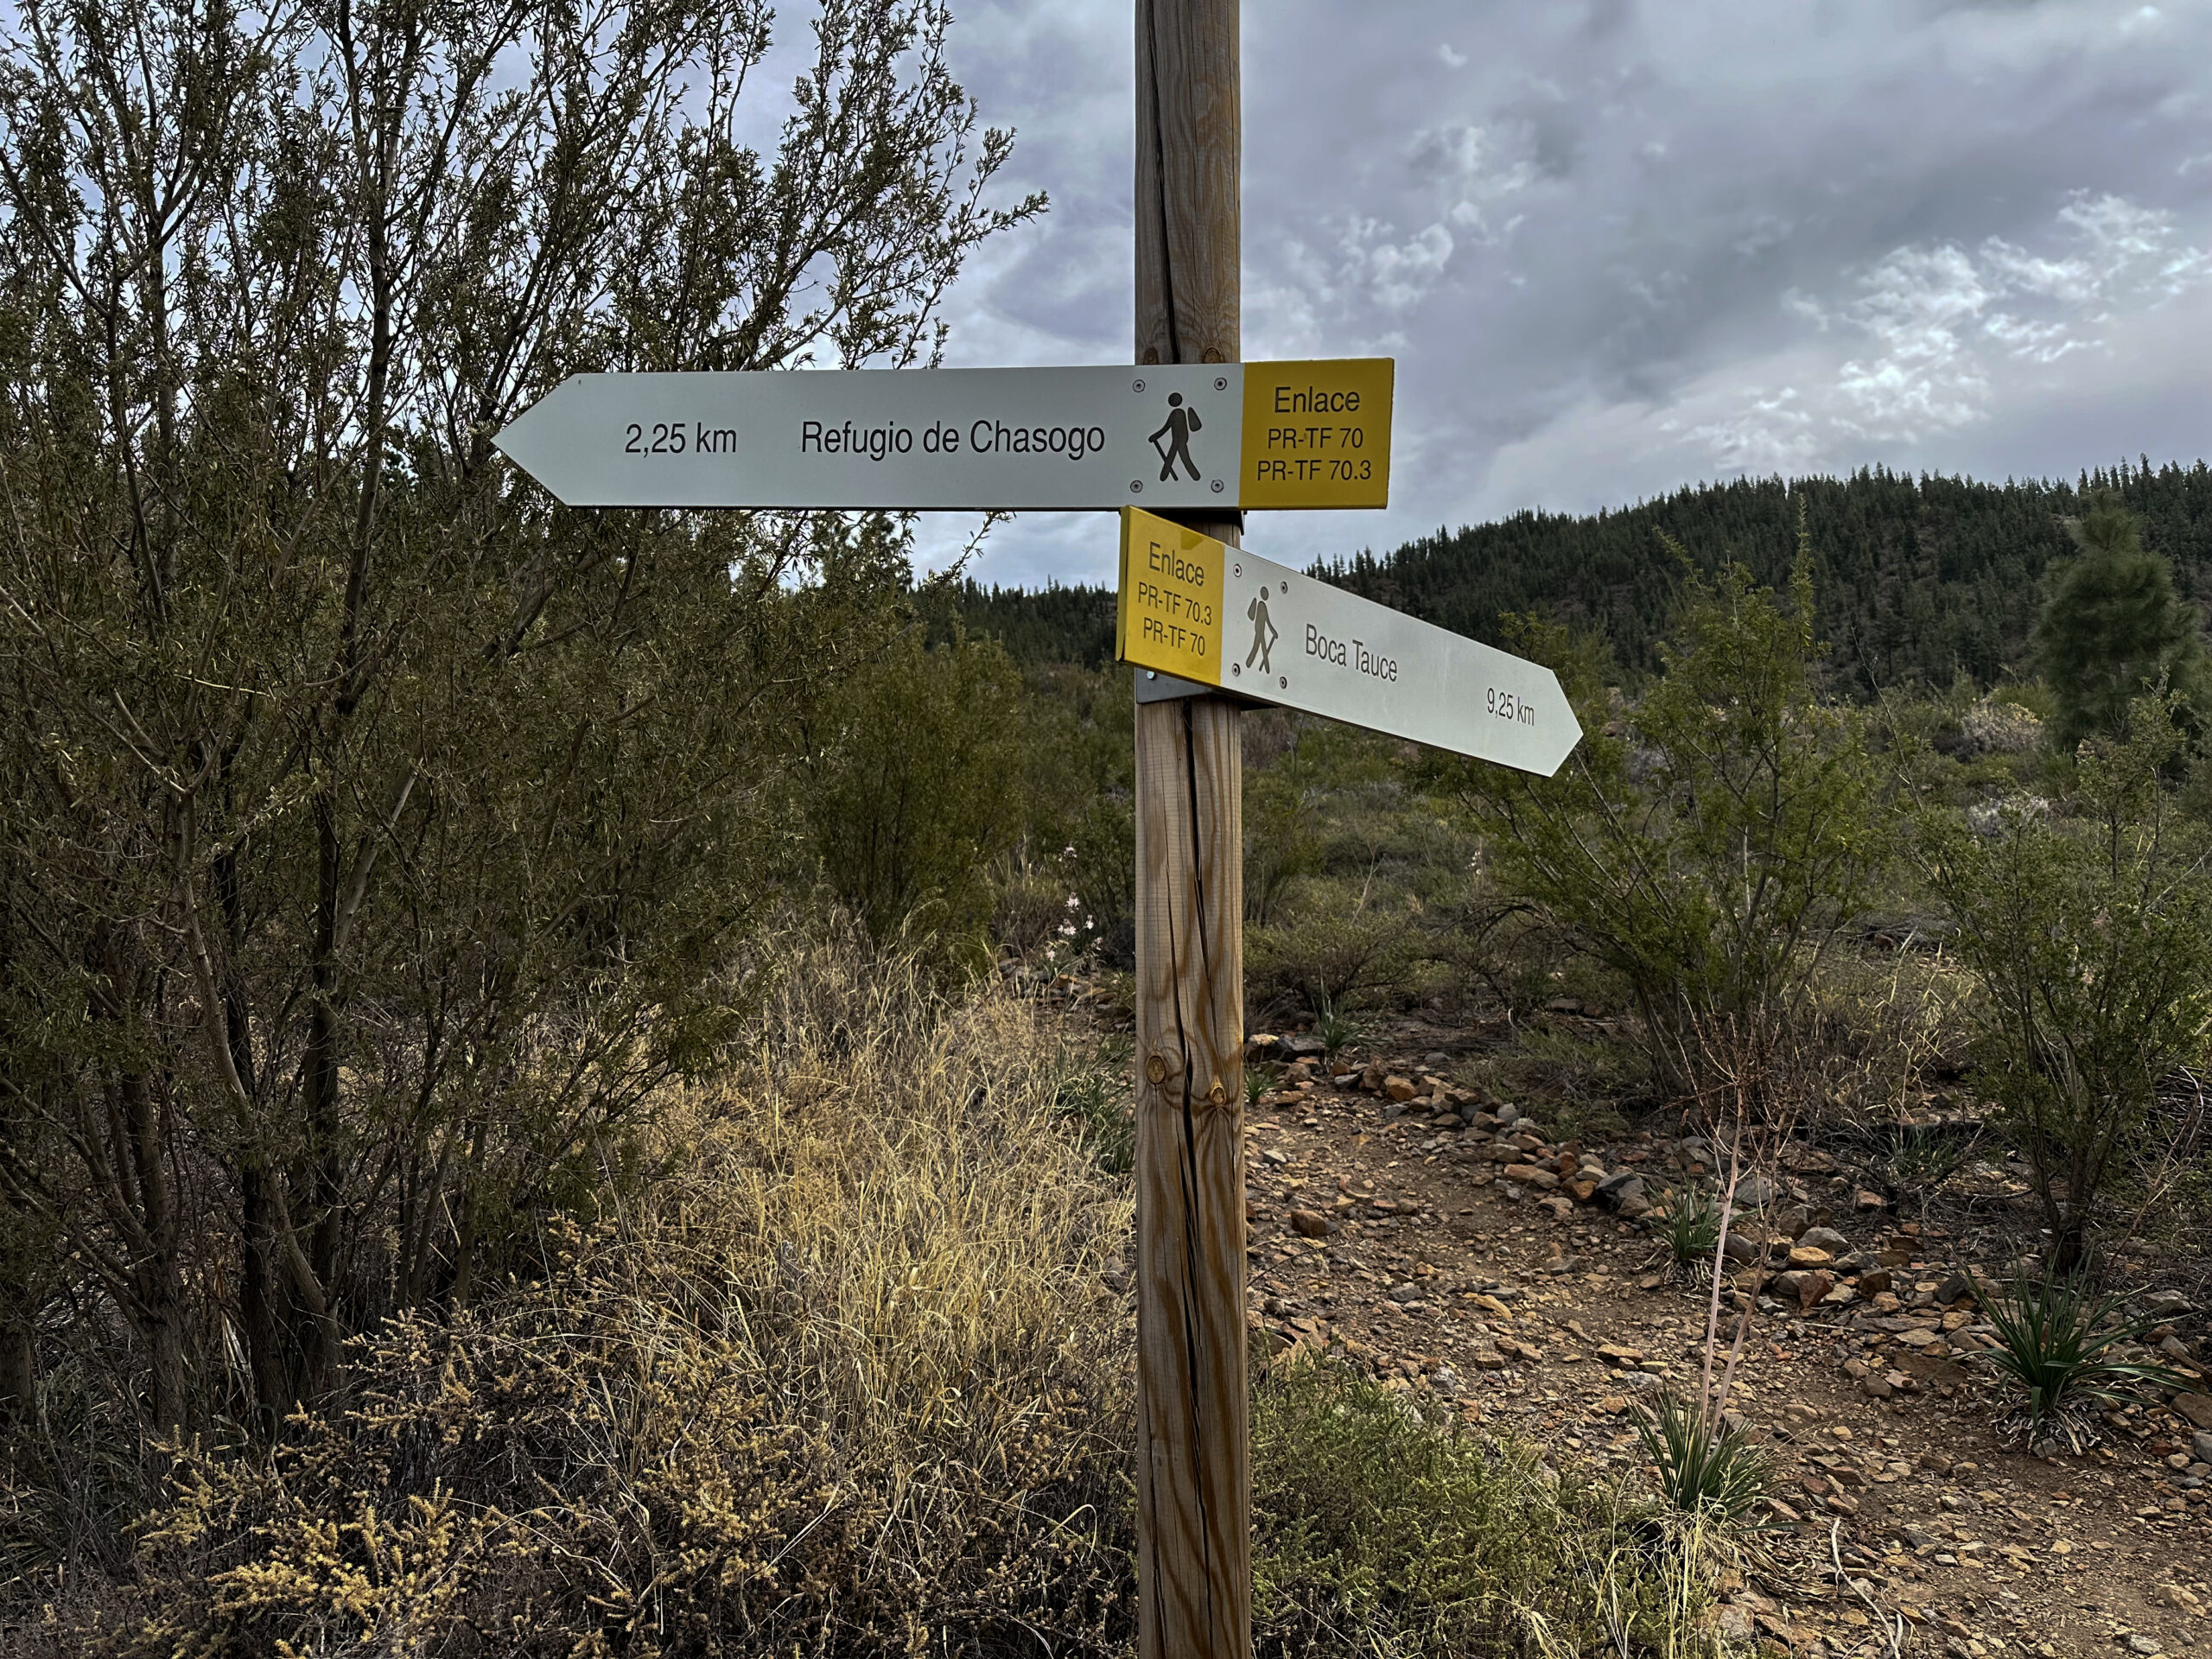
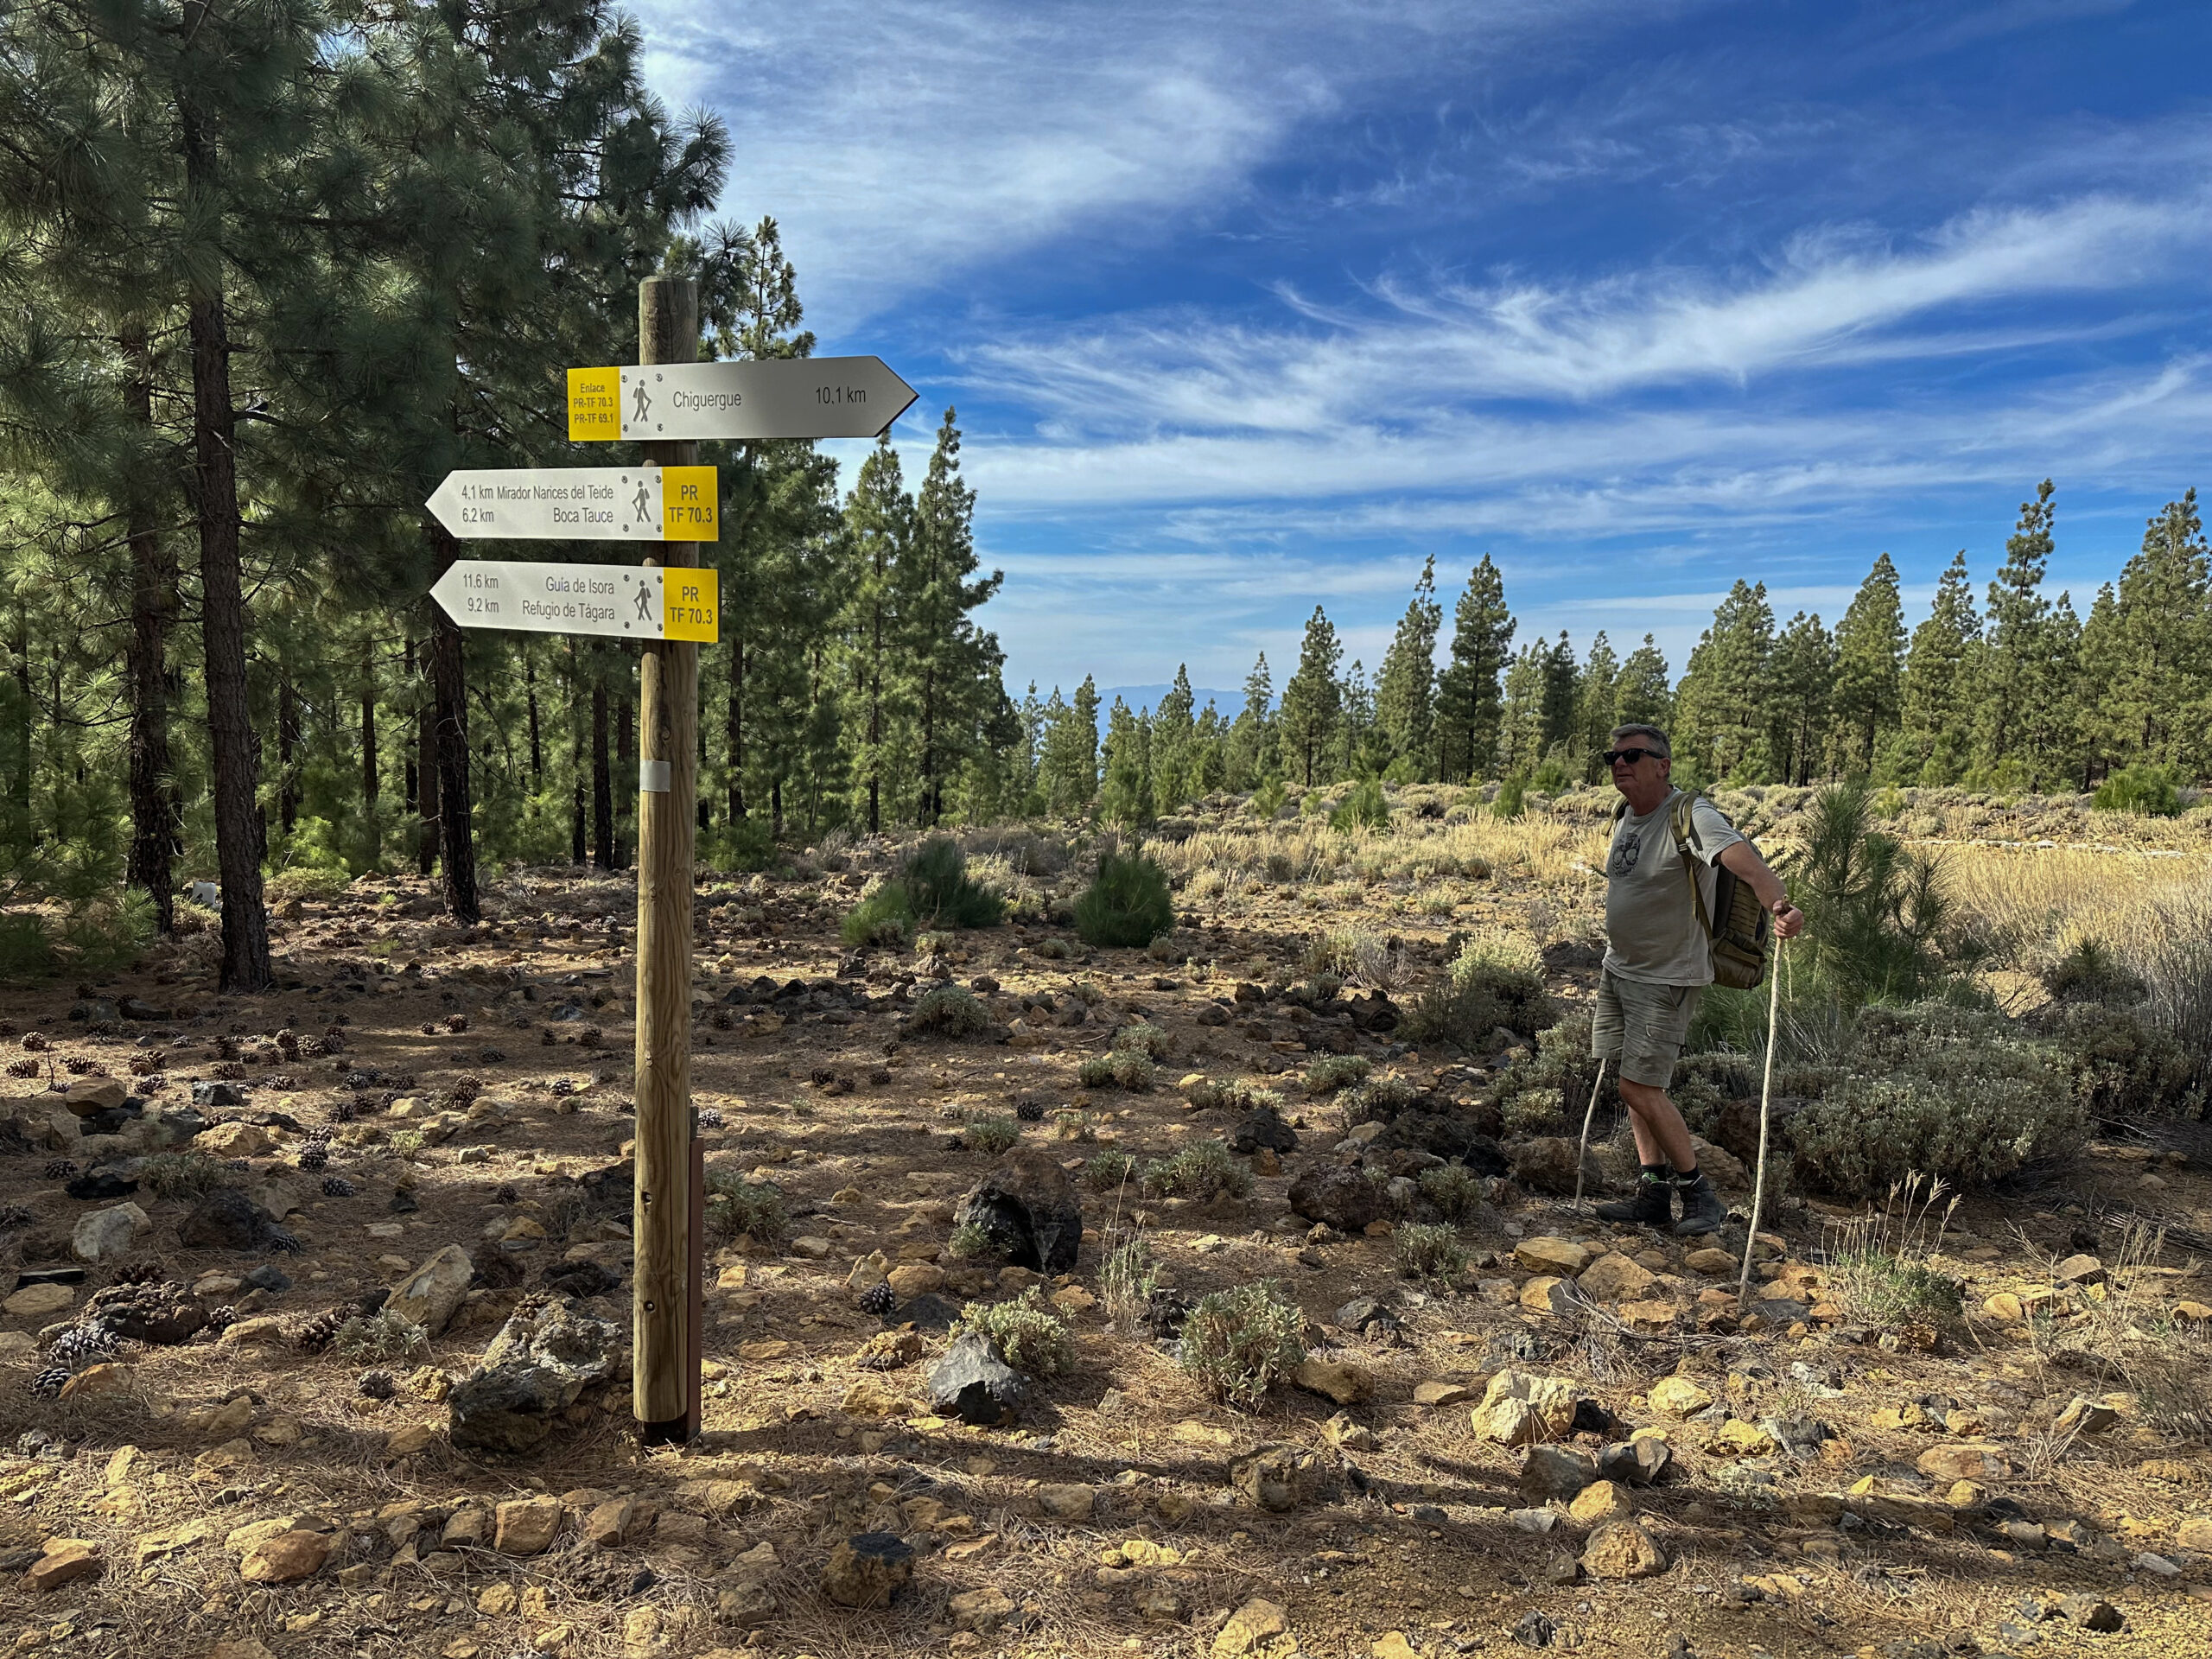
You’ll initially descend into Barranco Mañoca. On a narrow path with splendid views, you’ll descend into the gorge and then ascend on the other side. You’ll continue following the trail, which leads you up and down over Barranquillo del Lomo Corto and Barranco Morro de lo Cedritos on the right and Barranco Tamuja on the left. Finally, you’ll reach a small trail junction above Barranco Tamuja. From here, Refugio de Chasogo is signposted on PR-TF 70 with 2.25 km to go. The trail for variant 1 comes up from the left, which I’ll describe now. The further course of the trail for variants 1 and 2 is identical.
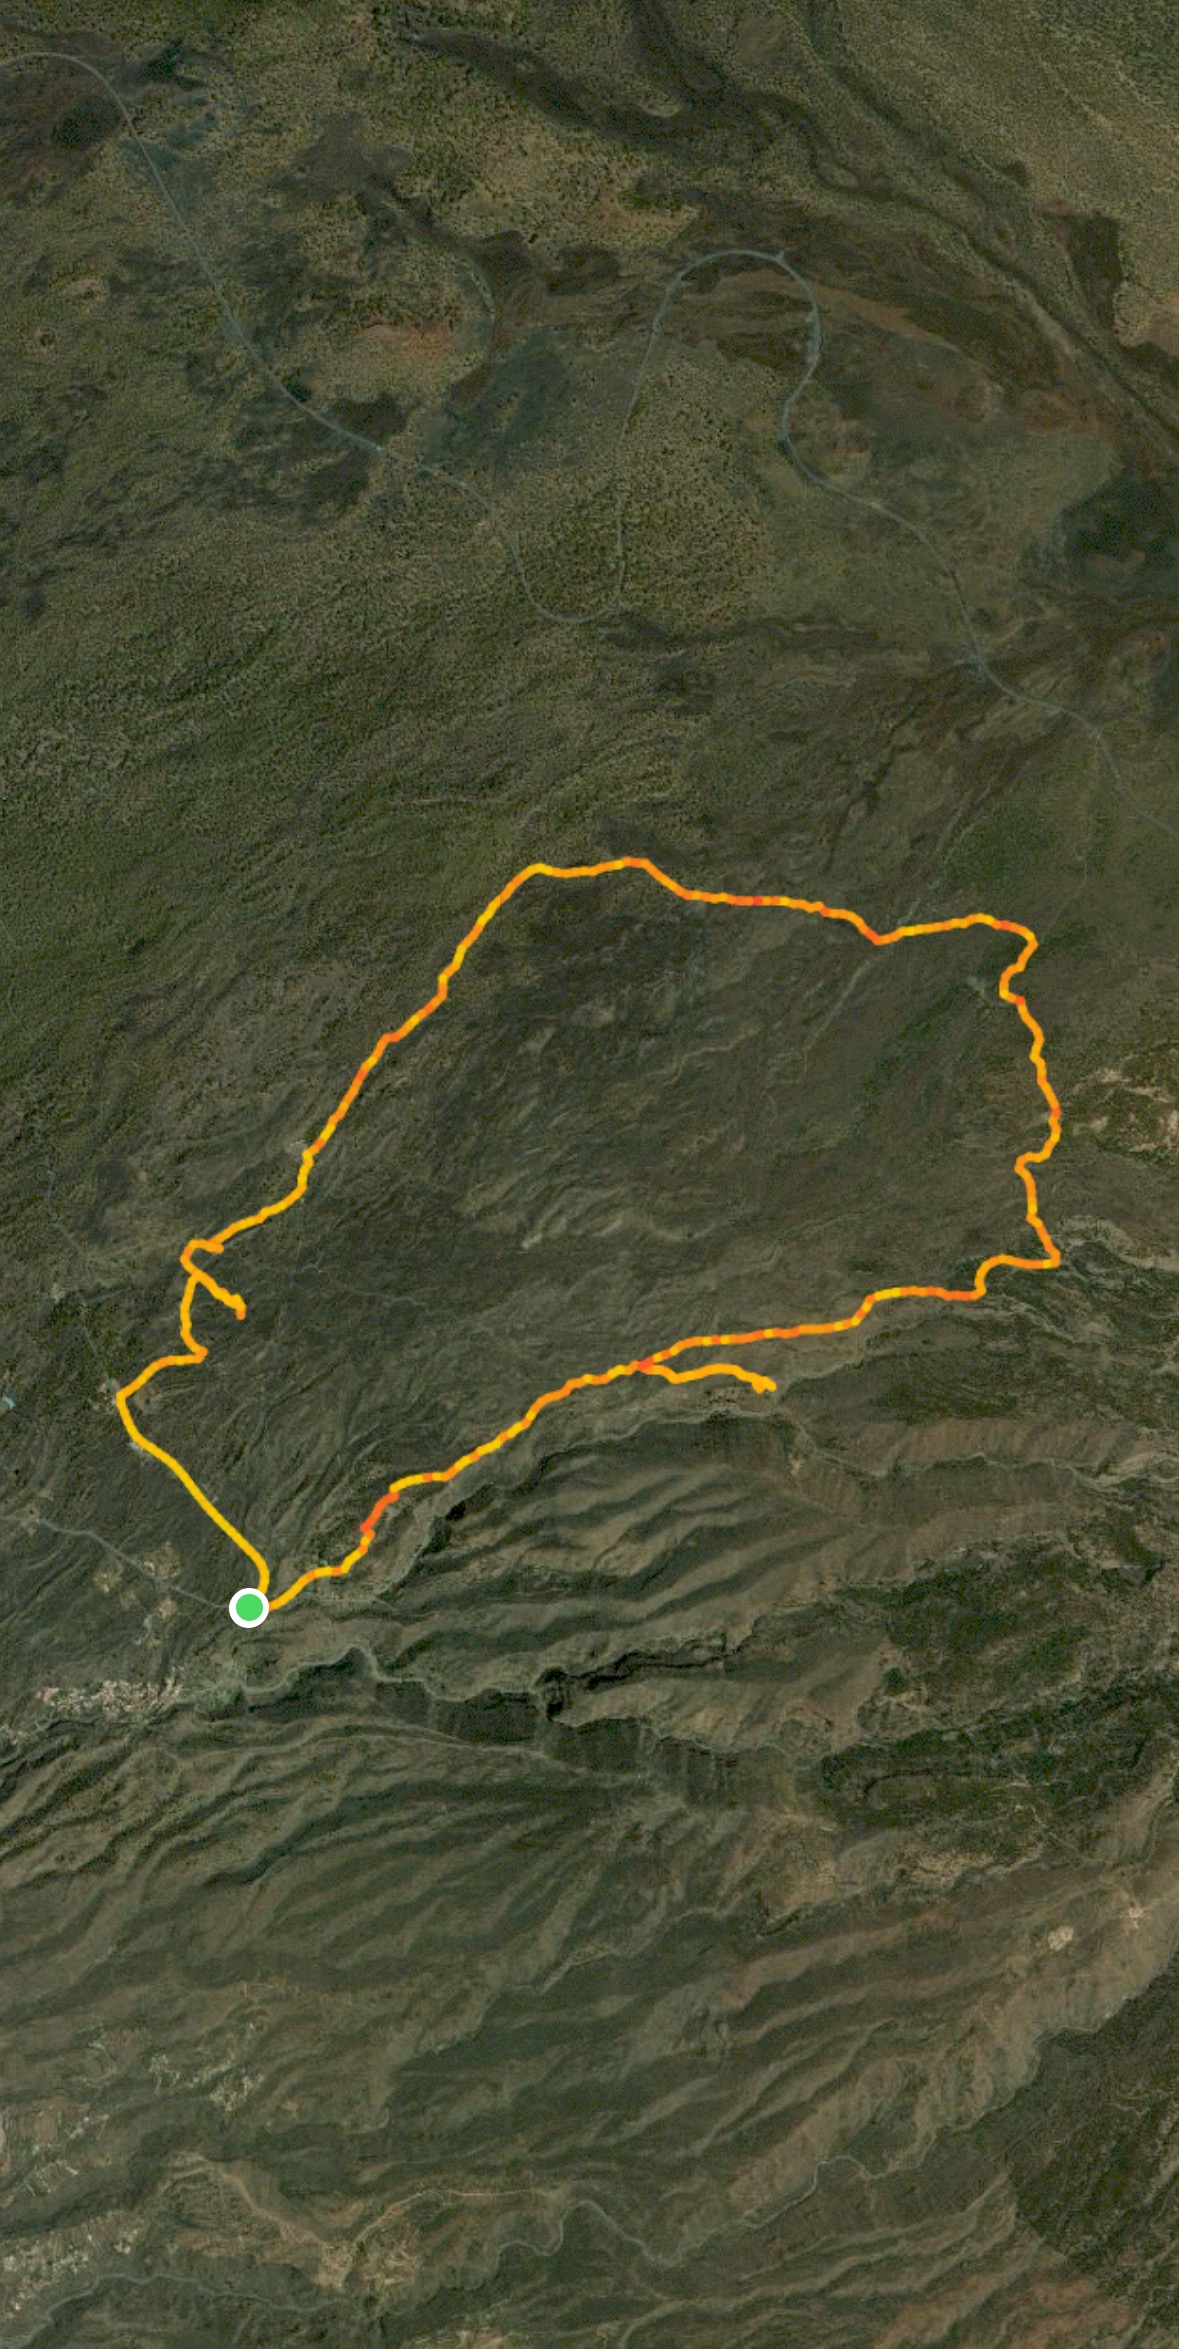
Variant 2: Section from Chirche to the trail junction above Barranco Tamuja
You start your hike at the same location as variant 1 next to TF-38 on trail PR-TF-70. However, shortly after, a path branches off to the left, leading you towards Barranco Tamuja. Initially, you’ll hike past some farmsteads and terraced fields uphill. Then the path turns into a steep ascent path covered with large stones. You’ll quickly gain altitude and soon have views back to Chirche and even to the neighboring island La Gomera.
At a fork, keep right uphill. You’ll pass by a ruin. The path becomes a bit wider. Two paths branch off to the right downhill into Barranco Tamuja. Keep straight ahead. Then the main path turns right. However, the ascent path is somewhat hidden. It’s marked with cairns and ascends steeply along a path at this point. If you keep right, you’ll reach Galería Machado 1 after about 1.2 kilometers. I enjoy visiting the different and often very remote galleries. However, if you prefer not to visit the gallery, you can continue straight ahead and save about 2.5 kilometers of the hike.
Regardless of your choice, eventually, you’ll ascend on the ridge Lomo de la Fuente. After some time, the steep ascent path becomes a bit flatter. You’ll enter a sandy area with bushes, which you’ll traverse. Then the path climbs a bit steeper again, and finally, you’ll arrive at the trail junction, which I described at the end of variant 1. Both paths are interesting and offer good views.
Section from the trail junction above Barranco Tamuja to Refugio de Chasogo
From here, both variants are identical. You’ll continue ascending on the steep ascent path on the left towards Lomo de La Fuente. And then you’ll gradually enter wooded areas. You’ll simply continue on the main path through the forest uphill. After some time, a trail branches off to the right, leading to Mirador Narices del Teide. This is also where the hike to Montaña Chasogo passes.
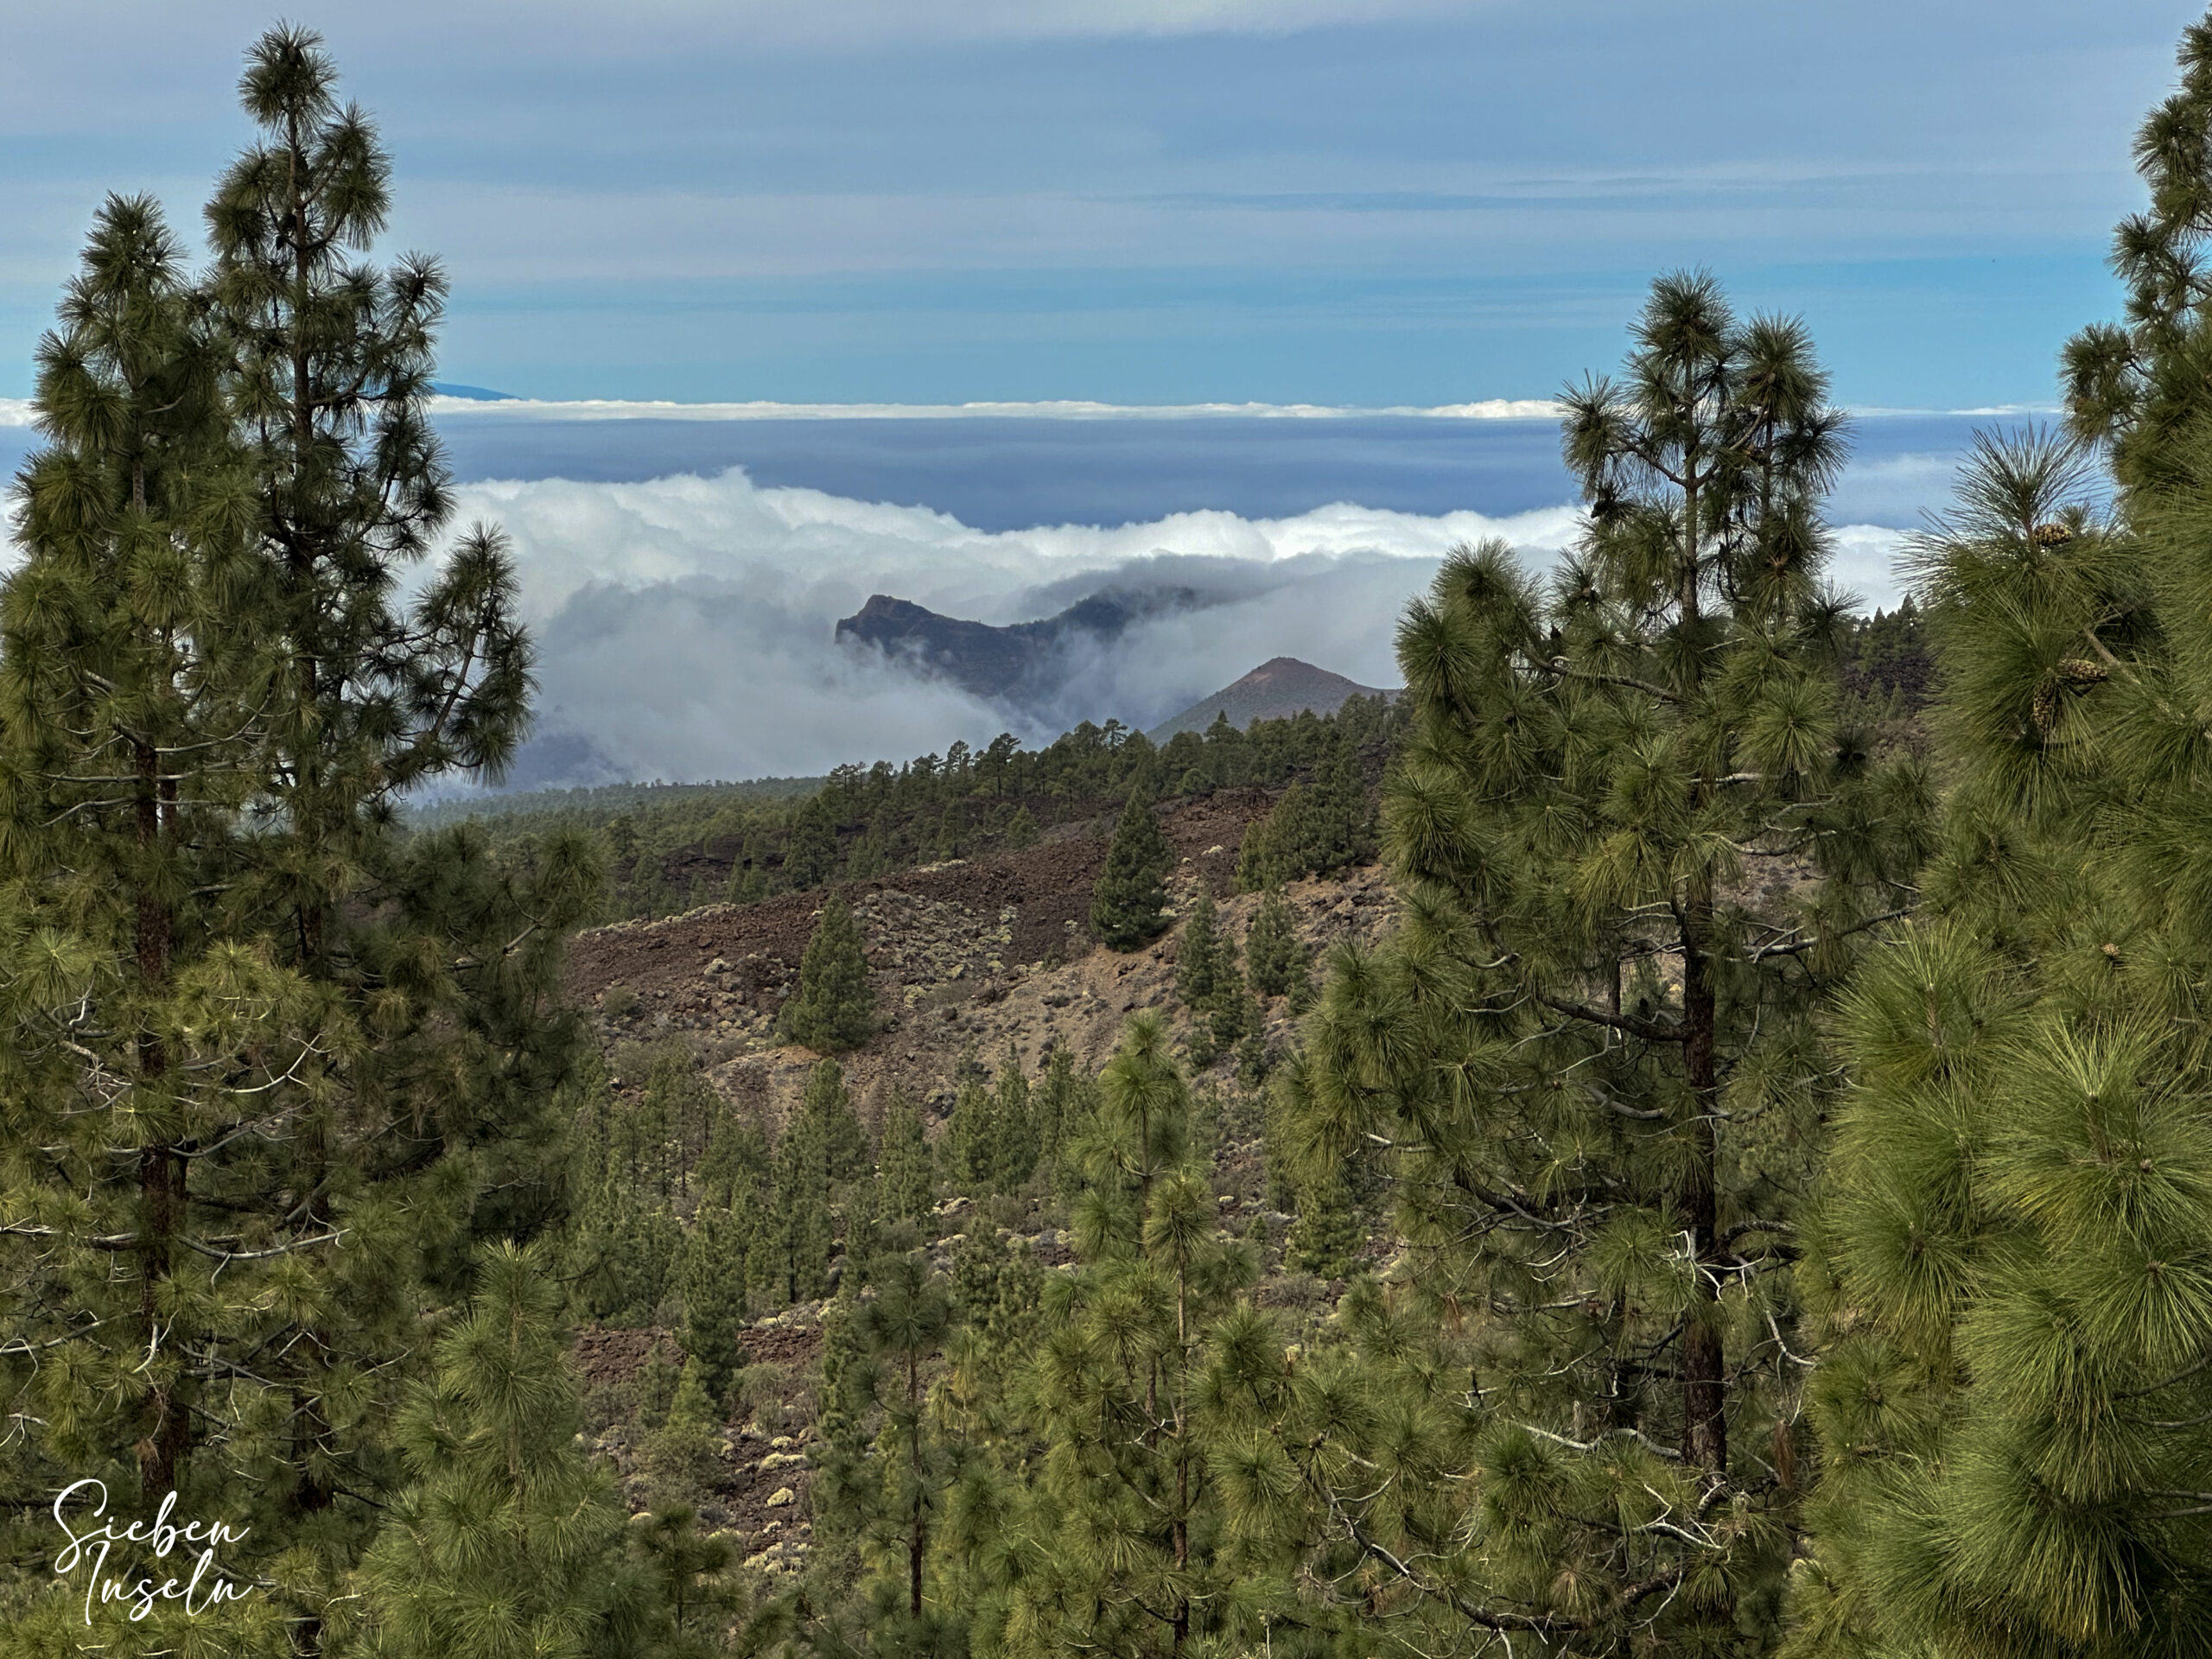
However, you’ll continue straight ahead. The trail continues to ascend gradually. Eventually, it becomes a wide track, leading you up further in long switchbacks with splendid views. And then you’ll reach Refugio de Chasogo. Here, you can take a break and explore the surroundings of the shelter at your leisure.
Section from Refugio de Chasogo to Galería Hoyo de la Leña
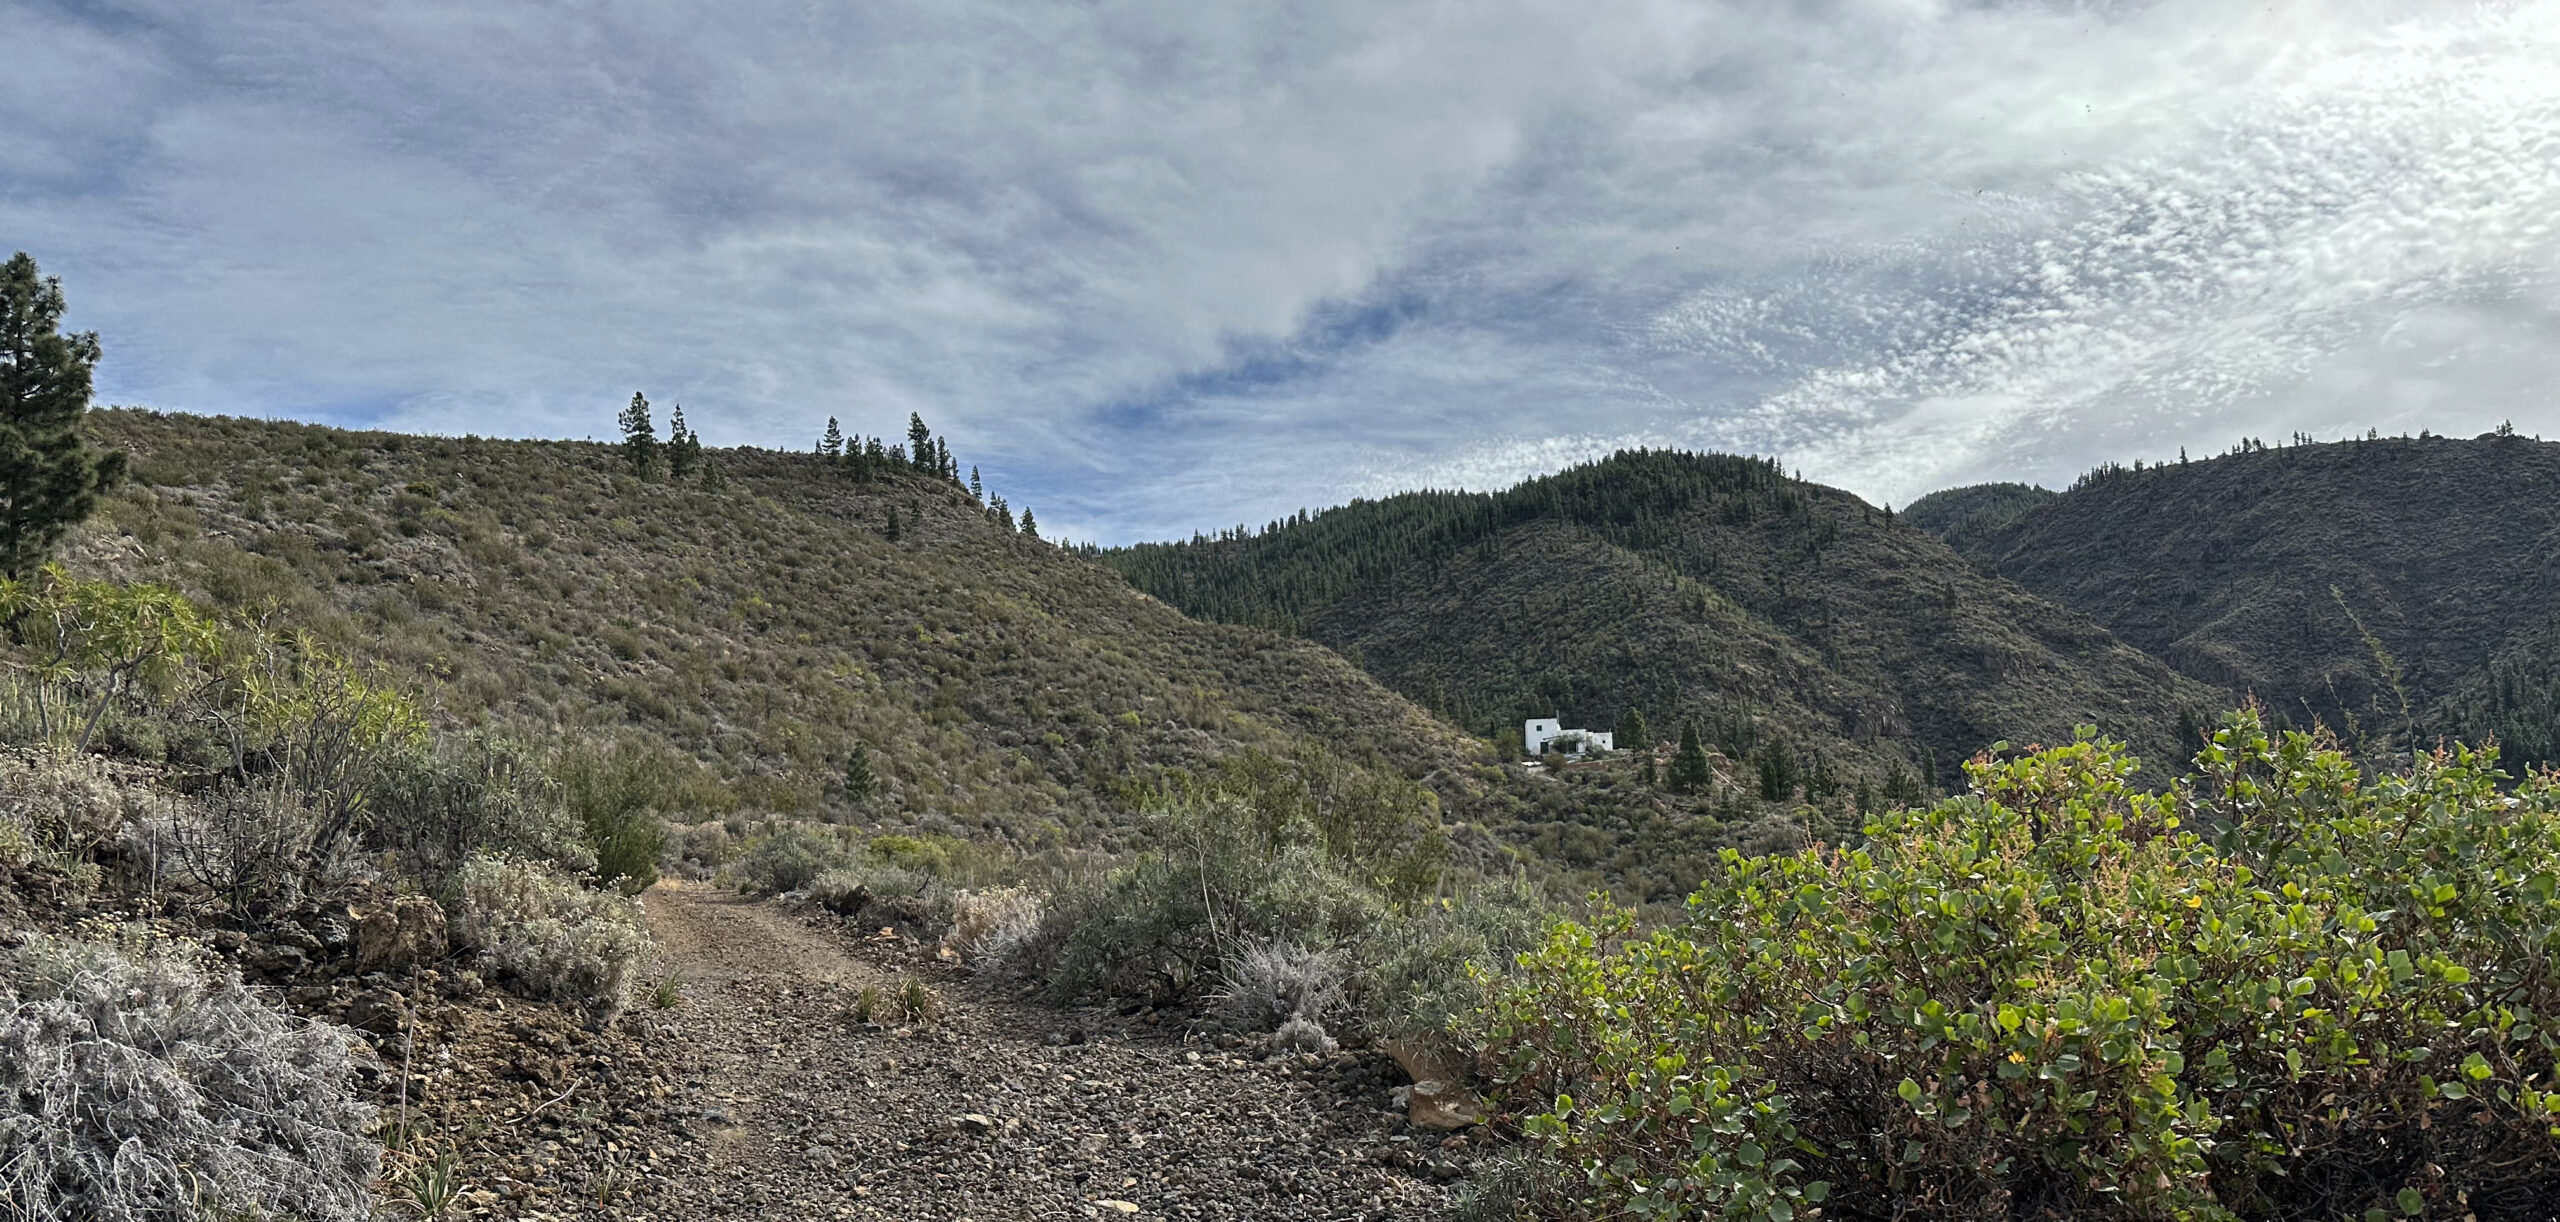
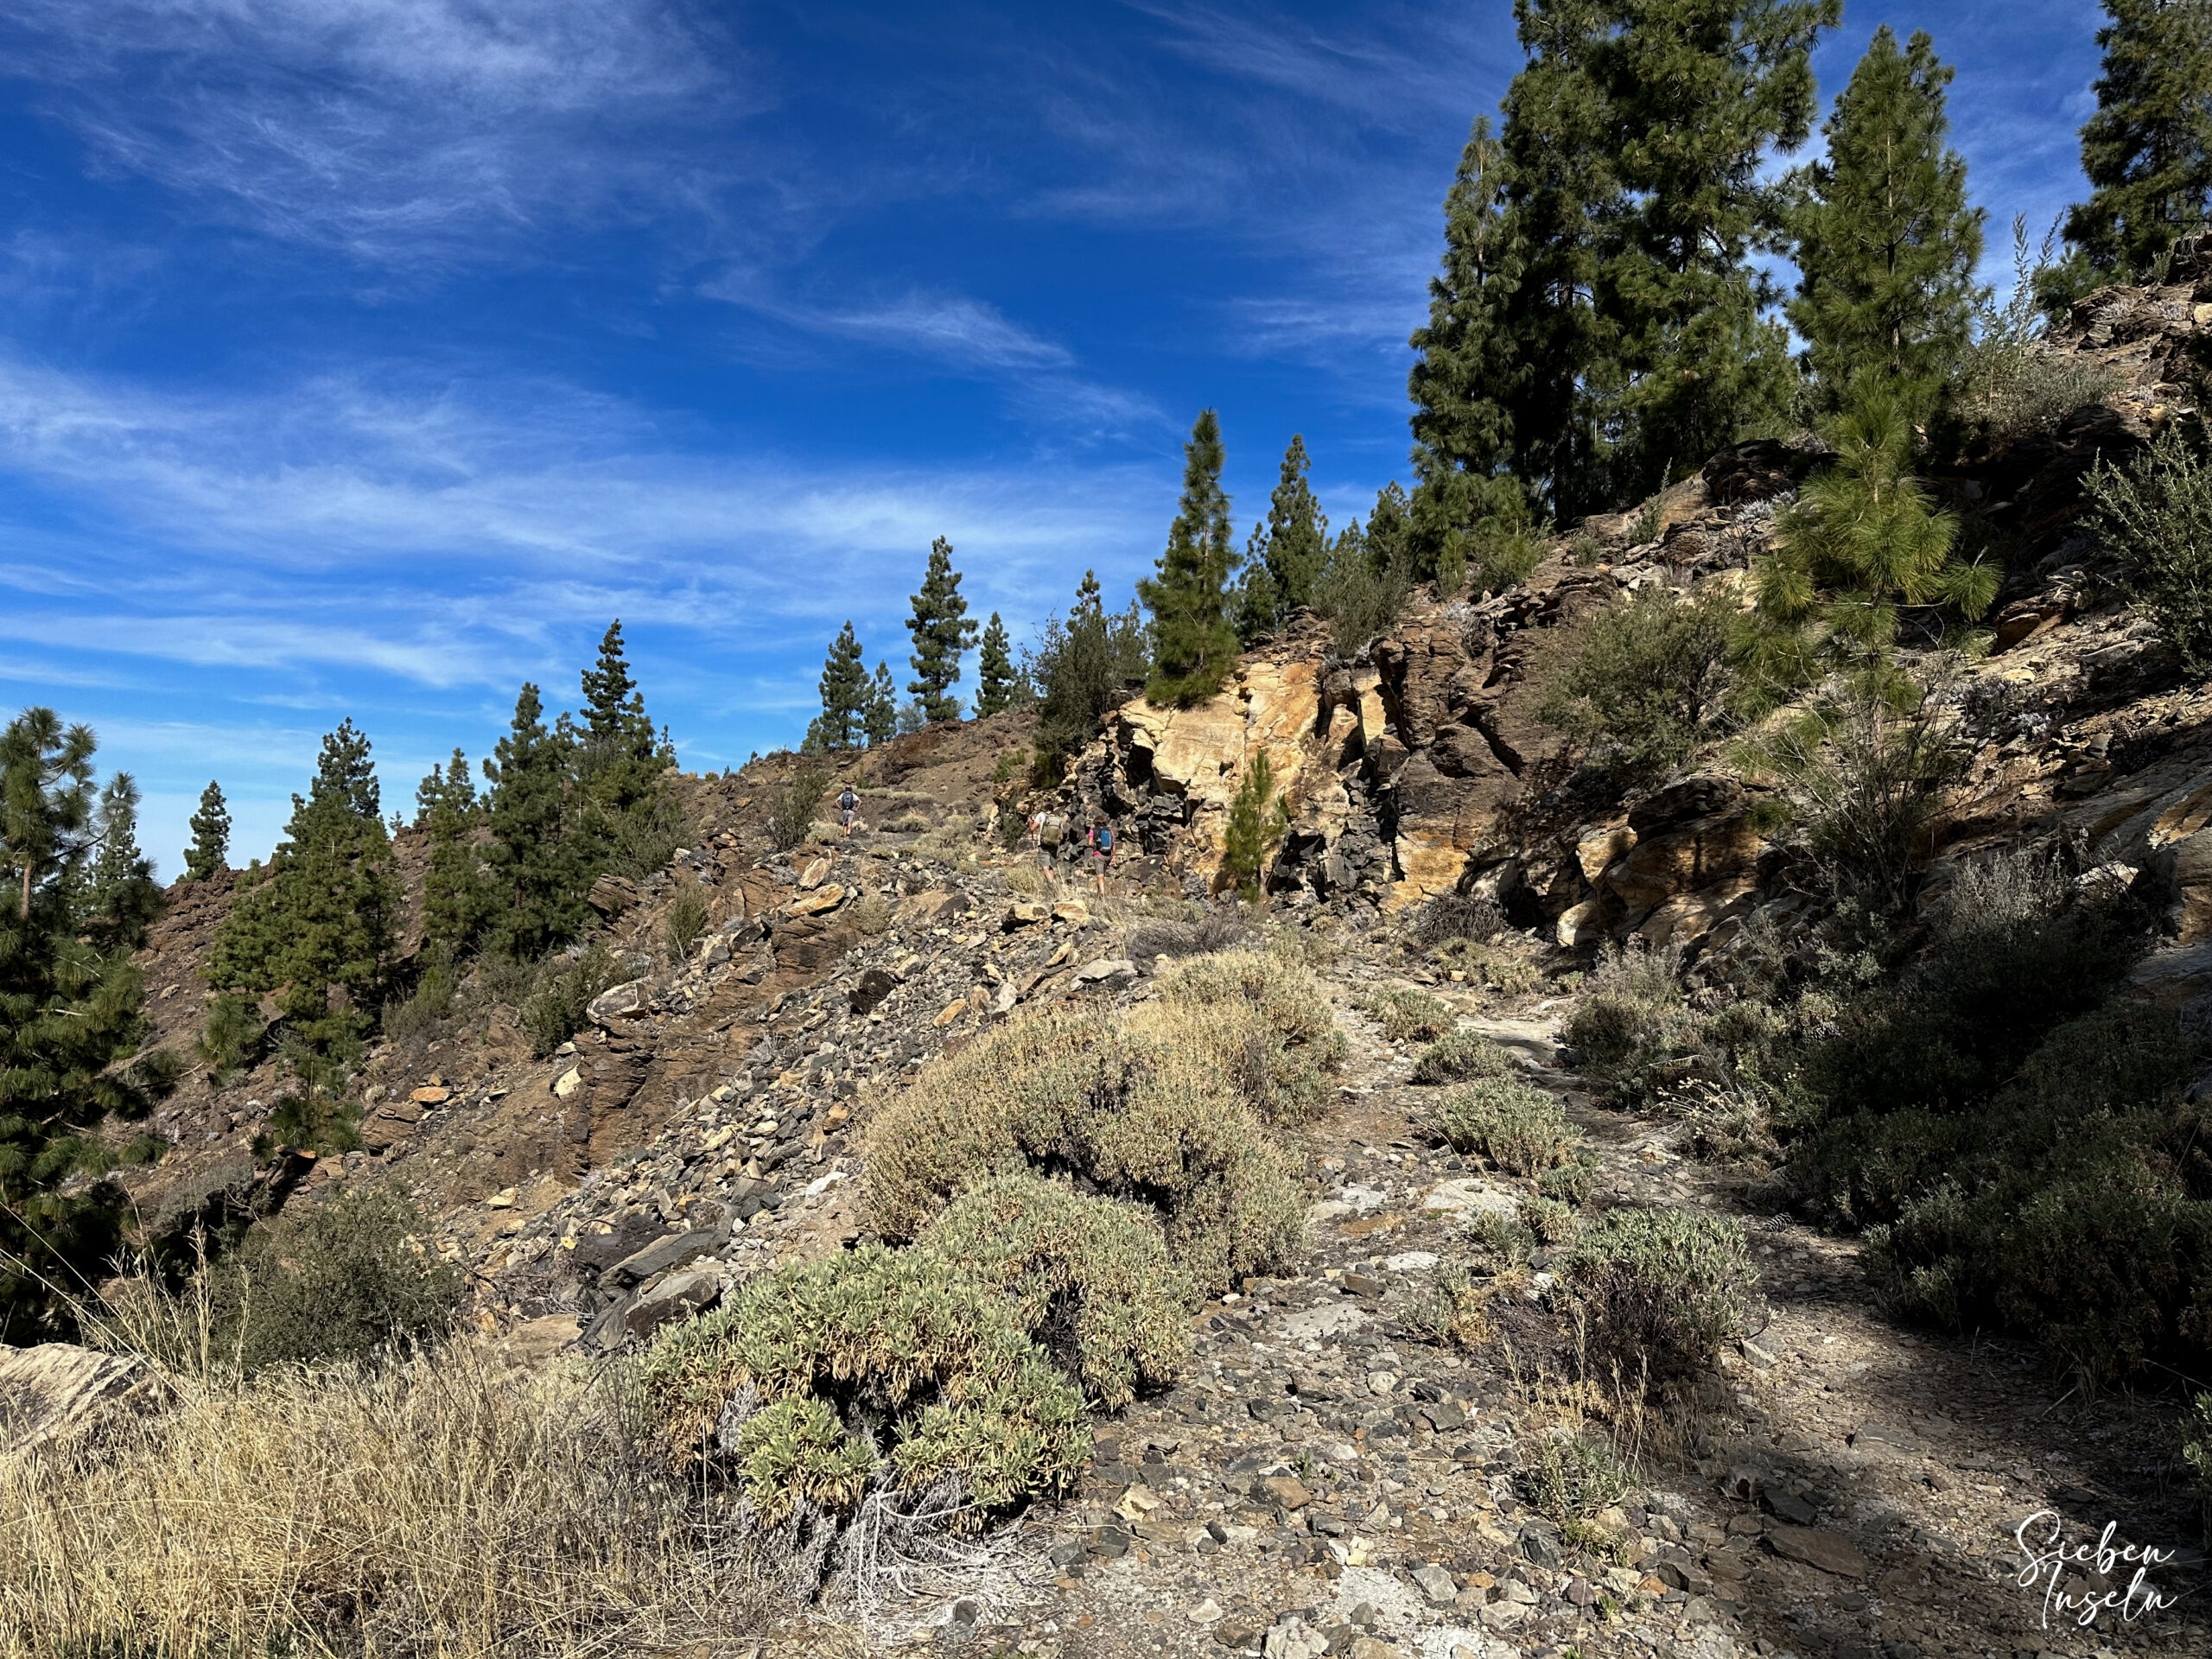
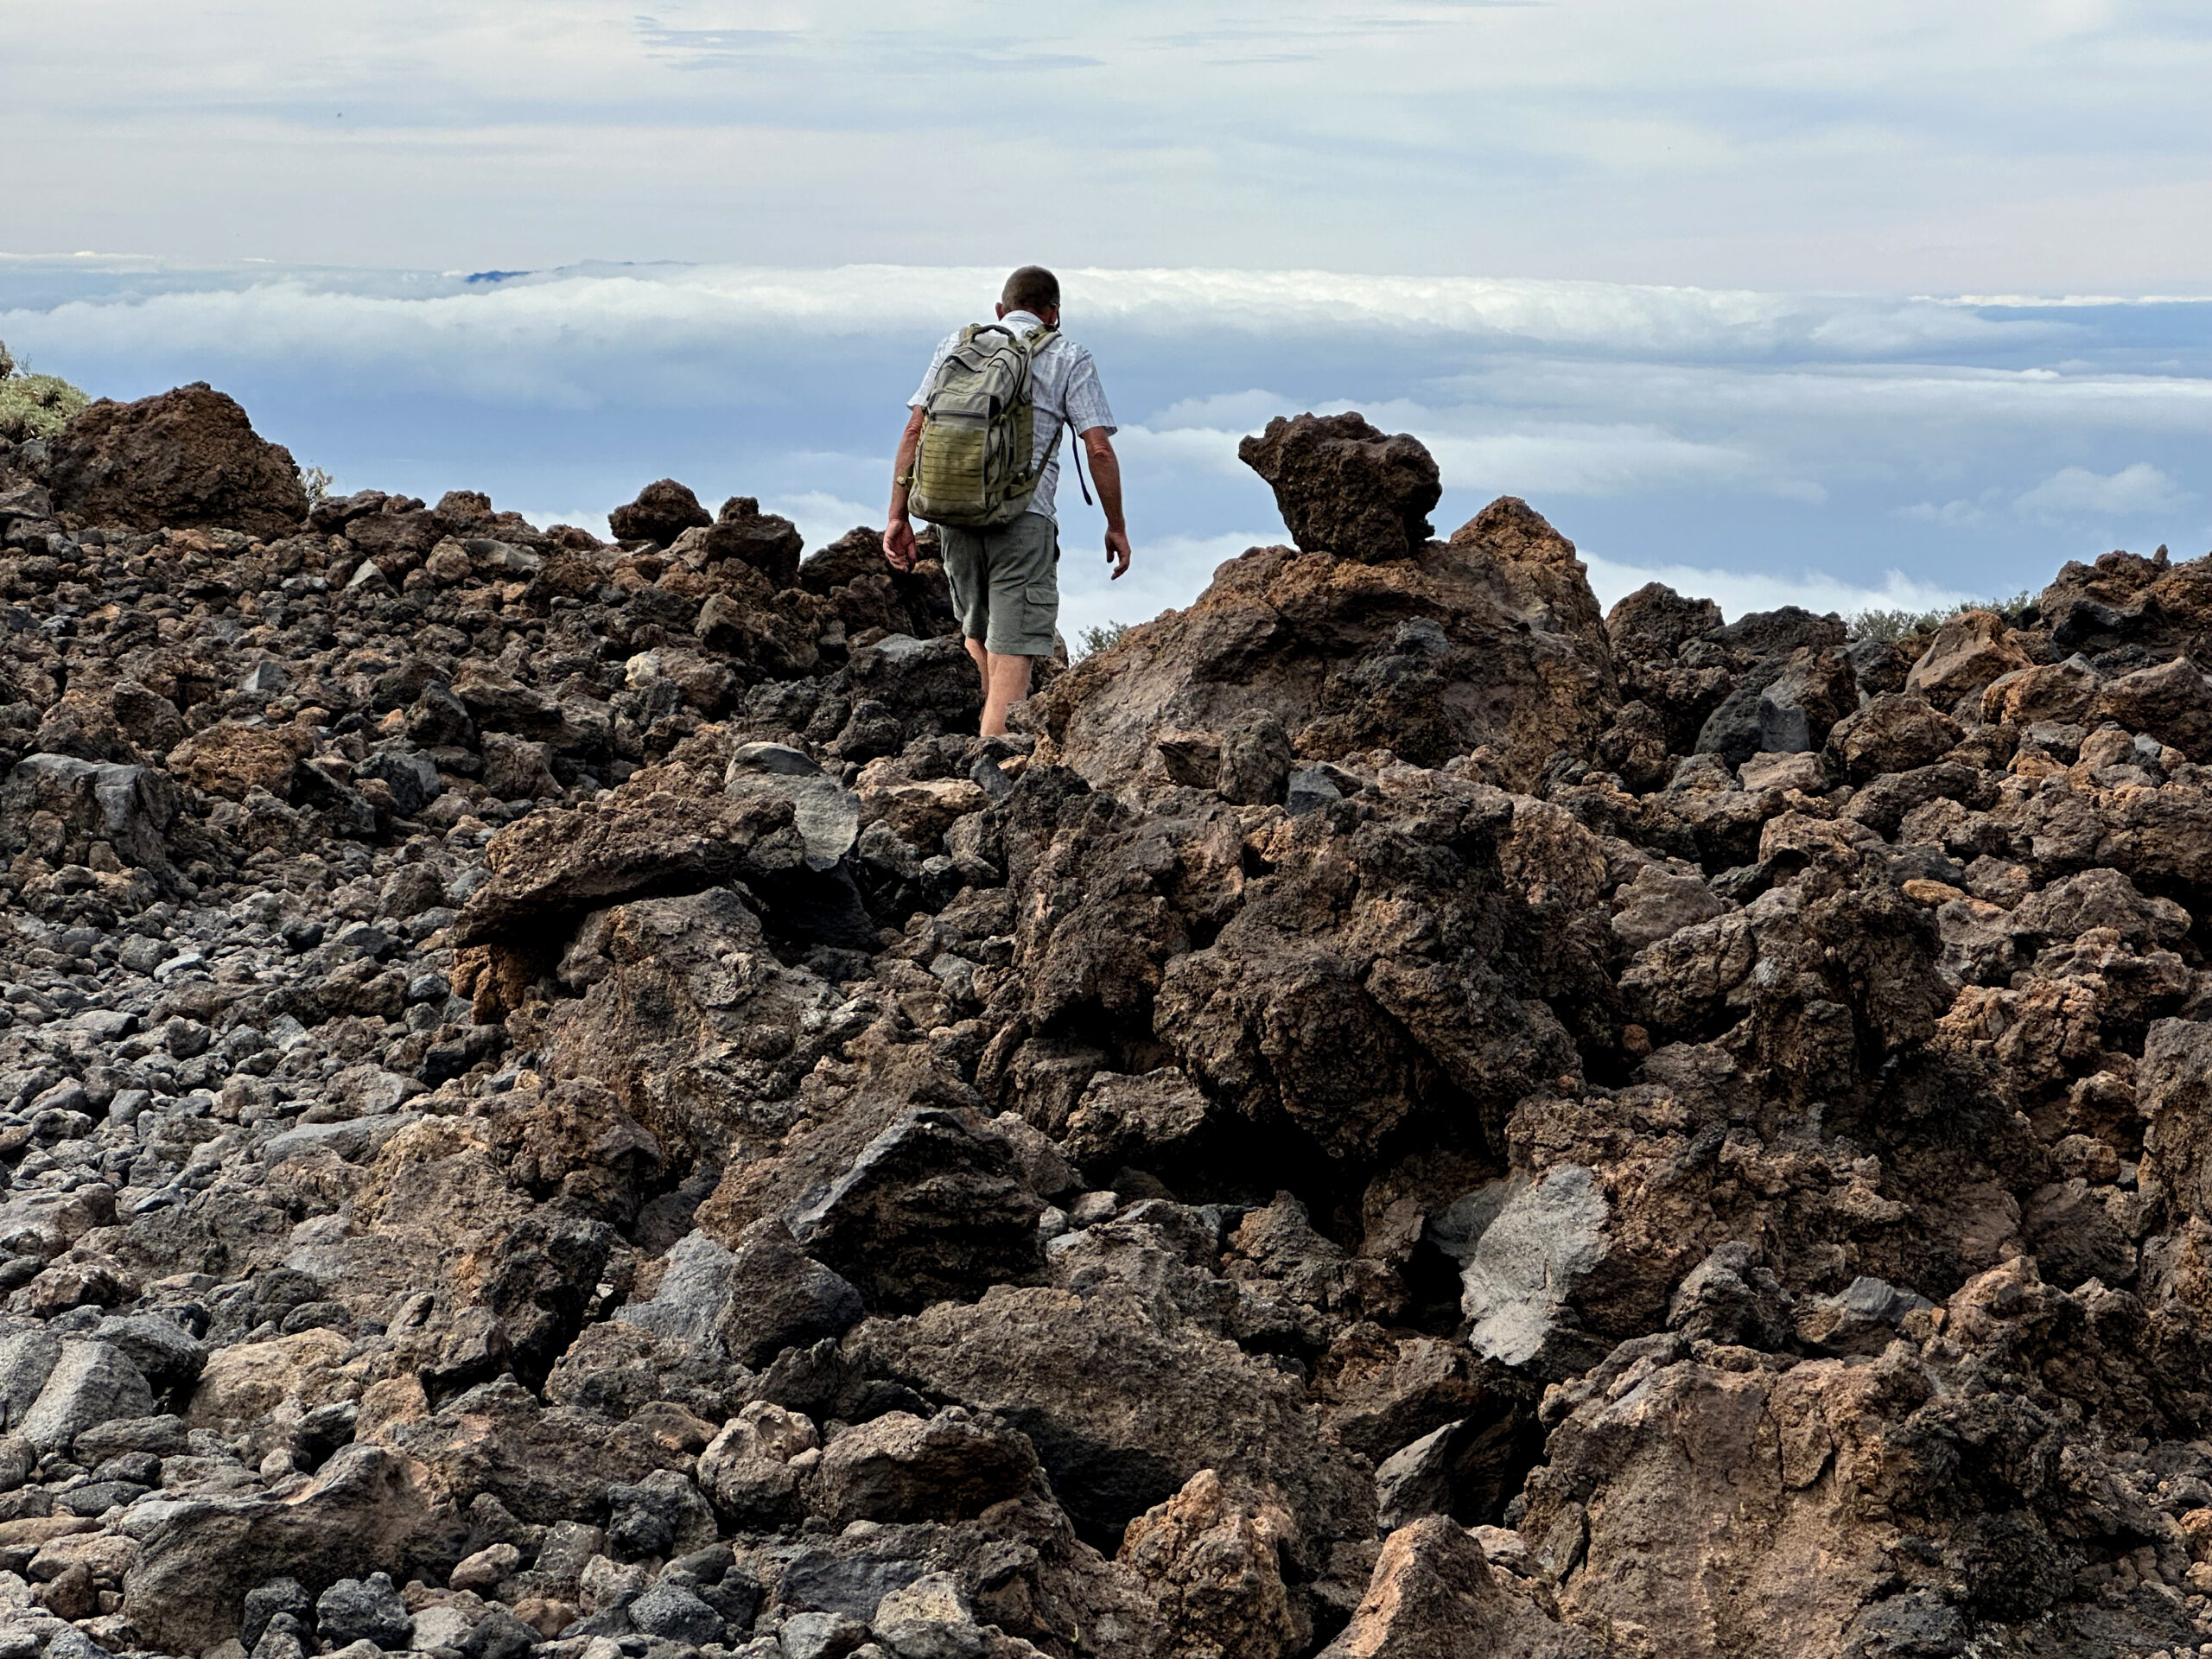
You’ll continue straight ahead on the track towards TF-28 for some time. If you continued straight, you’d reach TF-28 at about kilometer 6. However, some distance before the road, trail PR-TF 69.1 is signposted, leading down towards the starting point Chiguergue. Follow this trail. Initially, you’ll descend through the forest on narrow paths. Soon, you’ll enter a large lava area. You’ll traverse large lava slabs and may also see lava caves.
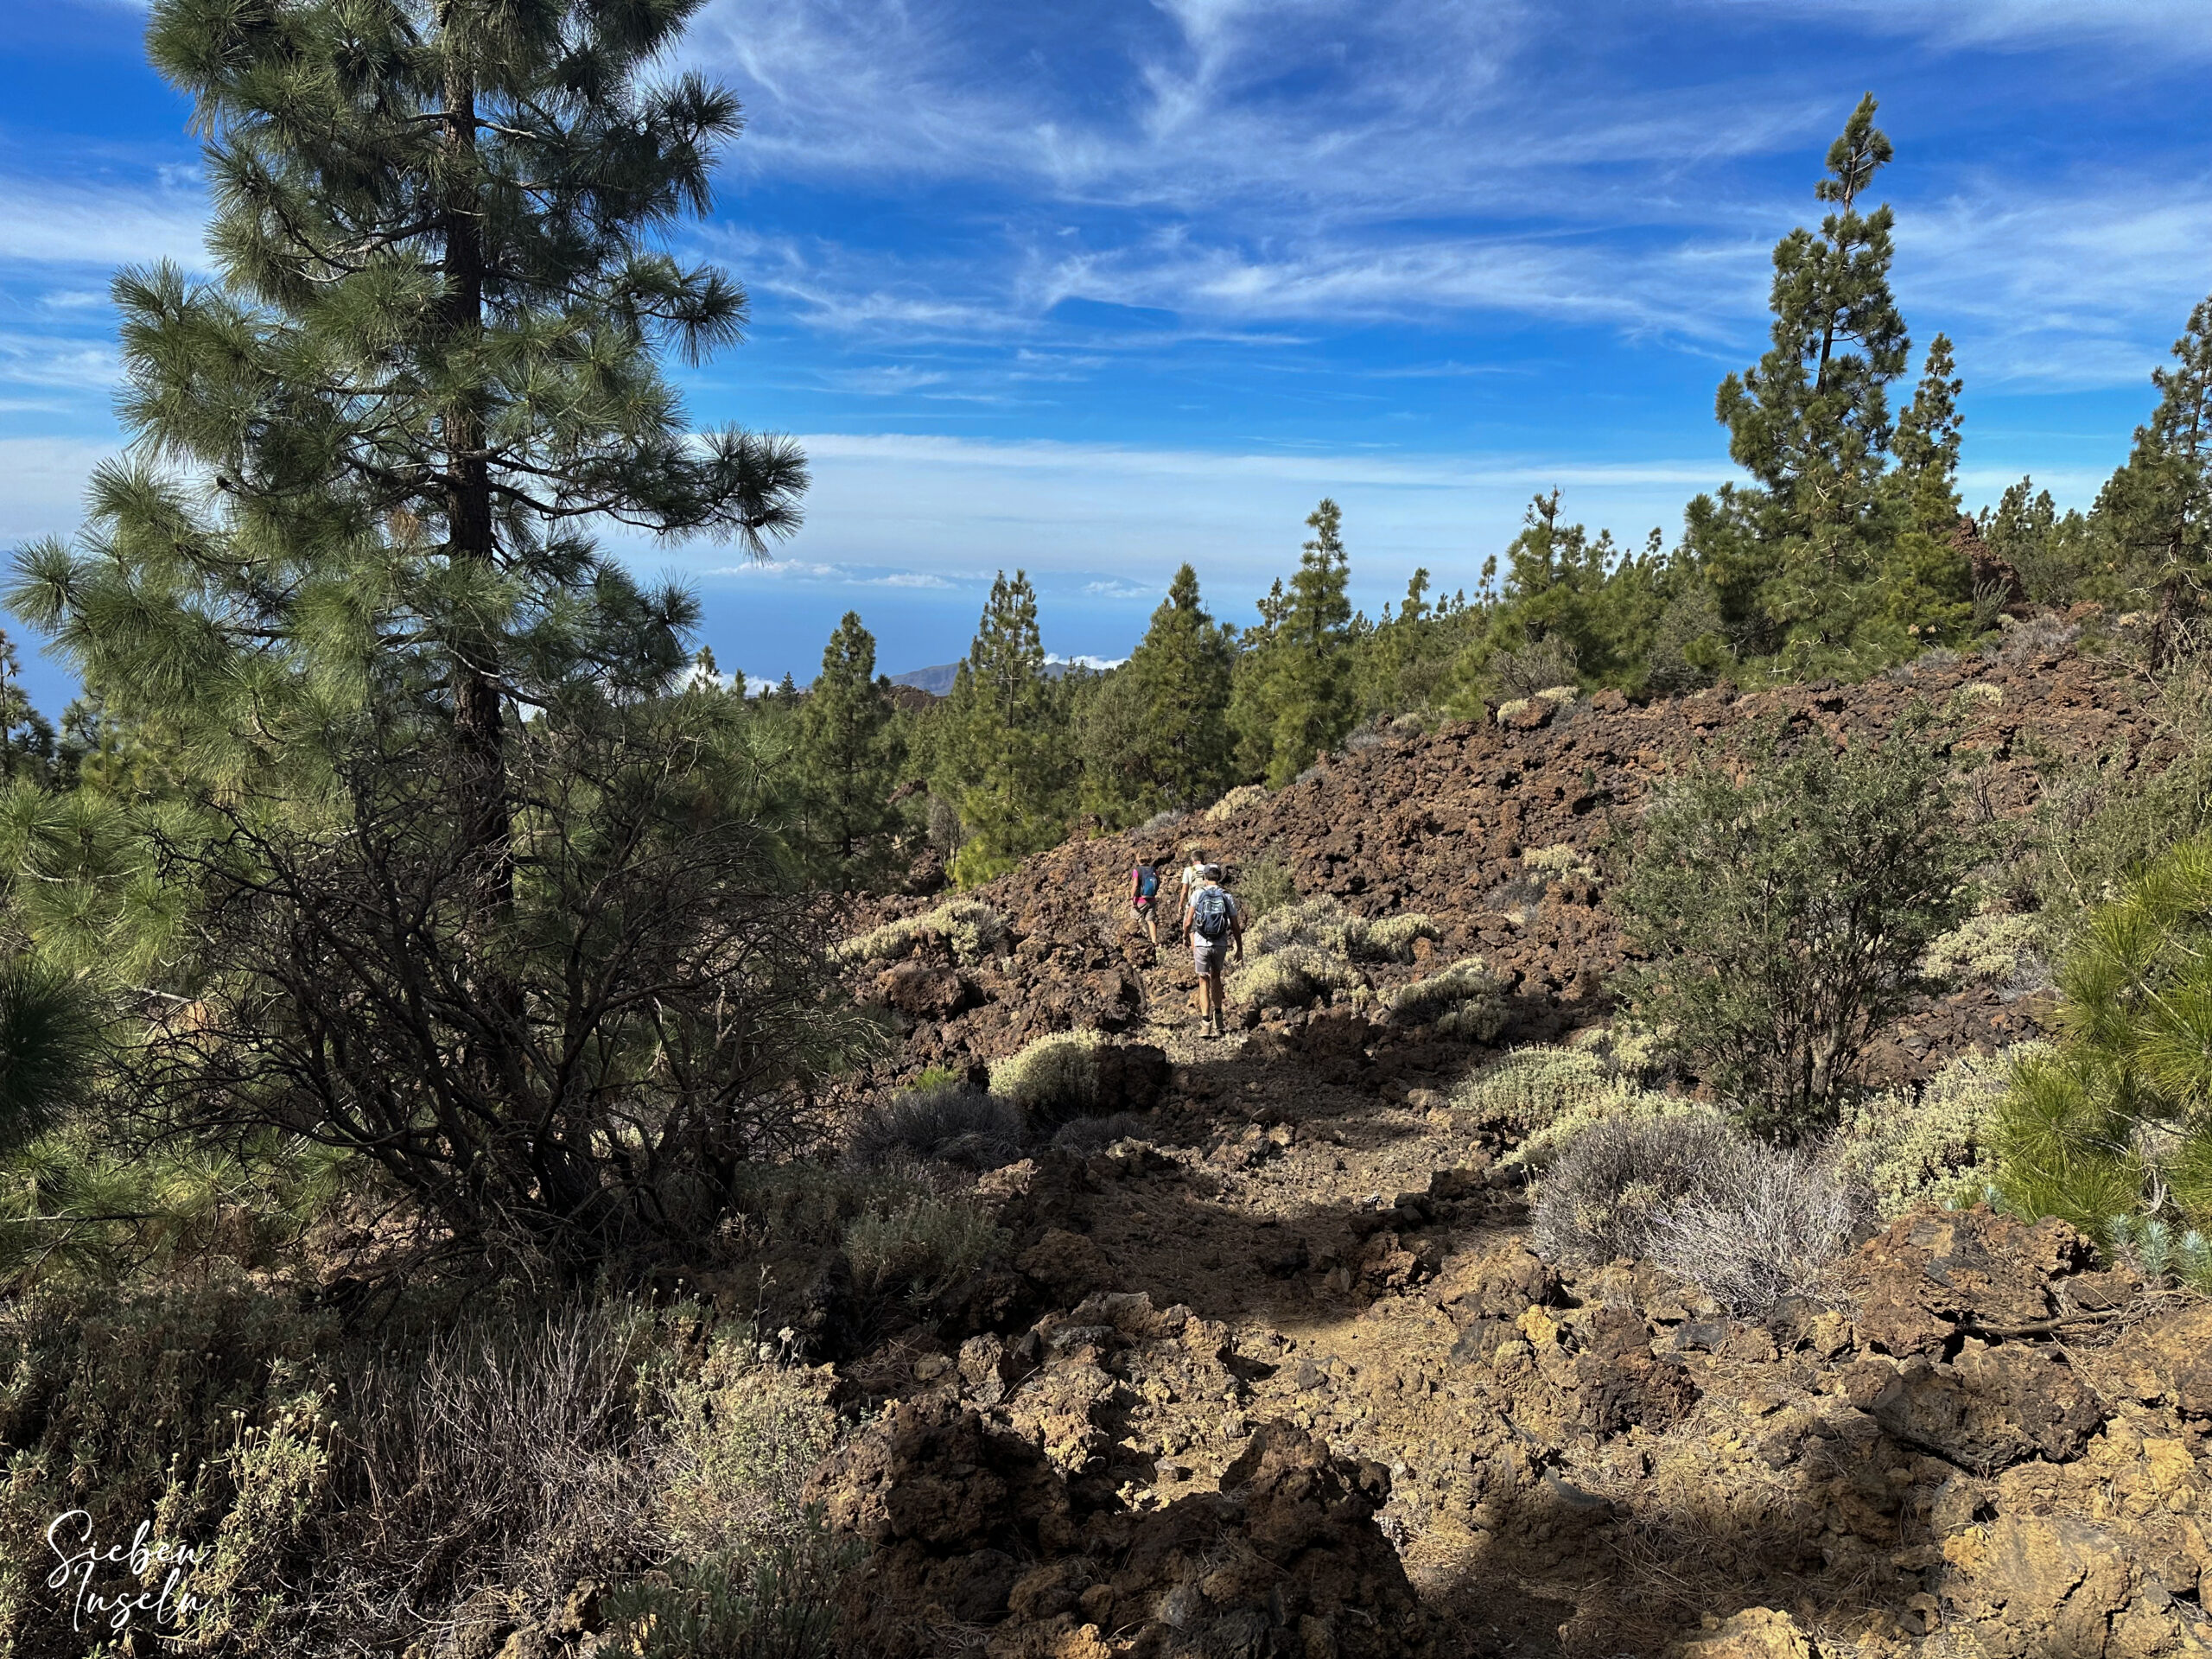
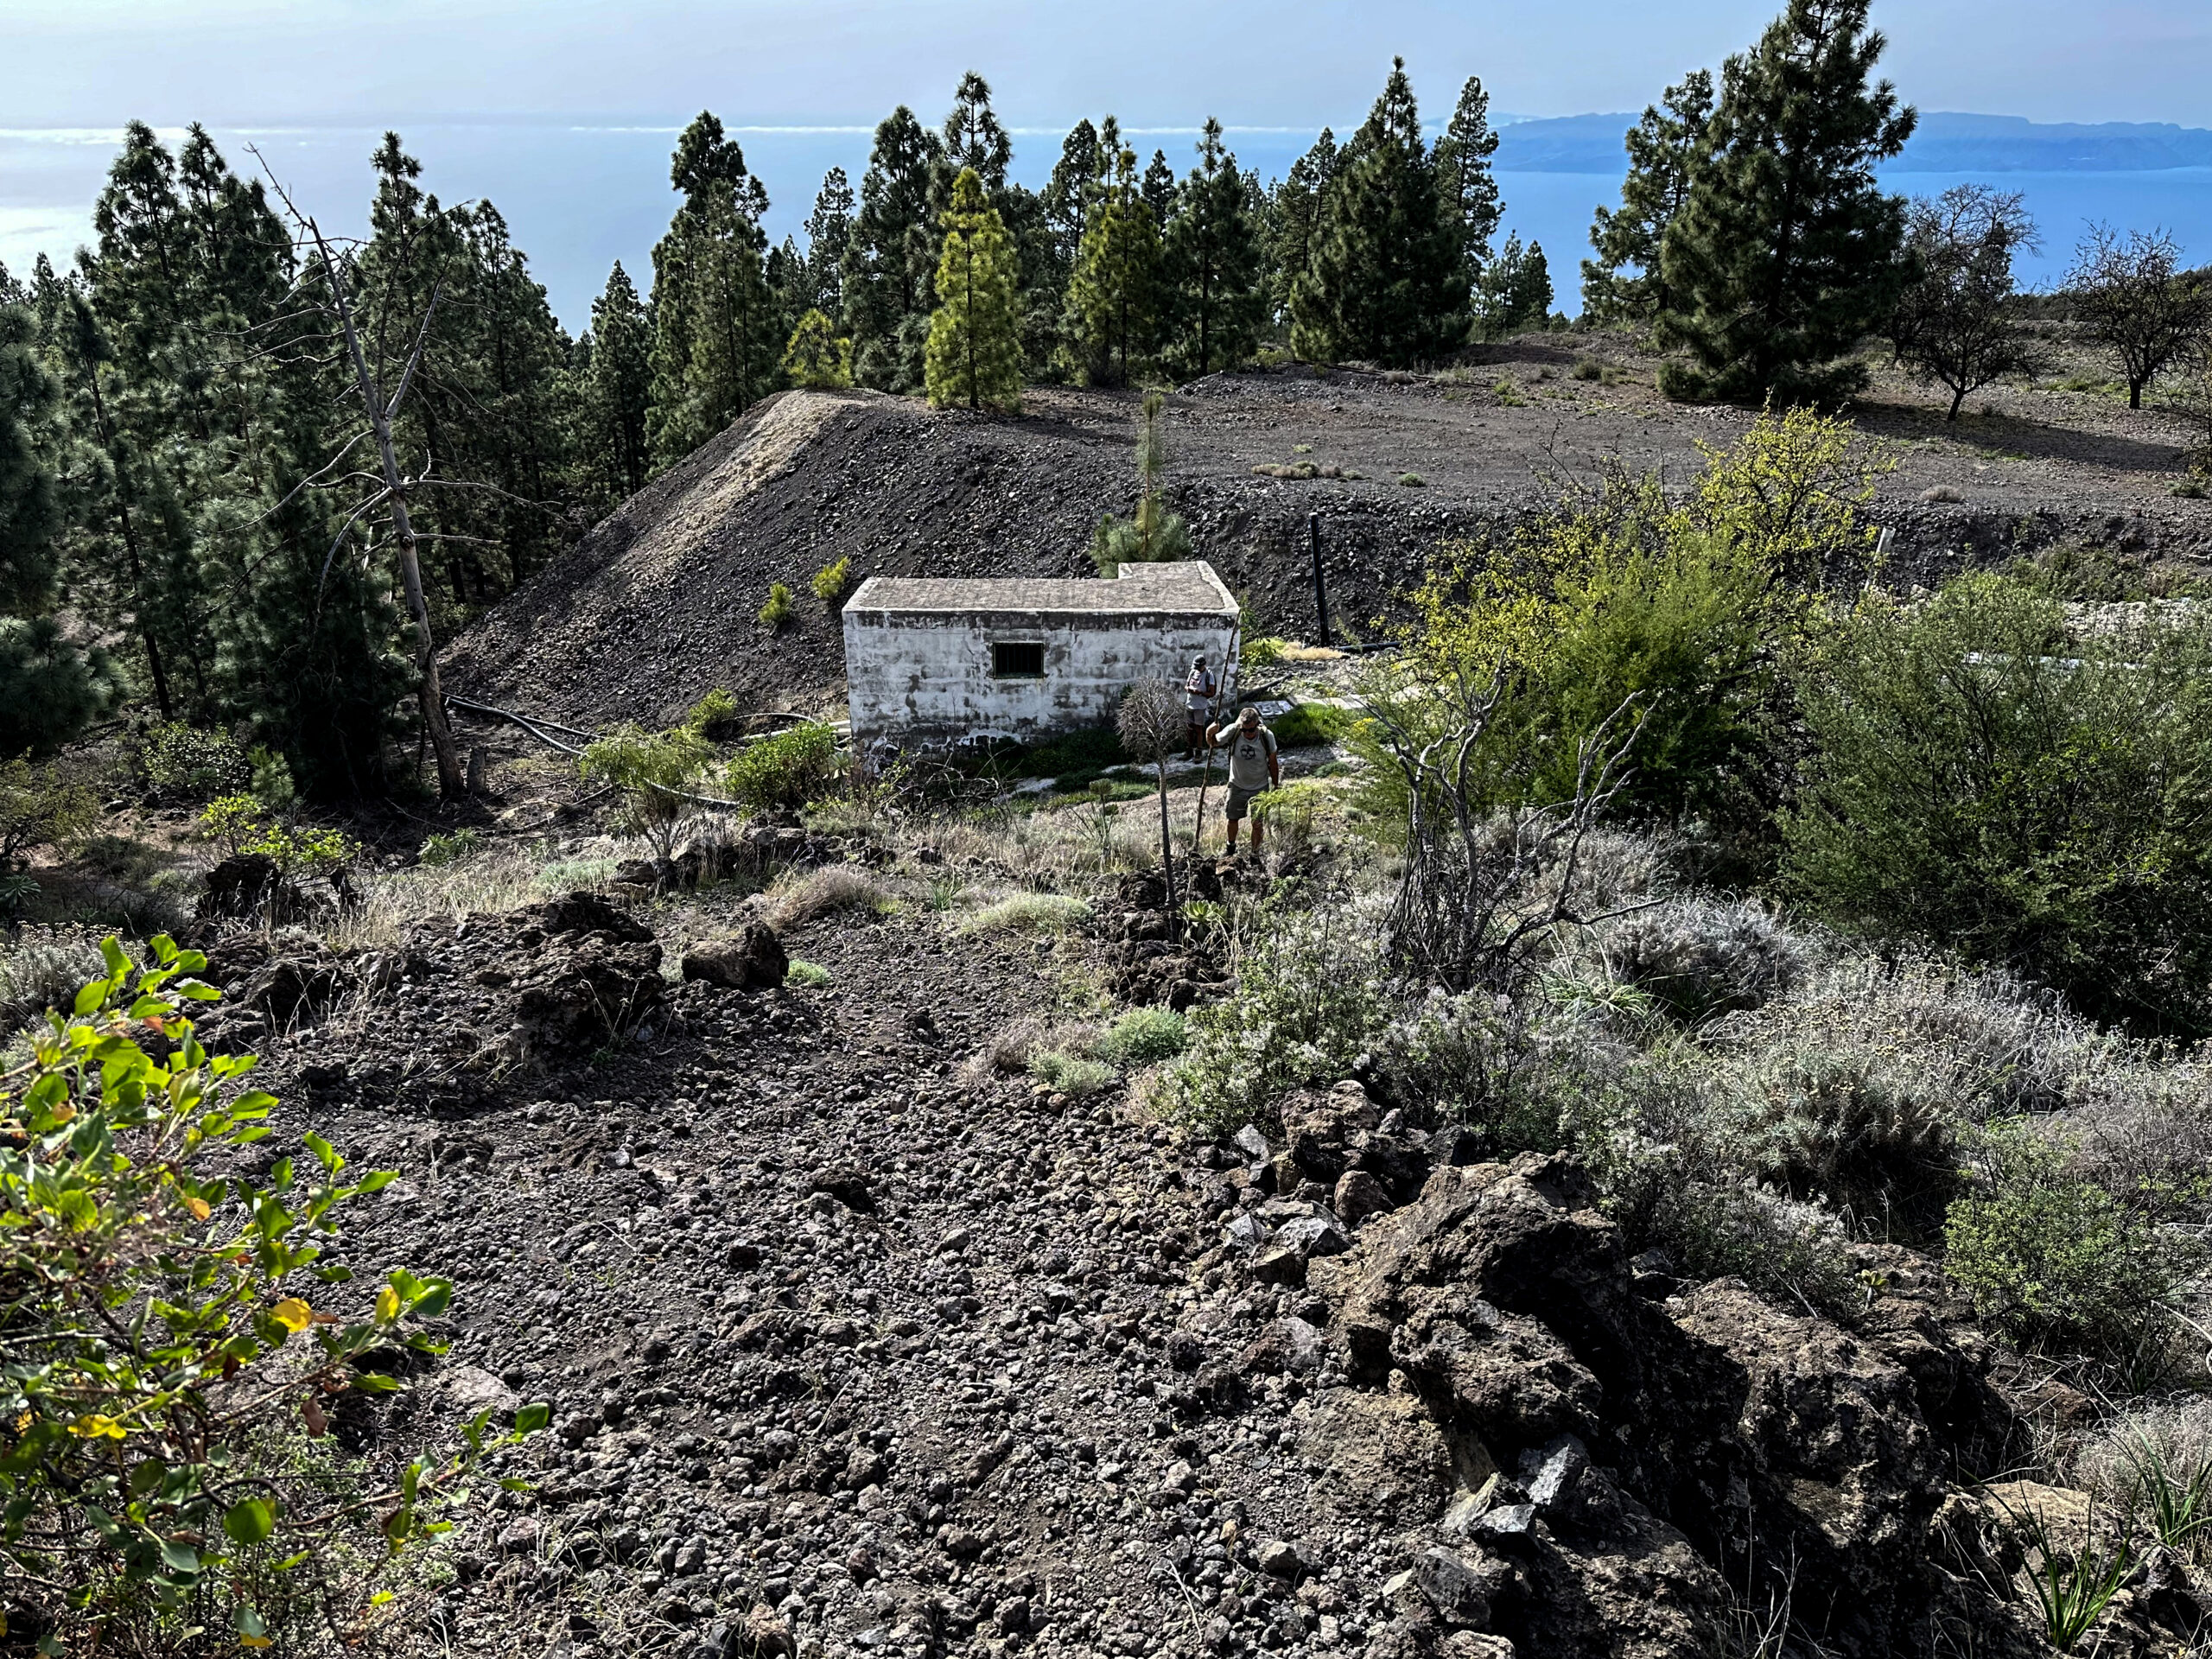
Occasionally, the trail may be a bit hard to find. But if you keep to the middle and descend, you’ll find the path again. Some small paths branch off to the right; ignore these. Instead, follow the first one that clearly branches off to the left, leaving the main trail. This path takes you through the forest, through bushy areas, and further over lava fields downhill. After a small, very steep straight descent, you’ll arrive at Galería Hoyo de la Leña. Here, you can refill water if needed.
Section from Galería Hoyo de la Leña to the starting point near Chirche
You’ll continue downhill to the left of Galería, ignoring the left branching path. After about 2 kilometers, this path leads to another gallery, where it ends. If you’re interested in galleries, you can, of course, extend the hike in this way. Otherwise, continue straight ahead downhill. After some time, you’ll encounter some paths branching off to the left. Previously, I used to take these to avoid the road at the end of the hike. However, on my last two hikes there in January and March 2024, I found out that these paths are now private and no longer accessible to hikers.
As shown in my track (variant 2), I still tried – unfortunately without success. But based on my current knowledge, there’s no other option than to walk down to TF-38 on the trail. You’ll reach the road near the Las Estrellas restaurant (approximately km 22). From here, you’ll have to walk about a kilometer downhill to the starting point.
And finally
I hope you enjoyed this diverse hike high above Chirche and to Refugio de Chasogo. I look forward to your feedback and wish you continued beautiful and safe hikes. Thank you also for the tips you’ve left in my tip jar. You can find the corresponding link at the end of each article. Warm hiking regards,
Dagmar from SiebenInseln